Stock Entry
A Stock Entry lets you record Item movement between Warehouses.
To access the Stock Entry list, go to:
Home > Stock > Stock Transactions > Stock Entry
Stock Entries can be made for the following purposes:
- Material Issue: If the material is being issued to someone in or outside the company (Outgoing Material). The Items will be deducted from the Warehouse set under Source Warehouse.
- Material Receipt: If the material is being received (Incoming Material). The Items will be added to the Warehouse set under Target Warehouse.
- Material Transfer: If the material is being moved from one internal Warehouse to another.
- Material Transfer for Manufacturing: If raw materials are being transferred for manufacturing. The transfer can happen against a Work Order or a Job Card. To know more, visit the Bill Of Materials page.
- Material Consumption for Manufacture: There can be multiple consumption stock entries against a manufacturing Work Order. Refer this link for more details
- Manufacture: If the Material is being received from a Manufacturing/Production Operation.
- Repack: If the Original item/items are being repacked into new item/items.
- Send to Subcontractor: If the Material is being issued for a sub-contract activity. This entry is made from a Purchase Order. To know more, visit the subcontracting page.
To know more in detail about the stock entry purpose, visit this page.
1. Prerequisites
Before creating and using a Stock Entry, it is advised that you create the following first:
2. How to create a Stock Entry
Stock Entries for Manufacturing purposes are usually created from a Work Order. To create a Stock Entry manually for other purposes, follow these steps:
- Go to the Stock Entry list, click on New.
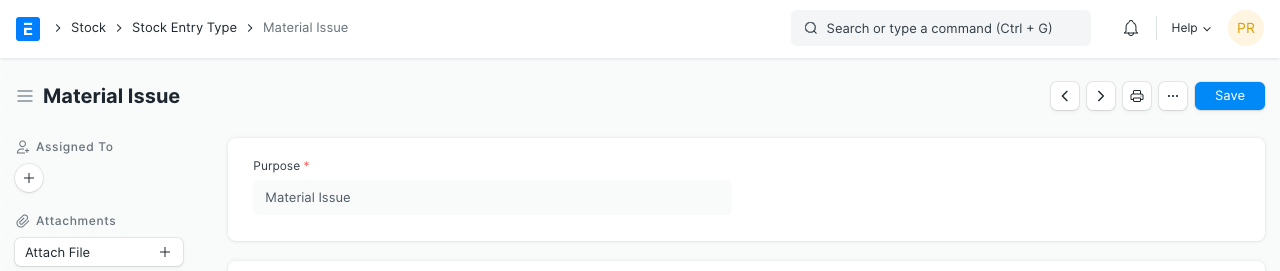
- Select the Stock Entry Purpose from the ones listed above.
- If you set the Default Source or Target Warehouses, they'll be automatically filled for the rows in the Items table.
- Source/Target Warehouses will be available as per the Stock Entry Purpose you selected.
- Select Items and enter a quantity.
- The basic rate will be fetched and the amount will be calculated automatically.
- Save and Submit.

Usually, "Source Warehouse" and "Target Warehouse" both are set for recording a movement.
2.1 Additional options when creating a Stock Entry
- Work Order: If this is a Manufacturing entry, the Work Order will be shown in this field.
- Edit Posting Date and Time: Will allow you to edit the Stock Entry's date and time.
- Inspection Required: If a Quality Inspection needs to be performed on the Items before submitting the Stock Entry.
- From BOM: If this is a Manufacturing entry, the associated BOM for the Item being manufactured will be shown.
2.2 Stock Entry Type
You can also create a Stock Entry Type where only the name will be different, for example 'Scrap Entry'. The purpose will be Material Transfer but the name will be different. This is useful if you want certain Users to have access only to specific actions related to stock.
3. Features
3.1 The Items table
Details about the Item, Rate, Quantity, etc. will be shown here.
Ticking on 'Allow Zero Valuation Rate' will allow submitting the Purchase Receipt even if the Valuation Rate of the Item is 0. This can be a sample item or due to a mutual understanding with your Supplier.
Different Source and Target Warehouses can be set for different Items.

3.2 Scrap and Process Loss
- Scrap Item: Scrap items are the by-product and can be treated as products. The scrap items will have the valuation rate and they will be added to the scrap warehouse. Users can set the valuation rate for the scrap item manually in the Basic Rate field.
- Process Loss: Process Loss has no impact on the stock, this will reduce the number of FG Items. Check the below image, the user has planned to produce 100 FG Items but after the manufacturing process, the quantity has been produced as 80. To produce 80 FG Items, the user has used all raw material quantity. So here 20 quantity has been produced so therefore the system has marked it as Process Loss Qty. The process loss cost of 20 quantities has been added to the 80 quantities of FG Item.

3.3 Additional Costs
If the stock entry is an incoming entry i.e any item is receiving at a target warehouse, you can add related additional costs (like Shipping Charges, Customs Duty, Operating Costs, etc) associated with the process. The additional costs will be considered to calculate the Valuation Rate of the items.
To add additional costs:
- Select the Expense Account to which the expense from this Stock Entry will be recorded.
- Enter the description and amount of the cost in the Additional Costs table.
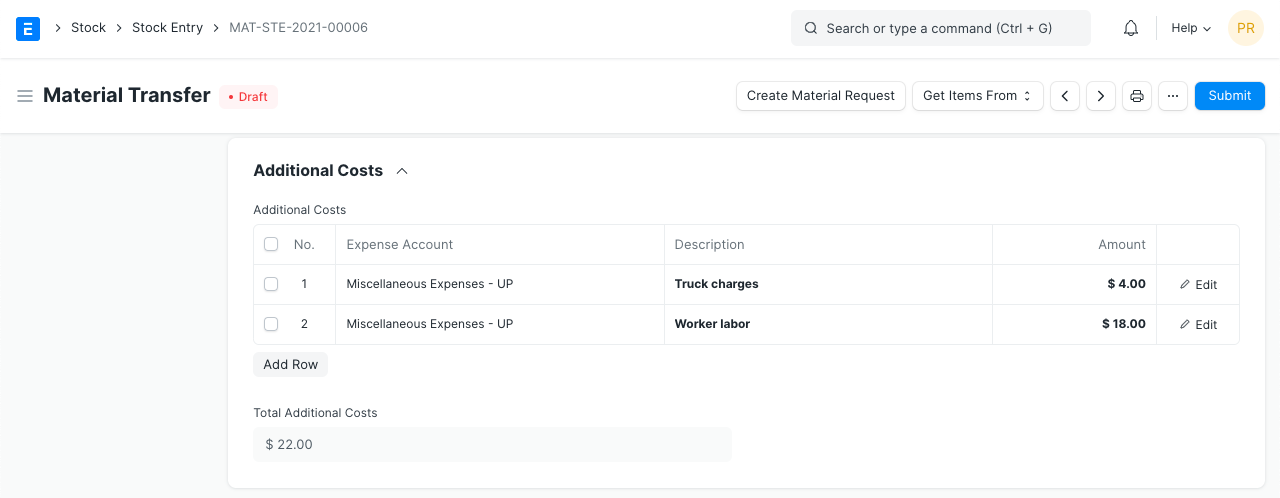
The added Additional Costs will be distributed among the receiving items (where the Target Warehouse mentioned) proportionately based on the Basic Amount of the items. And the distributed additional cost will be added to the basic rate of the item, to calculate Valuation Rate.
Quantity and Rate is shown as follows when you expand the Items table. 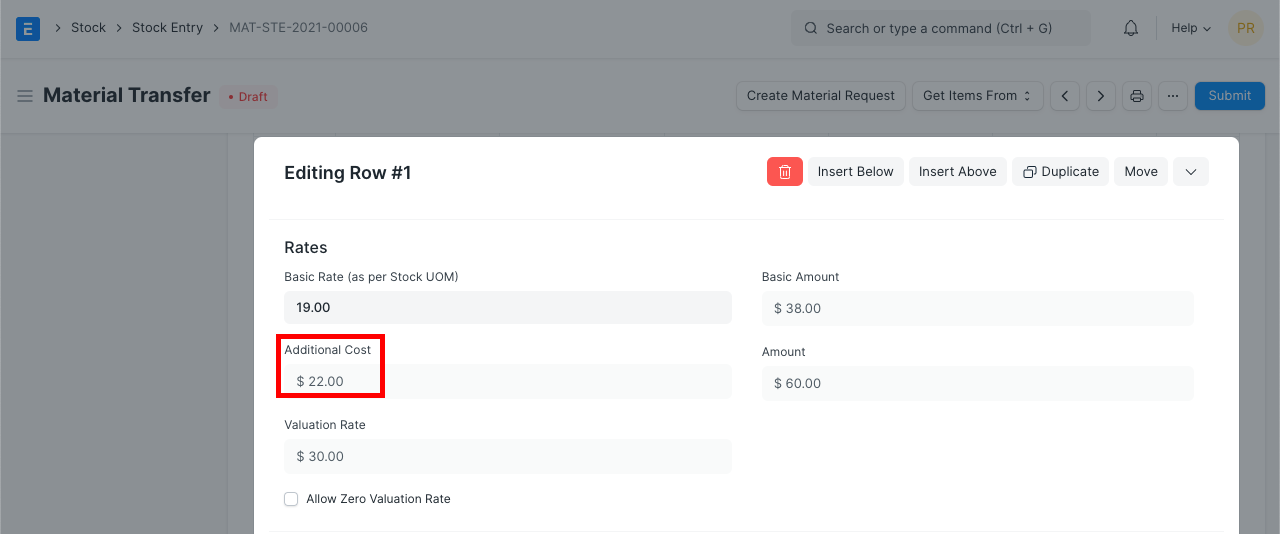
3.4 Accounting Dimensions
You can tag different transactions based on different dimensions. By default, Projects can be considered as a dimension as it is a common practice to track costs of different projects. To know more about Accounting Dimensions, visit this page.
3.5 Printing Settings
Letterhead
You can print your Purchase Receipt on your company's letterhead. Know more here.
Print Headings
Purchase Receipt headings can also be changed when printing the document. You can do this by selecting a Print Heading. To create new Print Headings go to: Home > Settings > Printing > Print Heading. Know more here.
3.6 More Information
- Is Opening: If this entry is the opening stock entry for the Items.
- Remarks: Any additional remarks about the Item.
- Percentage Transferred: The percentage of Items transferred depending on Stock Entry purpose.
- Total Amount: The total amount of Items transferred.
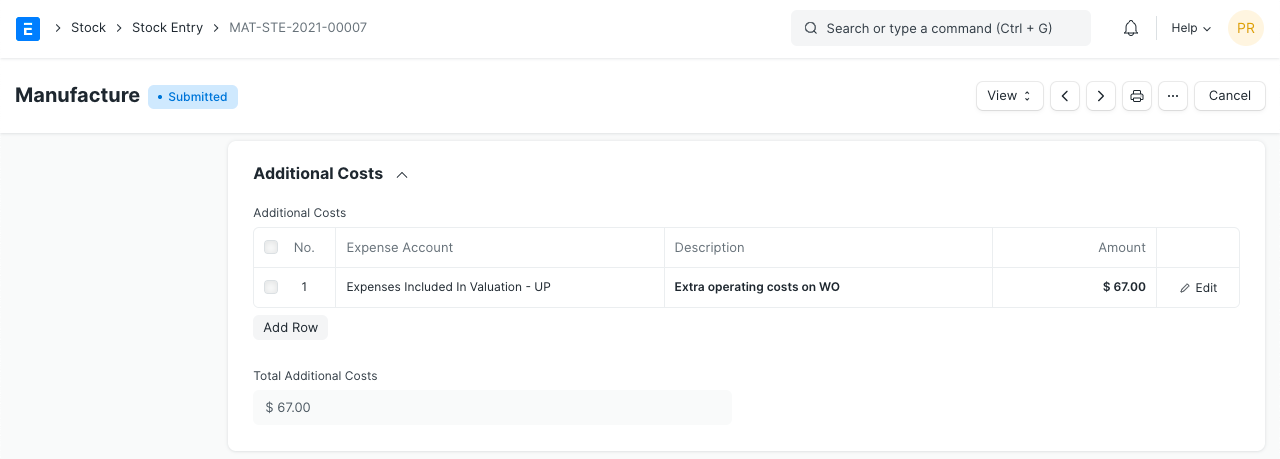
3.7 Perpetual Inventory
If the perpetual inventory system is enabled, additional costs will be booked in Expense Account mentioned in the Additional Costs table .
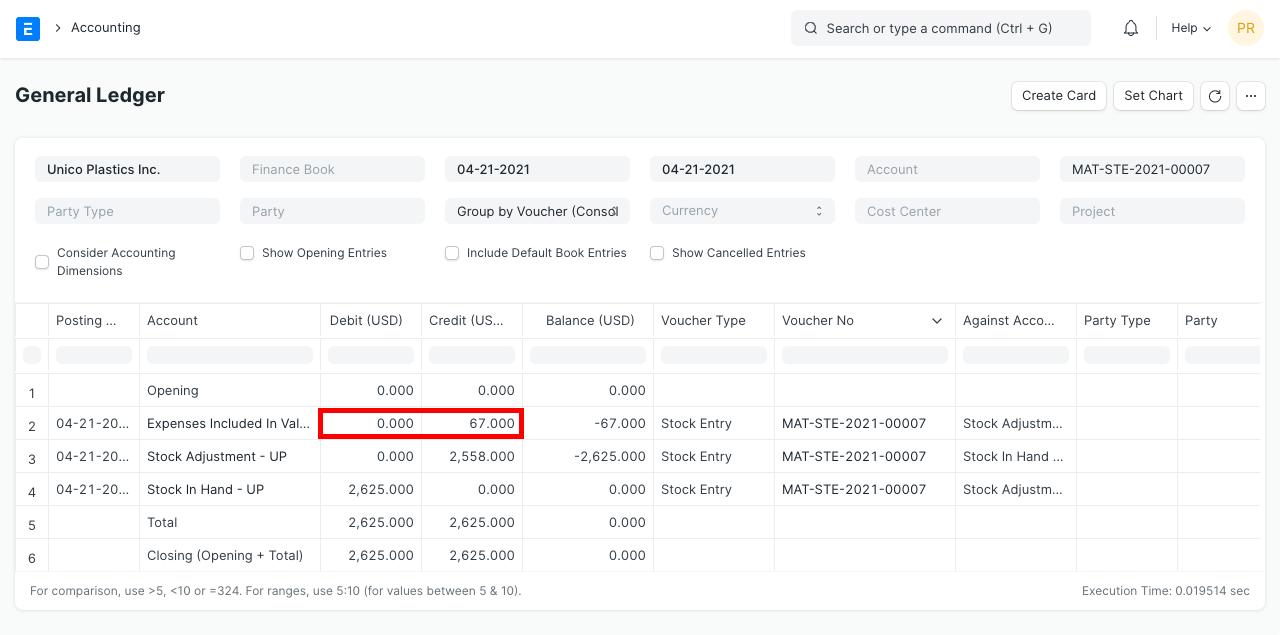
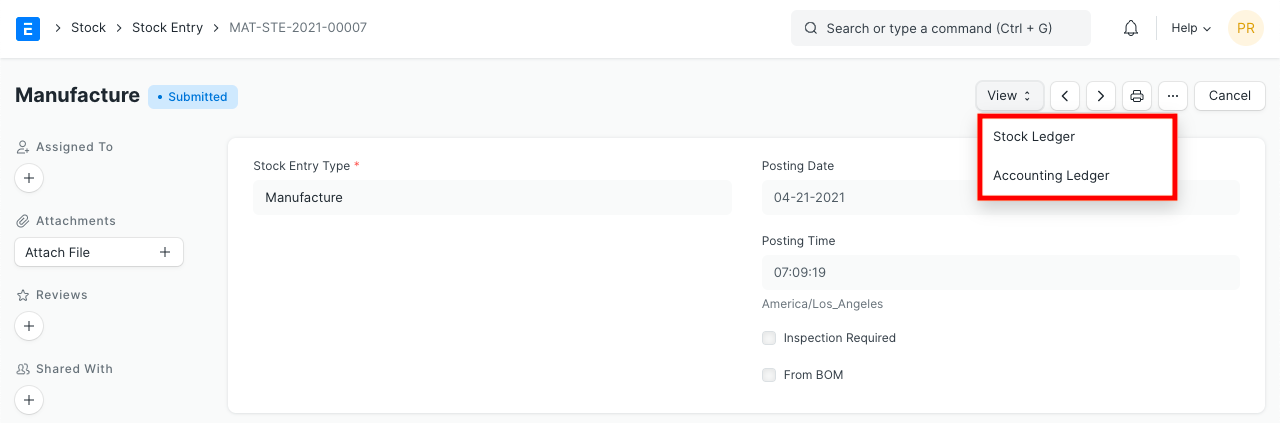
3.8 After Submitting
After submitting a Stock Entry, you can go to the stock ledger or the accounting ledger from the dashboard.
4. Add to Transit
If you want to transfer materials from one warehouse to another and you want to make two entries for that then use "Add to Transit" feature.
To use "Add to Transit" feature, make stock entry with type as "Material Transfer" and enable "Add to Transit" checkbox. Next you need to select the source warehouse from where you want to issue the material and then select the warehouse of type "Transit" in the target warehouse. To make transit warehouse you can goto the Warehouse master and select the warehouse type as "Transit". After that add items in the stock entry which needs to be transfer and submit it.

To make second stock entry at the destination warehouse, users has two options. Either they can open the Original Stock Entry and click on "End Transit" or they can create new stock entry and click on "Get Items From" -> "Transit Stock Entry". System will fetch items from the original stock entry with the source warehouse (Transit warehouse) same as traget warehouse from the original stock entry. User has to set the target warehouse and save.
