Letter Head
A Letter Head contains your organization's name, logo, address, etc which appears at the top portion in documents.
Every company has a default Letter Head. These Letter Head values are generally set as Header and Footer in the documents. In ERPNext, you can capture these details in the Letter Head master.
These details will appear in the Print Format of transactions like Sales Order, Sales Invoice, Salary Slip, Purchase Order, etc. In ERPNext, the Letter Head is only for setting up the top part of the document, other content is pre-formatted and can be configured via Print Format and Print Headings.
To access Letter Head, go to:
Home > Settings > Letter Head
1. How to create a Letter Head
- Go to the Letter Head list, click on New.
- Enter a name for the Letter Head. You can create a separate Letter Head for different office locations.
- Choose whether based on image or HTML.
You can enter details in a Letter Head by using:
- Logo Image: Click on the Attach button to attach an image. Once the image is inserted, HTML for it will be generated automatically.
- Other information (like Address, tax ID, etc.) that you want to put on your Letter Head.
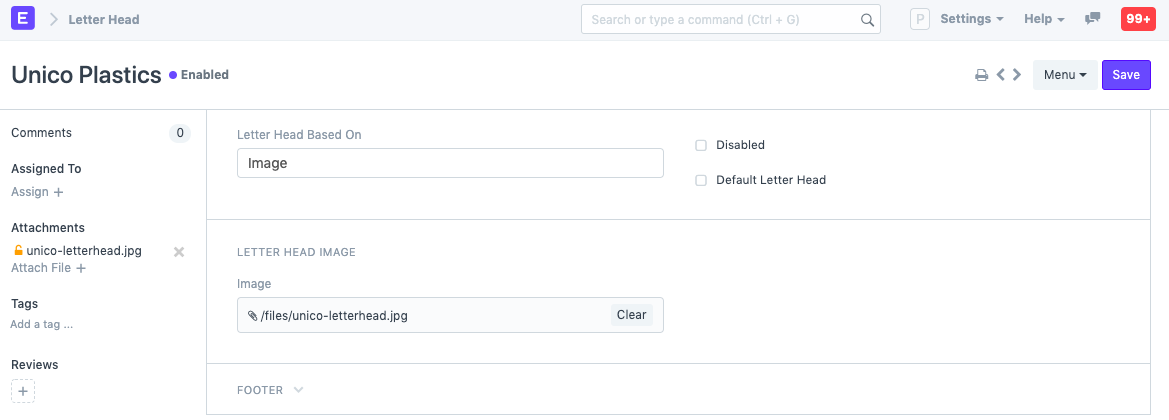
If you want to make this the default Letter Head, click on "Default Letter Head".
After entering values in the Header and Footer section, save the Letter Head.
You can set the Letter Head based on HTML to make changes to it:
This is how the Letter Head looks in a document's print.
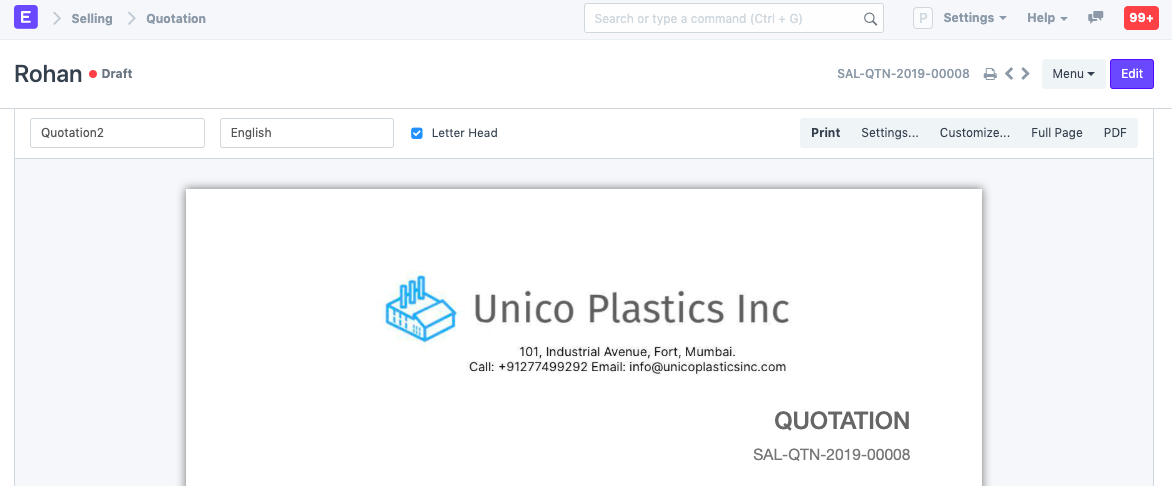
Note that Footer will be visible only when the document's print is seen in the PDF. Footer will not be visible in the HTML based print preview.