Timesheet
A Timesheet is the record of the number of hours spent by an employee on completion of each task.
The Timesheet can also be used to calculate the billable towards an employee, to calculate their salaries, or to track an employee's contribution towards a Project or a Task.
In ERPNext, a Timesheet can have an account of a particular employee working on multiple Tasks or Projects in a tabular format.

To access Timesheet, go to,
Home > Projects > Time Tracking > Timesheet
1. How to create a Timesheet
- Go to Timesheet list and Click on New.
- Enter the Company name and the Employee Code.
- Add the following details to the field 'Time Sheets'.
- Activity Type: Add the type of activity for which the Time Sheet has been created.
- From Time: Enter the date and time at which the work was started.
- Hrs: Enter the number of hours for which this Time Sheet has been created. One Timesheet can be used to track the work hours on multiple days as well.
- Project: If this Time Sheet needs to be tagged to a particular Project, you can add the name of the Project here.
- Bill: This box needs to be checked if this particular Time Sheet is a billable.
- Click on 'Add Row' to add more such Time Sheets.
- Save.
- After saving the Timesheet, according to the details entered in the different Time Sheets, the Start Date, End Date and the Total Working Hours will get updated automatically. Click Submit.
1.1. Alternatively, a Timesheet can also be created from a Task in the following way:
- Go to the Task for which you want to create a new Timesheet.
- Go to 'Timesheet' under the Activity section on the Dashboard. The plus icon '+' here would re-direct you to the Timesheet creation page.
Follow the steps to create a Time Sheet.

1.2. Timer in Timesheet
A Timer can be used to record the actual time taken by an employee to finish a particular activity in a Timesheet.
1.2.1. Steps to start a Timer:
- In a Timesheet On clicking Start Timer a dialog box pops up and you are required to enter the following details:
- Activity Type: The Activity for which you are recording the Time.
- Project: The Project for which you are creating the Timesheet.
- Task: The Task for which you are recording the time in the Timesheet.
- Expected Hrs: Enter the number of hours that you expect the Task to finish in.
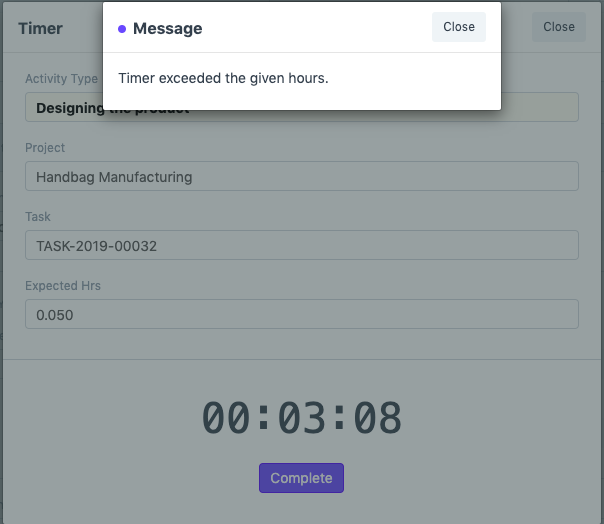
Once you have completed the Task, click on Complete. A new entry will be created in the Timesheet, and the time will get recorded as a Time Sheet in the Time Sheets Table in the Timesheet.
If the time exceeds the 'Expected Hrs', an alert box appears.
1.3. Additional Options while creating the Timesheet
The Time Sheet when expanded, allows you to enter the following details to it:
- Expected Hours: Enter the tentative time required to complete the Tasks on the Time Sheets.
- To Time: Enter the date and time at which the work was completed.
- Completed: This box needs to be checked if the Task has been completed while submitting the Timesheet.
- Task: If this Time Sheet needs to be tagged to a particular Task, you can do it here.
- Billing Hours: This number of hours for which the customer needs to be billed for this Timesheet.
- Billing Rate: The rate at which the customer needs to be billed for this work.
- Costing Rate: This is the actual cost of work done. It is fetched from the activity cost (per employee) or from activity type and can be edited.
- Billing Amount: The billing amount gets auto-calculated based on the billable number of hours and the billing Rate.
Costing Amount: The costing amount gets auto-calculated based on the number of hours and the costing rate.

2. Features
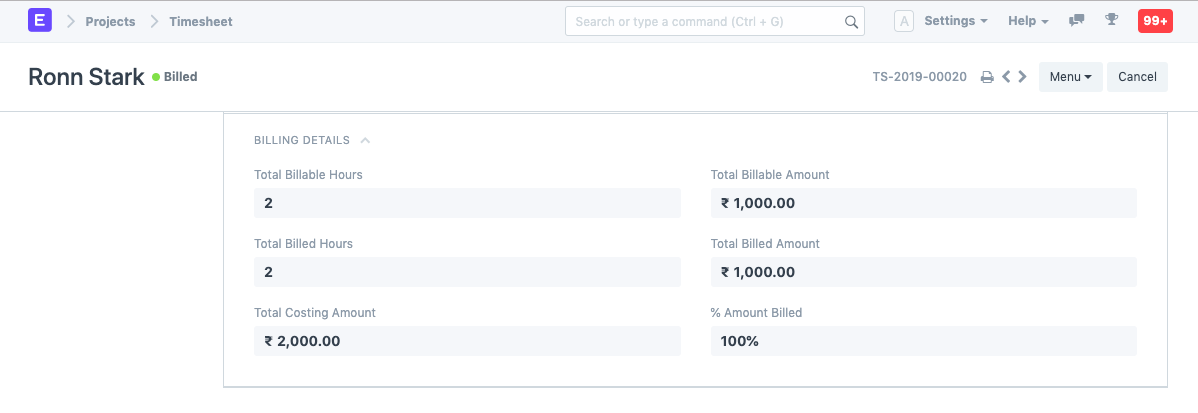
2.1 Billing Details
- Total Billable Hours: Based on the Timesheet, the Total Billable Hours will be auto-fetched here.
- Total Billable Amount: Based on the Timesheet, the Total Billable Amount will be auto-fetched here.
- Total Billed Hours: Once the Timesheet has been submitted, you will get an option to create a Sales Invoice from the Timesheet. The number of hours for which the Customer shall be billed will be fetched over here, and once the Sales Invoice is submitted, the Total Billed Hours will be fetched.
- Total Billed Amount: In a similar fashion as how the Total Billed Hours are fetched, the Total Billed Amount will also be fetched.
- Total Costing Amount: Based on the Timesheet, the Total Costing Amount, as specified by the Employee gets tagged here.
- % Amount Billed: Once the Timesheet is submitted, and a Sales Invoice is created from the Timesheet, the percentage of the Amount out of the Total Billable Amount which has been amounted for the Total Billed Amount gets calculated and is reflected here.
3. After Saving the Time Sheet
Once a Timesheet is saved and submitted, the details like Billing Rate and Costing rate get locked, and cannot be changed. The following DocTypes can be created after submitting a Timesheet.