Guardian
Guardian allows you to record the details of the Guardians of a Student.
Every student can have multiple guardians like Father, Mother, Brother, or Sister.
To access Guardian, go to:
Home > Education > Student > Guardian
1. Prerequisites
Before creating a Guardian, it is advised to create the following first:
- Student
- User
2. How to create a Guardian
- Click on New Guardian in the Guardian List.
- Add the name of the Guardian and click on Save.
2.1. Additional Options while creating a Guardian
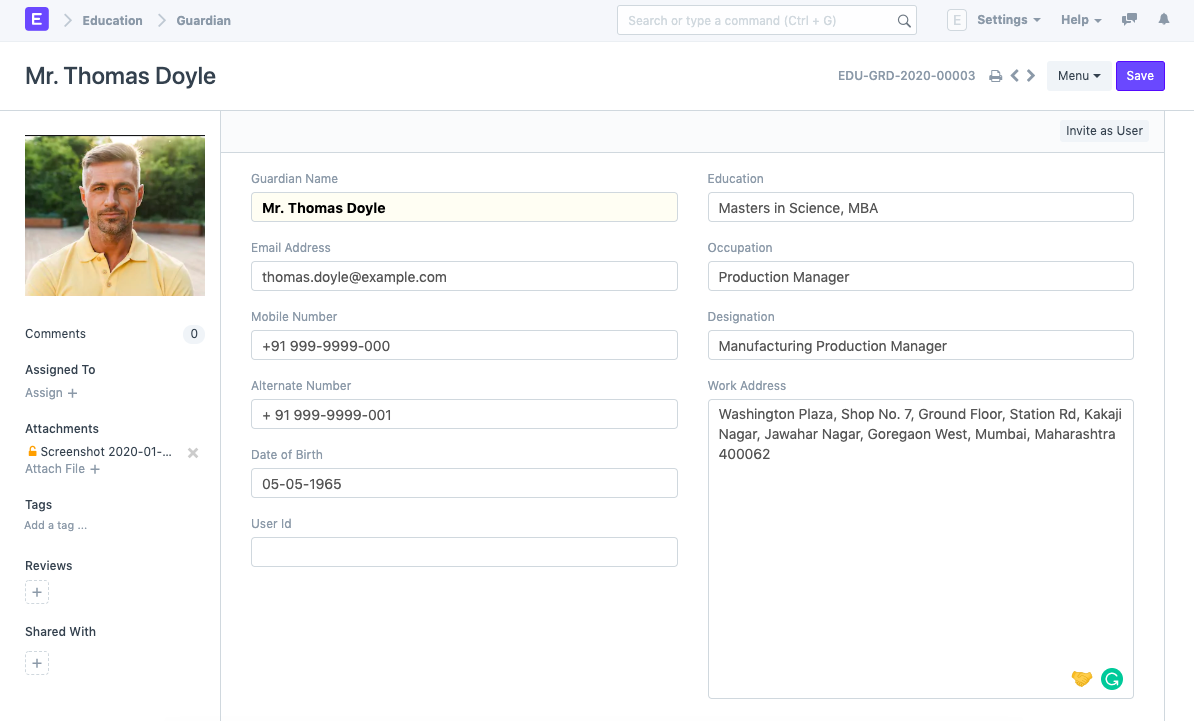
Apart from the mandatory details of the Guardian, you can also add the following details:
- Email Address: Enter the email address of the Guardian. The email address can be linked to an email group for sending Newsletters or Announcements.
- Mobile Number: The mobile number of the Guardian can be recorded here.
- Alternate Mobile Number: You can add the Alternate Mobile Number of the Guardian over here for emergency purposes.
- Date of Birth: The date of birth of the Guardian can be recorded here.
- User ID: If the Guardian is a User of the system, their User Id can be mentioned here.
- Education: The Academic and Educational details of the Guardian can be recorded here.
- Occupation: The occupation of the Guardian can be captured here.
- Designation: You can enter the designation of the Guardian here.
Work Address: The Work Address of the Guardian can be recorded here for emergency purposes.
3. Features
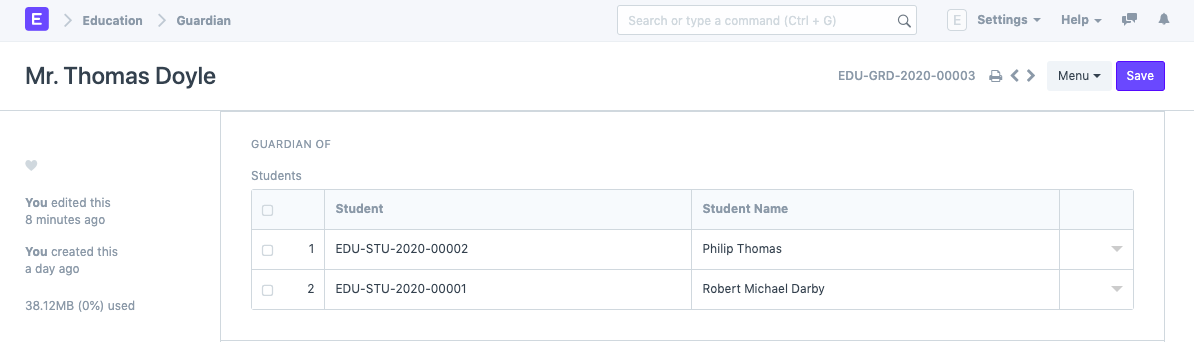
3.1. Guardian Of
While creating a Student, if you have selected a Particular Guardian for them, the name of that Student will automatically be fetched here. Multiple students can have the same person as their guardian. In that case, multiple entries will be made in this section. However, on the front end, one will not be able to add more students to this section.
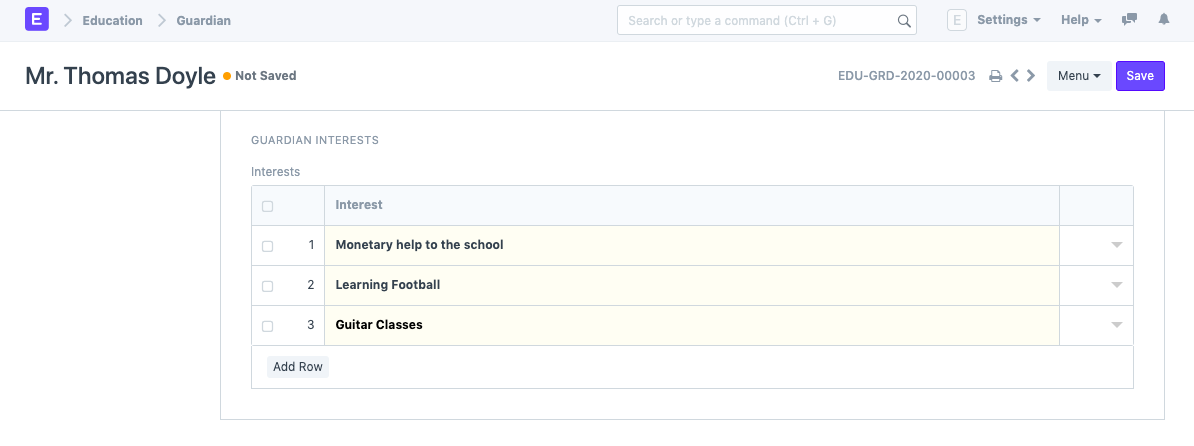
3.2. Guardian Interests
Interests could be a list of activities that the Guardian would be willing to do for the institute or would like their Dependent or Ward to do as a part of extra-curricular activities.
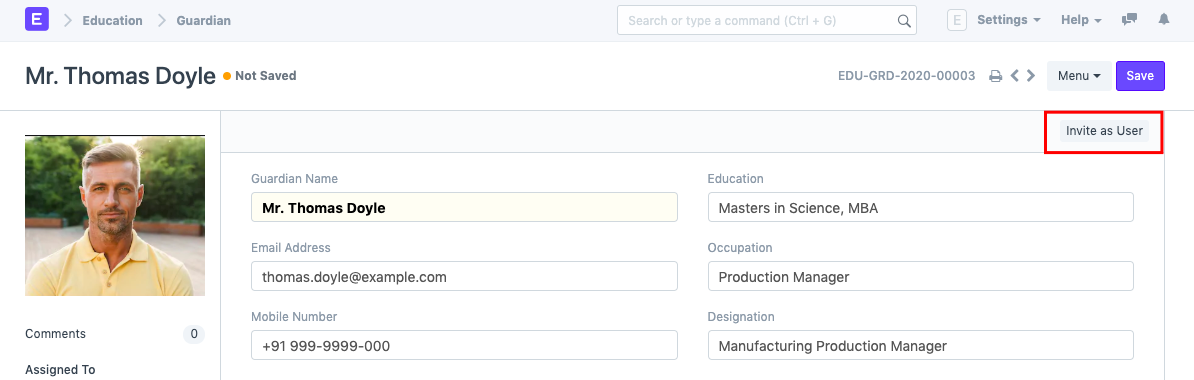
4. Making the Guardian A User
Once Guardian has been saved, you can find a button Invite As User on the top right corner of the form. This button would allow you to invite the guardian as a User of ERPNext by sending them an invitation email on the recorded email ID.