Fees
In this document we can maintain the Fee Records of the students.
At the time of submission of Fees by each student, a new Fees Record will be created wherein all the details of the student, Program they are enrolled in, Accounting information, etc. would be maintained.
Note: This is deprecated from Version 15.1, Old records will be maintained, but the user will not be able to search Fees DocType Neither Create One.
From 15.1.0 onwards Sales Invoice is created in place of Fees DocType
To access Fees, go to:
Home > Education > Fees > Fees
1. Prerequisites
Before you create Fees record, it is advisable that you create the following first:
2. How to Create Fees
- Go to the Fees list and click on New.
- The Institution will be selected by default, which is editable, if required.
- Select and add the Student for whom the Fees record is being made. The name of the student will be fetched simultaneously.
- Add the Due Date of the payment of the Fees.
- Save.
2.1. Additional Options while Creating Fees
- The Date and Posting Time will be added by default as per the time and date on which the record is being made. However, if required, the same can be manually entered by checking the box Edit Posting Date and Time.
- The Student can be notified of their Fee Payment Due Date by checking on the box Send Payment Request.
3. Features
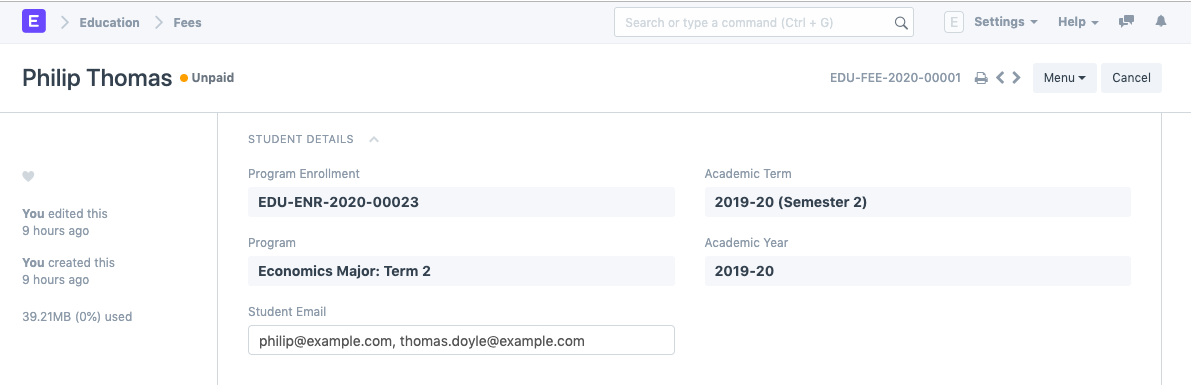
3.1. Student Details
Add all the relevant details of the student which includes Program Enrollment, Program, Academic Term and Academic Year. The Student Email ID gets fetched from the Student details given earlier.
3.2. Fee Structure
You can select a Fee Structure for the given Fees Record. The moment you do so, all the Fee Components will be auto-populated from the Fee Structure.

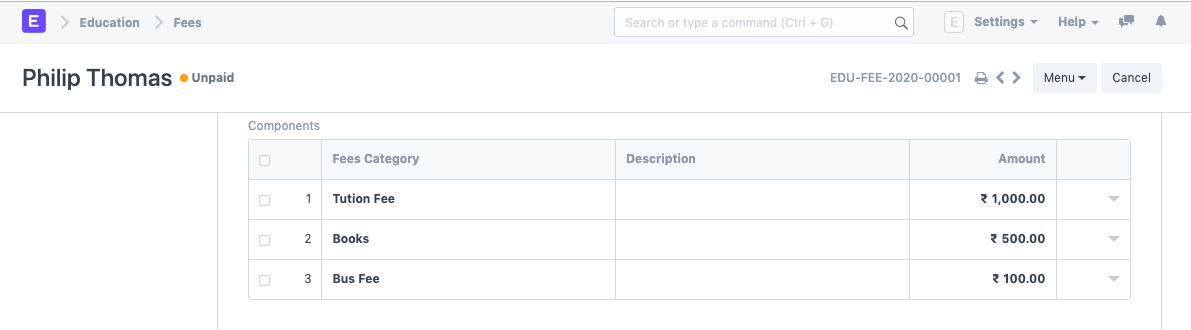
3.3. Fee Components
You can also add the Fee Components by selecting and adding the Fee Category, Description and Fee Amount.
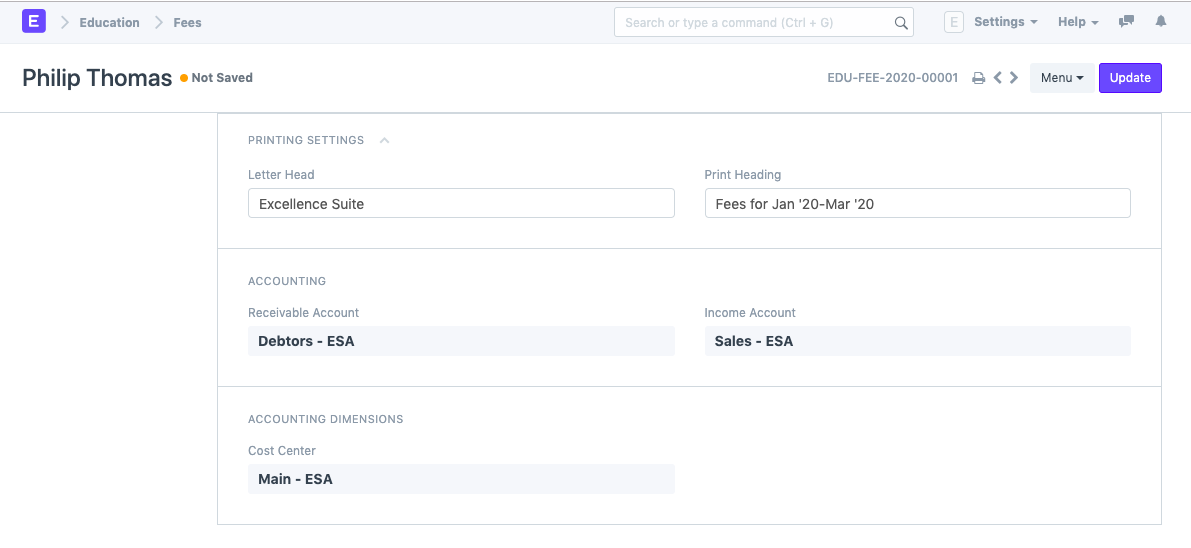
3.4. Printing Settings
- Select and add the Letter Head to be used for printing the Fee Receipt.
- Select and add the Print Heading for the Fee Receipt.
3.5. Accounts
Working with ERPNext allows you to update your account entries with extreme ease. Whenever a student submits their fees and it gets recorded in the system, your Accounts will get updated simultaneously.
To facilitate that smoothly, you can add your Accounts details in the fee structure.
- Receivable Account: Enter the name of the Receivable Account for your Institution.
- Income Account: Select and add the Income Account for your Institution.
- Company: Select and add the Company under which all the payments are made. If there are multiple institutions in your ERPNext account, or if the Accounts are handled by a Sister Company.
3.6. Accounting Dimensions
- Cost Center: Select and add the name of the Cost Center of your Institute for Accounting Dimensions.
Payment
Directly make a payment from fee, select Mode of Payment in payment entry and submit the payment.

v15.1.0
Version 15.1.0 onwards, Sales Invoice will be created against a student and a Fee Schedule.
All the Fee Categories will be shown in the "Sales Invoice Item" Table.
P.S: When a new Fee Category is created, an Item is also created against it.
v15.3.0
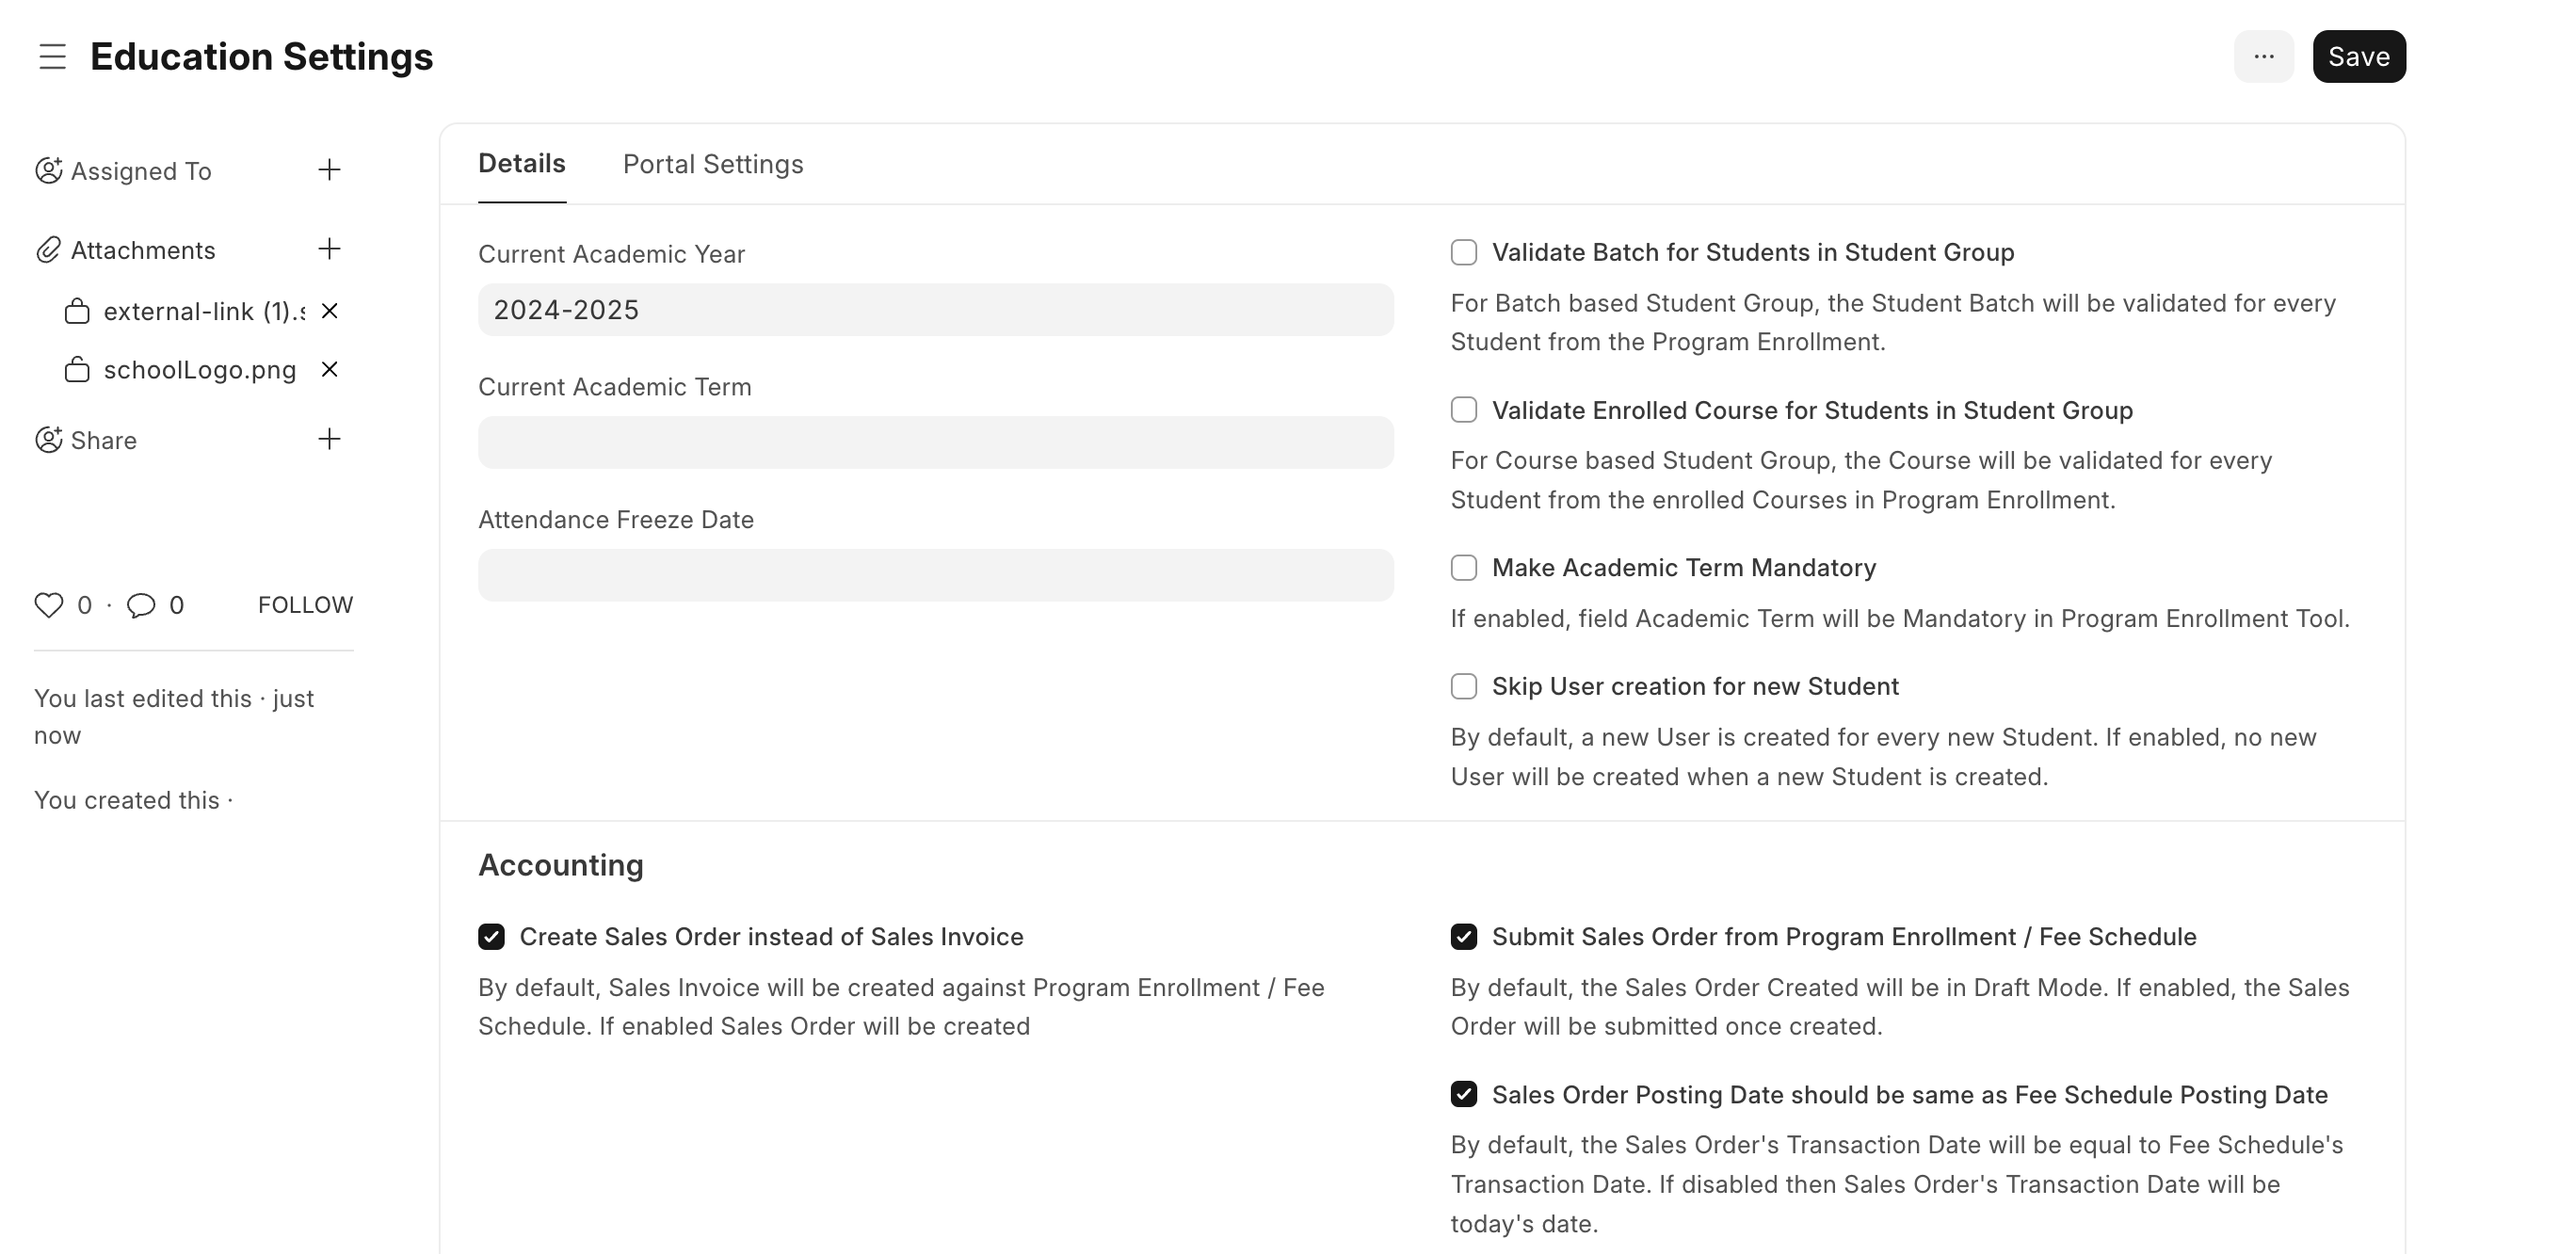
User will have an option to create Sales Order instead of Sales Invoice.
To enable Sales Order functionality.
Open Education Settings > Create Sales Order instead of Sales Invoice.