Email Campaign
An Email Campaign is a coordinated set of emails sent to leads or contacts according to a particular schedule.
Email Campaigns are still one of the most effective ways to reach your Customers, Contacts or Leads and keep them engaged. For example, you could set up Email Campaigns for introducing your product to the customers, with every email revealing an interesting feature of your product.
To create an Email Campaign, go to:
Home > CRM > Campaign > Email Campaign
1. Prerequisites
Before creating and using Email Campaign, these need to be created first:
- Campaign
- Lead or Contact or Email Group
2. How to Create an Email Campaign
- Go to the Email Campaign list, click on New.
- Select the Campaign for which you want to set up an Email Campaign.
- Set the 'Start Date' for the Email Campaign.
- In 'Email Campaign For', select whether you want to set up Email Campaign for a Lead or a Contact or for an Email Group to send to multiple email contacts.
- In 'Recipient', select the respective Lead or Contact or Email Group for whom you want to start the Email Campaign.
- In 'Sender', select the user of the system who should be the sender of the emails.
Save
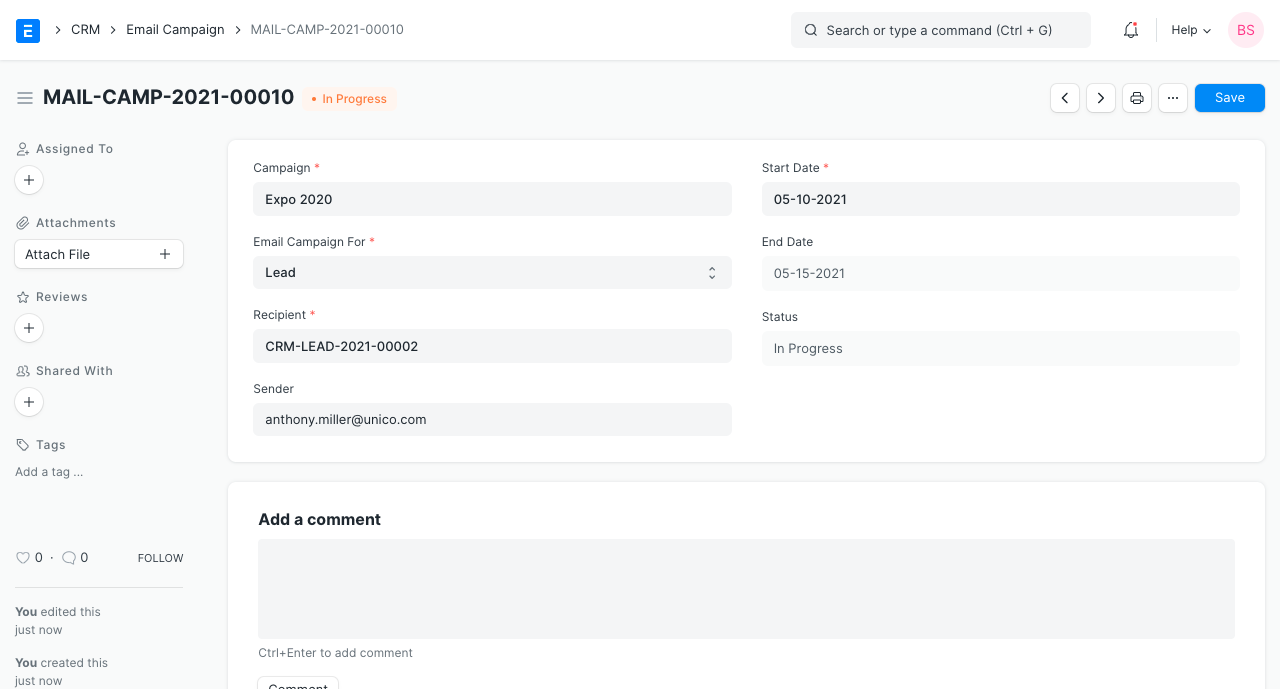
The above Email Campaign is for the following Campaign:
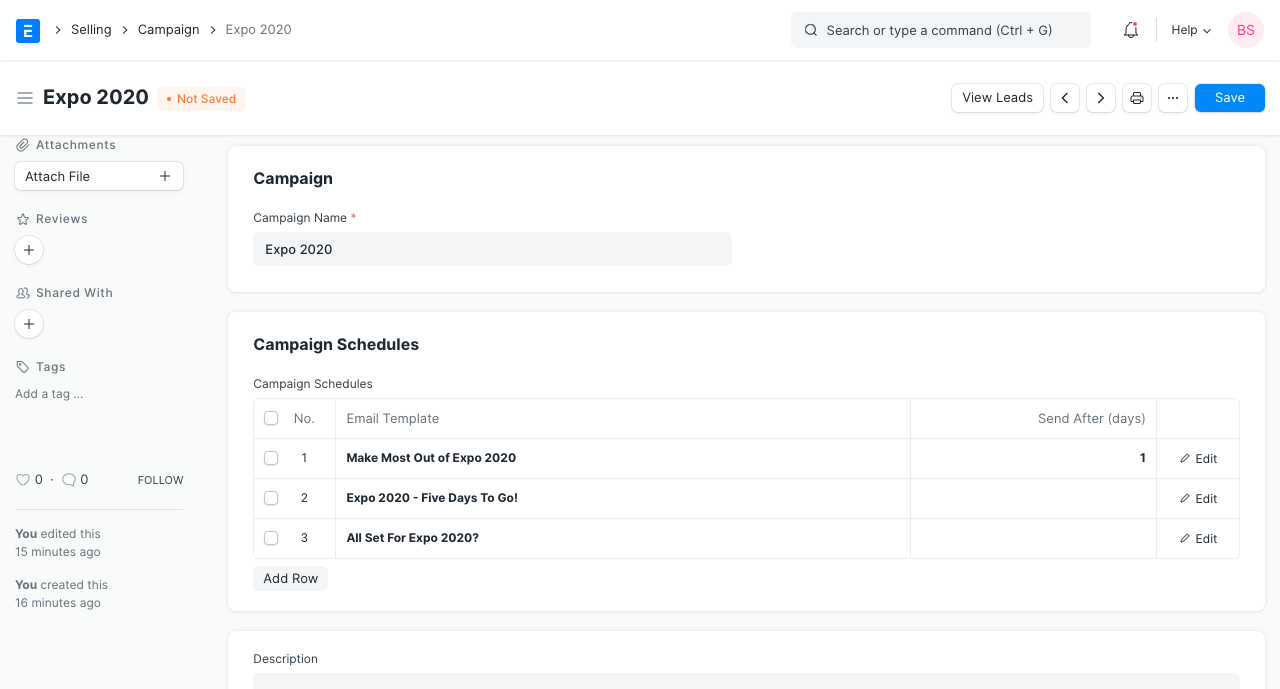
Note: The Send After (days) field in Campaign specifies the day on which email is to be sent relative to the Start Date of Email Campaign. Notice the 'End Date' in the above Email Campaign. It is '26-07-2019', which is 4 days after the 'Start Date', '22-07-2029', as the Campaign Schedule ends on day 4.
2.1 Create multiple Email Campaigns for a Campaign
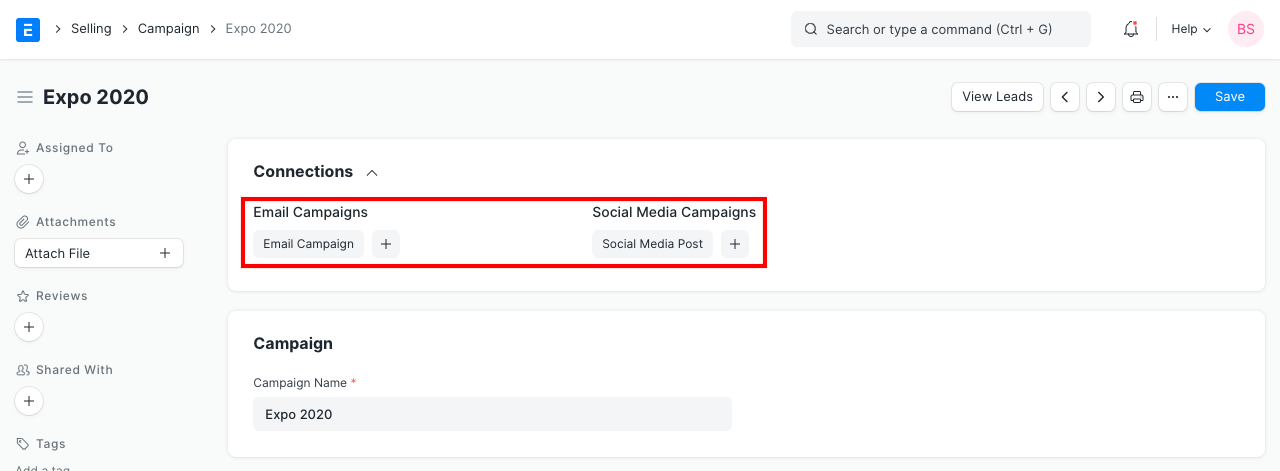
You can also create new Email Campaigns for different Leads or Contacts for the same Campaign though the Campaign Dashboard.
- Go to the Campaign for which you want to create Email Campaigns.
Click on + in front of Email Campaigns to create a new Email Campaign for the Campaign.
3. Features
3.1 Linked Communication
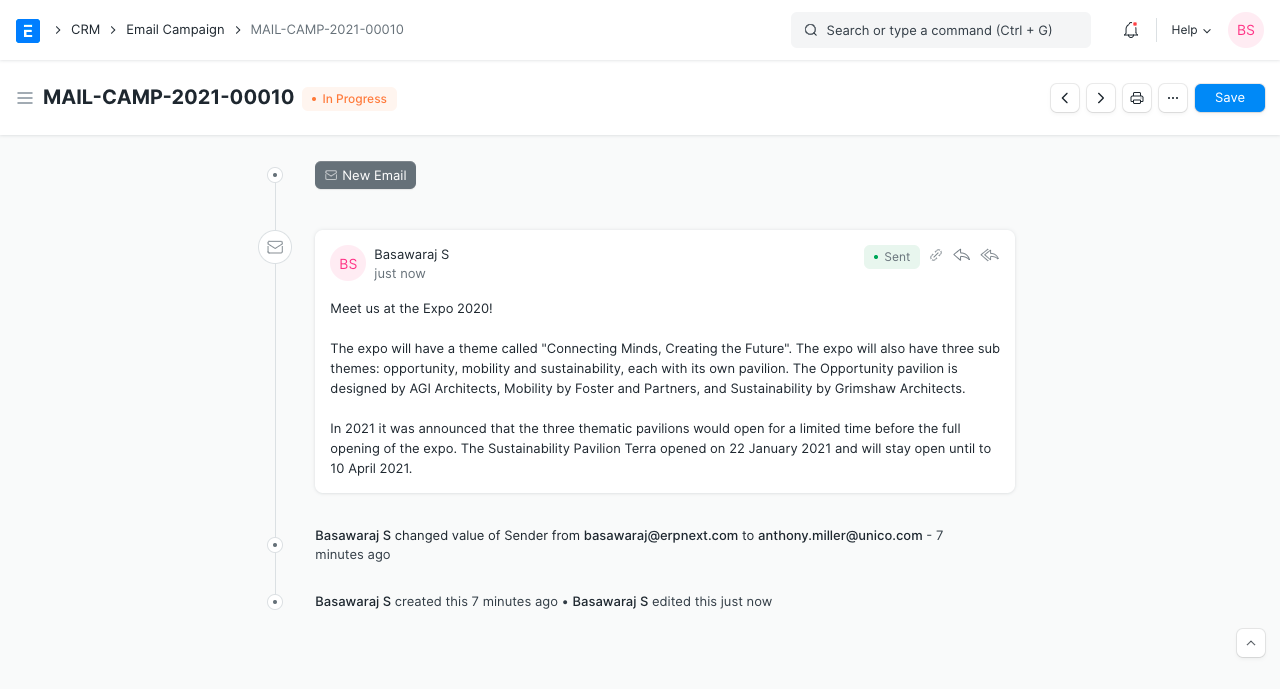
When emails are sent to the respective leads or contacts, Communication is linked to the Email Campaign document. You can view all the emails sent in your document.
3.2 Unsubscribe from Email Campaign
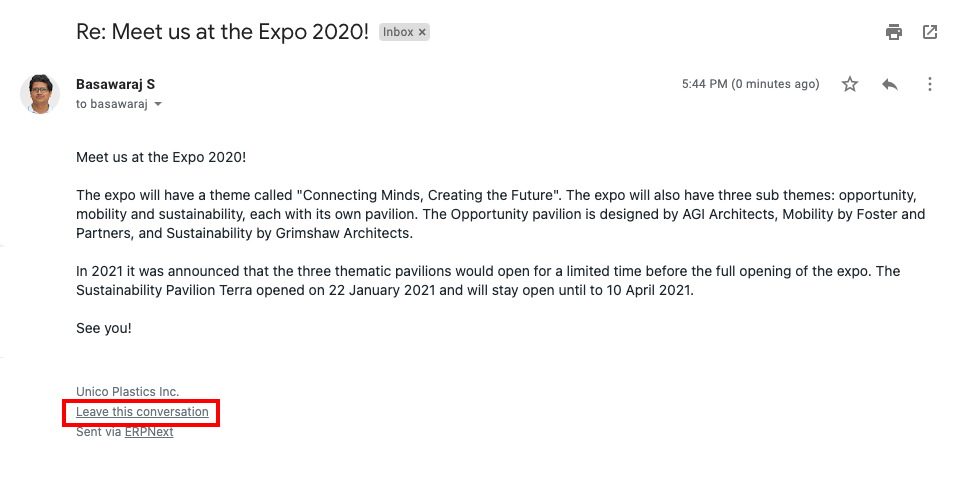
If a lead or contact does not want to continue getting emails regarding the campaign, he or she can unsubscribe from the Email Campaign via the unsubscribe link sent with the email.
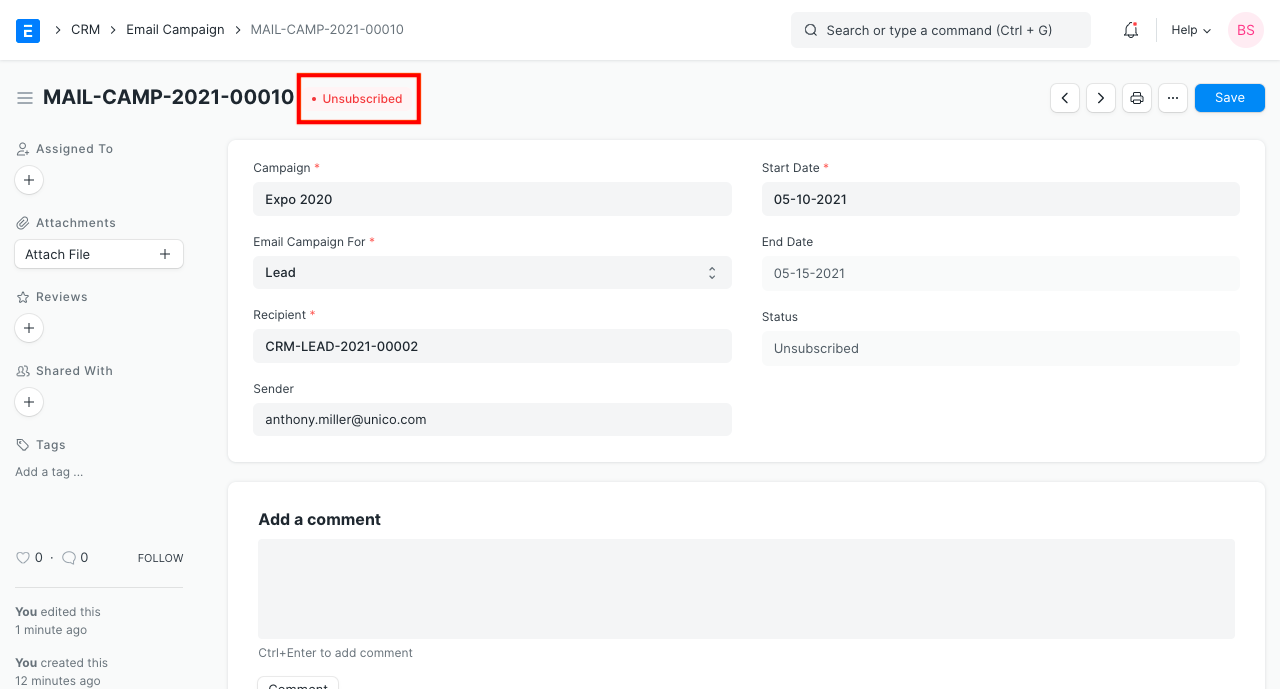
When the lead or contact unsubscribes, the status of the Email Campaign document changes to 'Unsubscribed'.
3.3 Use Lead or Contact fields in Email Template
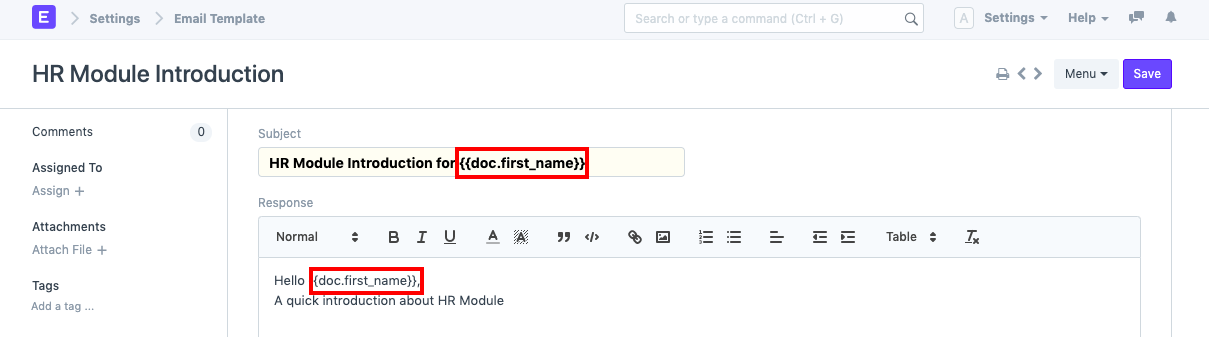
The Email Template has the context of the document you have specified in the 'Email Campaign For' field. If you want to display the fields from your Lead or Contact document in your Email Template you will have to use doc.fieldname for the same.
For example, if 'Email Campaign For' is 'Contact', you can mention the 'first name' of your Contact as doc.first_name in the Email Template as shown below:

Then the emails sent would look like this:

3.4 Status indication
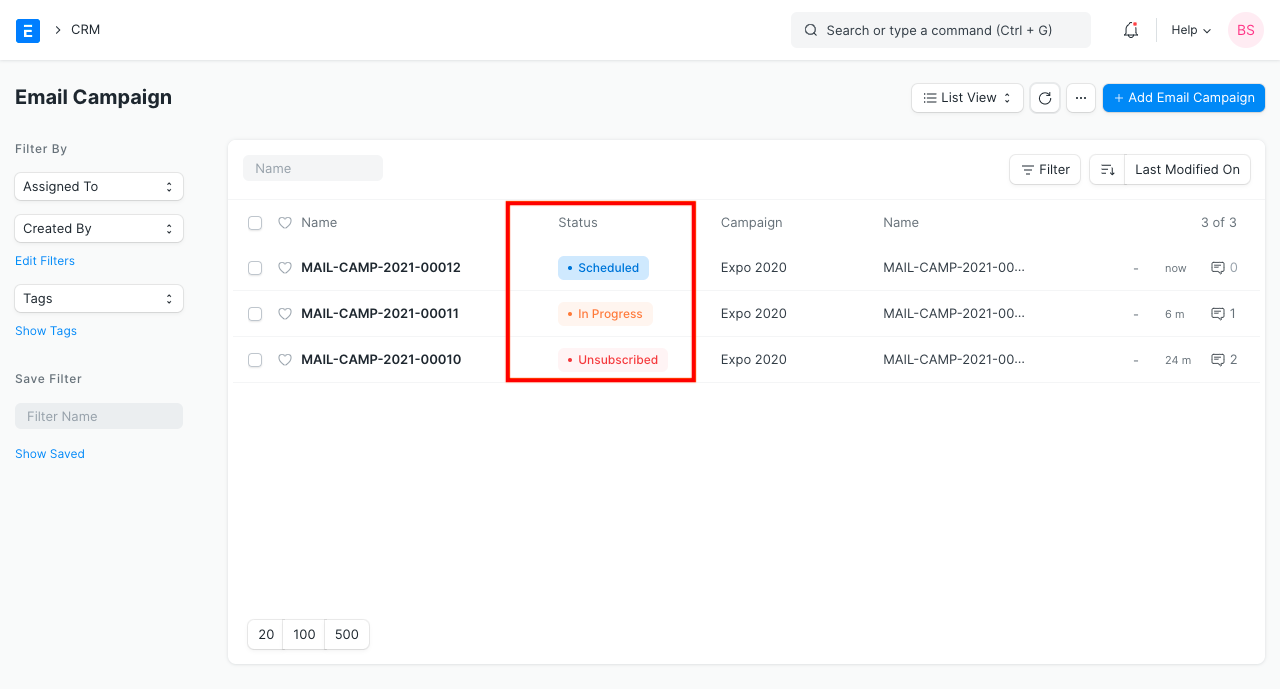
Status indicates the state of the Email Campaign, the various Statuses are:
- Scheduled: When the Email Campaign has not yet started but scheduled on a future 'Start Date'.
- In Progress: The campaign would be marked as 'In Progress' between 'Start Date' and 'End Date' of the campaign.
- Completed: After the 'End Date' of the campaign, the status will be changed to 'Completed'.
- Unsubscribed: When the Lead or Contact unsubscribes from the Campaign.
4. Related Topics
Next: Newsletter