Advance Payment Entry
Payment done by the Customer/Supplier before the invoice is sent is an Advance Payment.
Generally, advance payment is done in the case of high value deals. Consider a Customer- Jane D'souza placing an order for a luxury furniture item costing ₹24,000 She is asked to give some advance before the furniture house begins work on her order. She gives them ₹10,000 in cash.
In ERPNext, advance payment entry is created using Payment Entry. If there exist a Sales Order, you can directly create a Payment Entry for the advance amount. Or else, you can also create a standalone Payment Entry for the Customer. Same way, you can also create advance Payment Entry for Supplier, via Purchase Order.
Note: If payment is not linked to an invoice, it is considered as an advance payment. The advance payments are reflected in the Accounts Receivable and Payable reports.
1. Prerequisites
To create an advance payment entry, these need to be created first:
- Party (Customer/ Supplier)
- Payment Account (Bank or Cash account)
2. How to create Advance Payment Entry
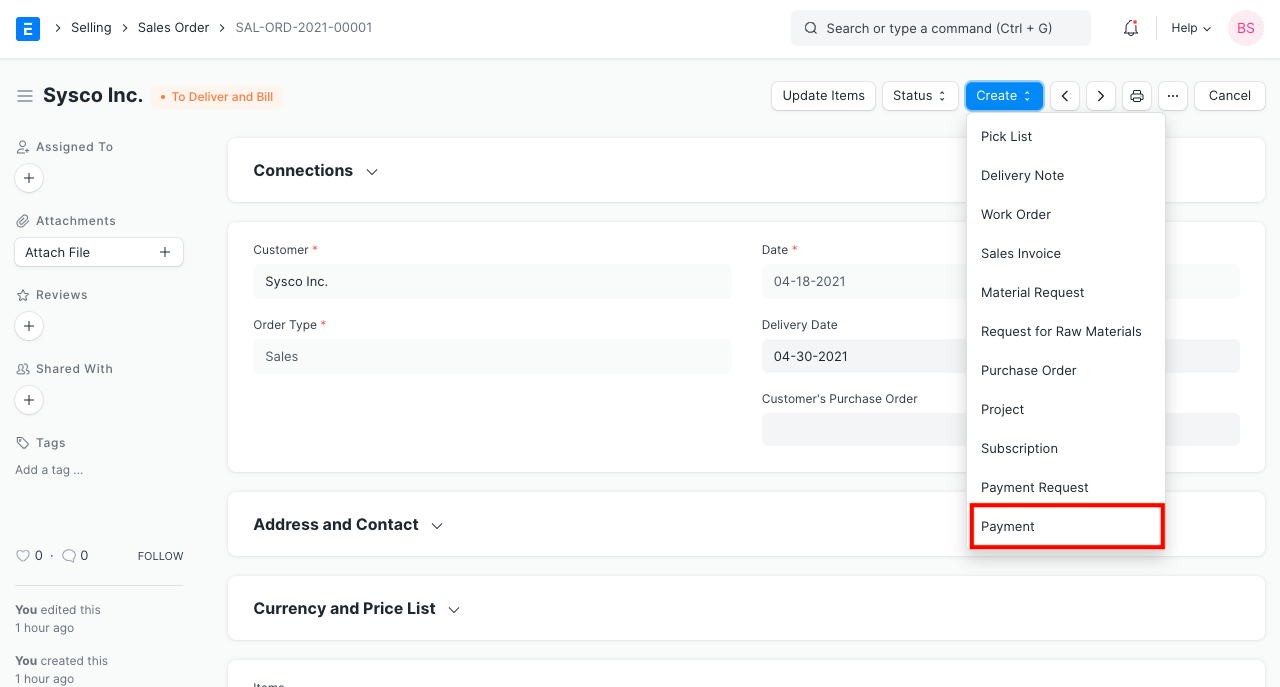
Once a Sales Order or Purchase Order is submitted, you will find an option to create a Payment against it. You can also create new Payment Entry and manually select values (like Party and payment account). Here are the steps to create Advance Payment against Sales Order.
- Go to Sales Order and click on Make > Payment Entry.
- Set/check the accounts.
- Save and Submit.
Any Payment Entry that is not linked to an invoice is considered as advance payment by the ERPNext system.
If the Customer has given $5,000 as cash advance, it will be recorded as a credit entry against the Customer's Receivable account. To balance it [as per the Double accounting system], $5000 is debited against the Company's cash account.
2.2 Allocating Advance Payment in Invoice
When creating an invoice, you can check if there is an Advance Payment against that Party.
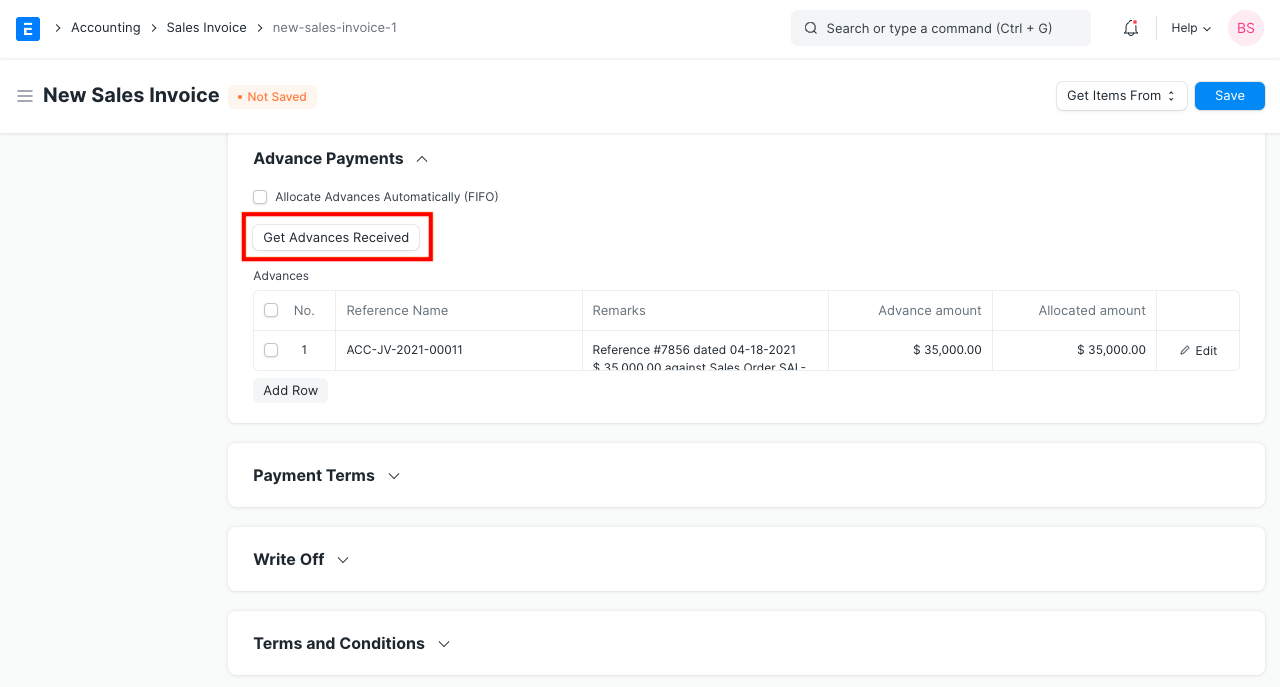
On clicking Get Advance Received button, it will fetch the Advance Payment Entries found for that party. Once Advance Payment Entries are fetched, you can allocate the Amount of advance against this invoice. The allocation will reduce the Outstanding Amount for that invoice right-away.
Save and submit the Sales Invoice.