Employee Advance
Sometimes employees go outside for company's work and company pays some amount for their expenses in advance. This is when the employee can create an Employee Advance form where details such as the Purpose of Expense and Expense Amount can be recorded.
Once the Employee Advance is created by the Employee, the Expense Approver can submit the advance record after verification. After Employee Advance gets submitted, the accountant releases the payment and makes the Payment Entry.
To access Employee Advance, go to:
> Human Resources > Expense Claims > Employee Advance
1. Prerequisites
2. How to create an Employee Advance
Go to: Employee Advance > New.
Select Employee to whom you need to give the advance.
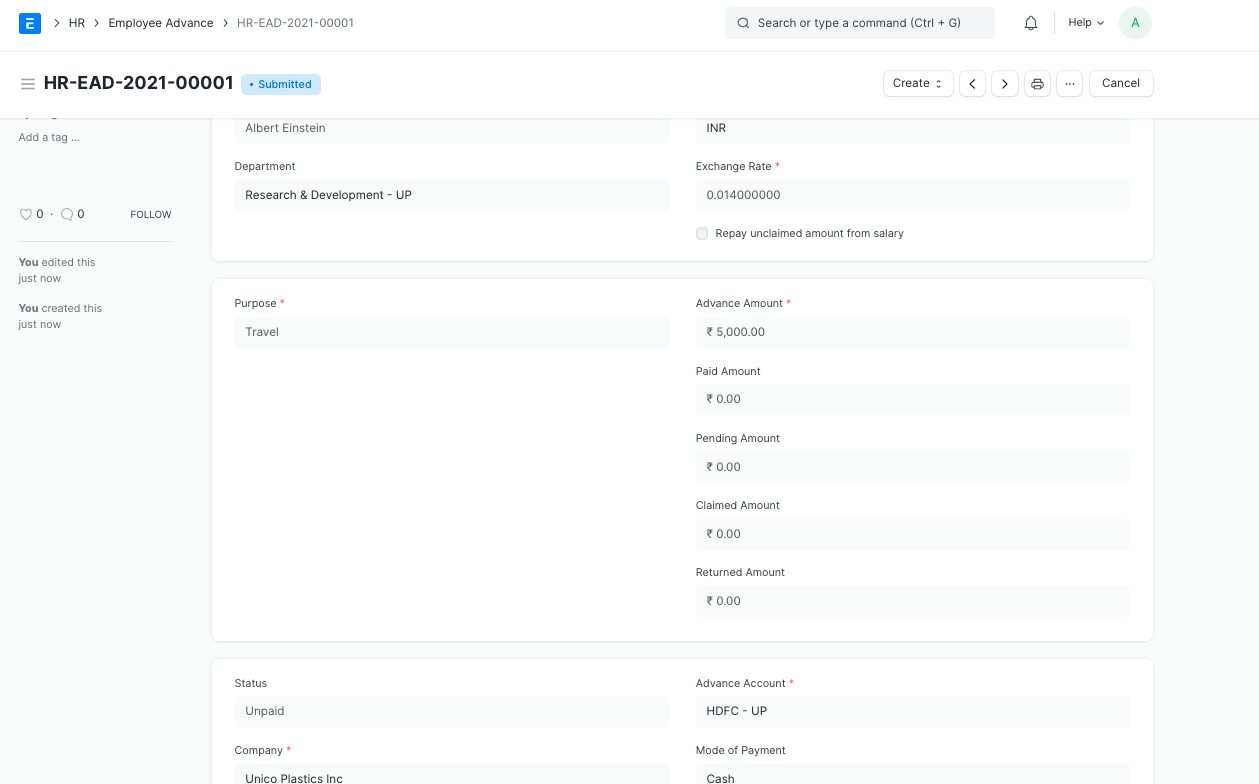
Enter the Purpose and Advance Amount.
Under the Accounting section, select Mode of Payment. Advance Account will be fetched from the Default Employee Advance Account of your Company.
Save.

> Note: The Employee can only Save the Employee Advance but cannot Submit it. It can be only submitted by the Expense Approver.
2.1 Statuses
These are the statuses that are automatically set for Employee Advance.
Draft: A draft is saved but yet to be submitted.
Paid: Advance has been Paid to the employee and a Payment Entry has been submitted.
Unpaid: Advance is not paid out to the employee yet. A Payment Entry is not created against the advance.
Claimed: After the advance is paid, the employee has claimed the entire Paid Amount via Expense Claim.
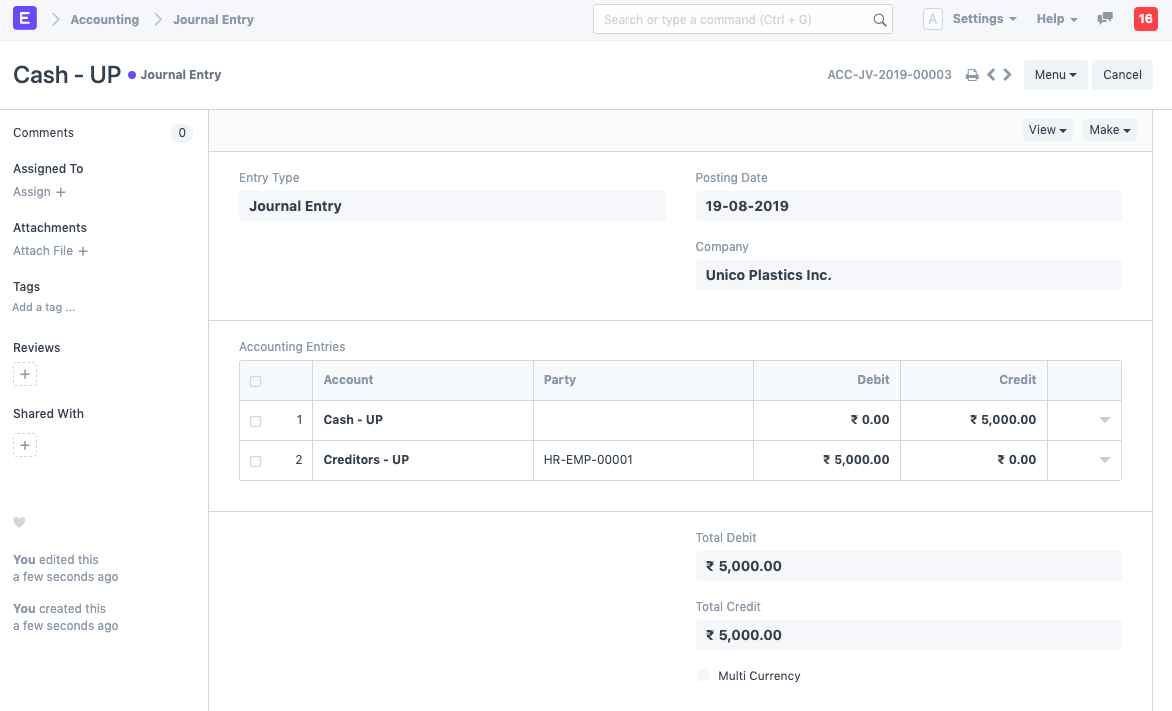
Returned: After the advance is paid, the employee has returned the entire Paid Amount and a return entry is submitted via Payment Entry/Journal Entry.
Partly Claimed and Returned: After the advance is paid, the employee has partially claimed the Paid Amount via Expense Claim and returned the remaining amount via a submitted Payment Entry/Journal Entry.
Cancelled: The Advance is cancelled due to any reason.
3. Features
3.1 Employee Advance Submission
Employee Advance record can be created by any Employee but they cannot submit the record.
After saving Employee Advance, Employee should Assign document to Approver. On assignment, approving user will also receive email notification. To automate email notification, you can also setup Email Alert.
After verification, the Expense Approver can Submit (Accept) the Employee Advance form or Reject the request.
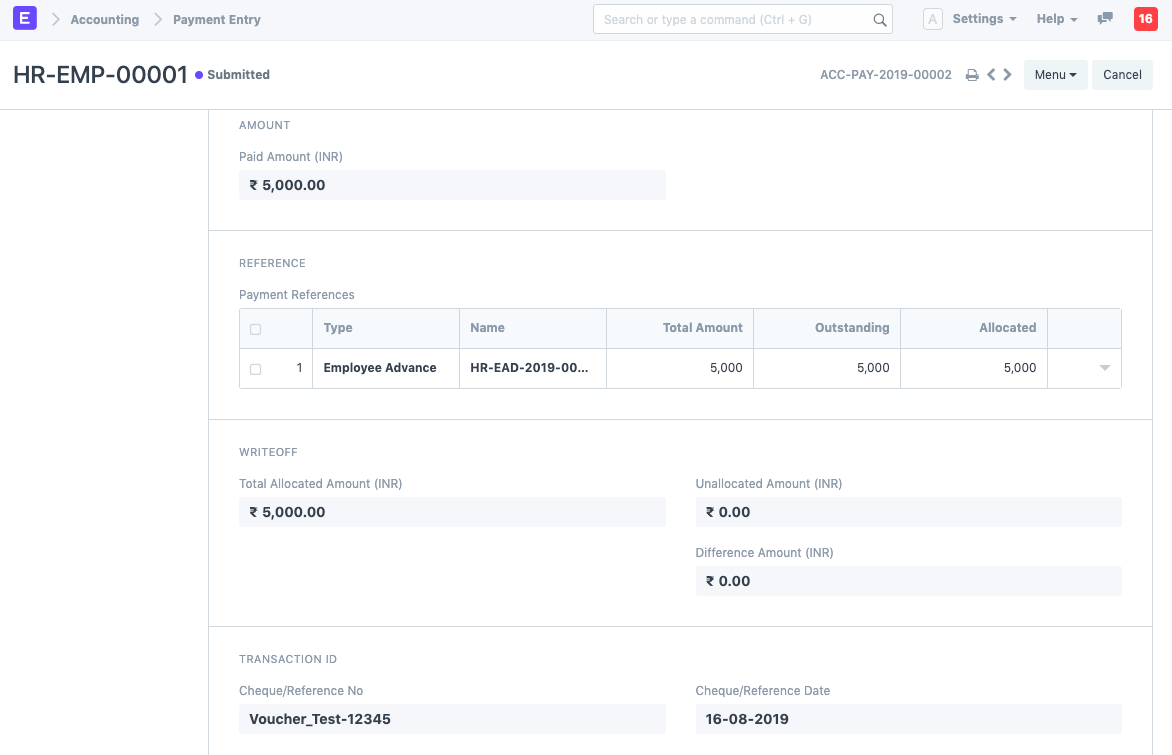
3.2 Make Payment Entry
Employee Advance via Payment Entry
After submission of Employee Advance record, accounts user will be able to create a Payment Entry using the 'Create' button.
The Payment Entry will look like following:

Employee Advance Payment via Journal Entry
Alternatively, a Journal Entry can also be created against the Employee Advance.
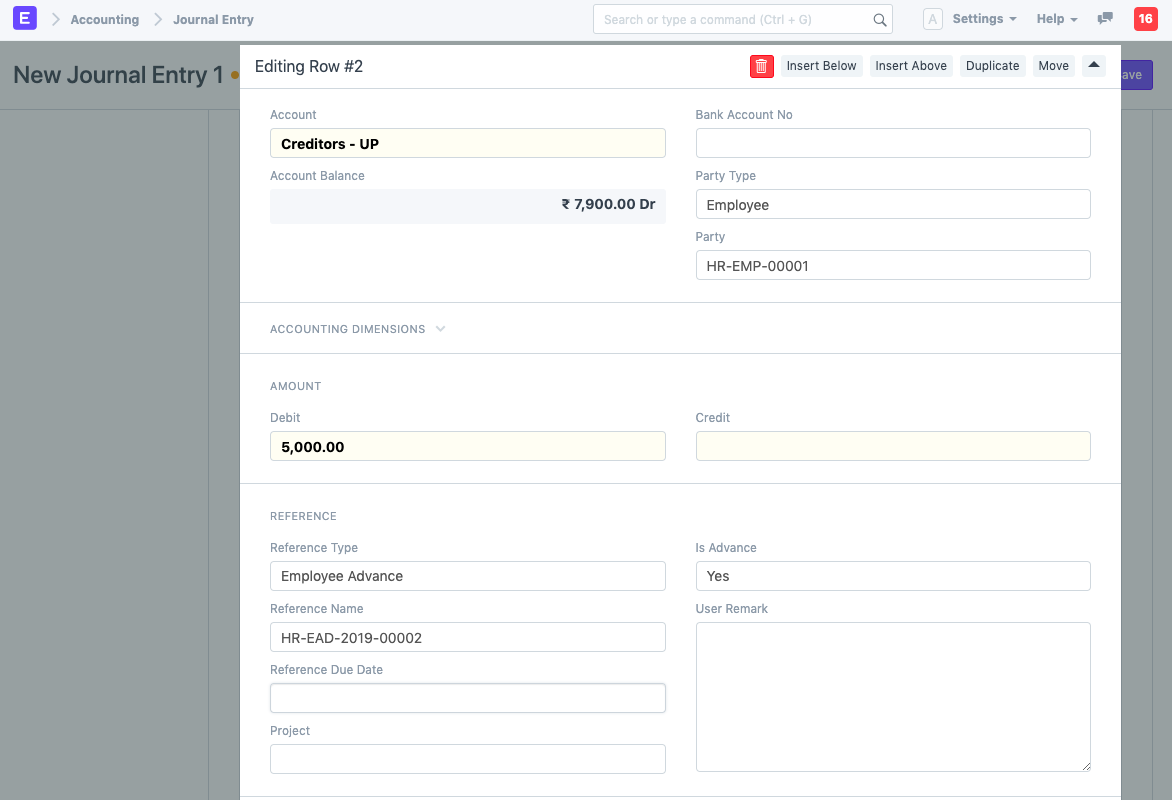
> Note: Make sure the Party Type is selected as Employee and the Reference Type is selected as Employee Advance.
Employee Advance is Paid
On submission of the Payment Entry/Journal Entry, the paid amount and status will be updated in Employee Advance record.
3.3 Adjust Advances on Expense Claim
Later when the employee claims the expense, an advance record can be fetched in the Expense Claim and linked to the claim record.
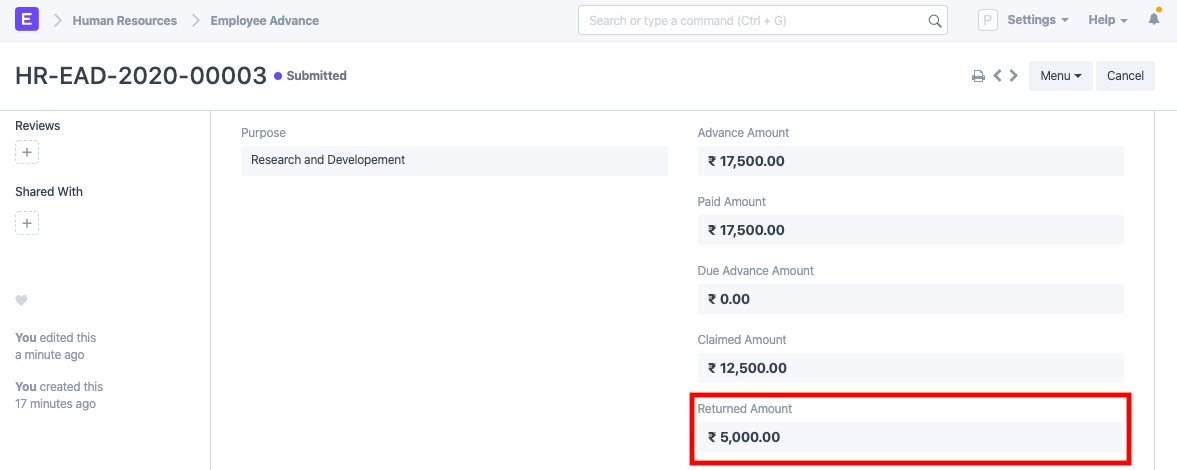
3.4 Return Amount
When advance is paid to an Employee, there are three situations:
The amount may be unused
All of it may be used
Some part may be used
Create the Employee Advance, create a payment entry to indicate that the amount is paid.
If amount is unused, click on the Return button to return the paid Advance amount
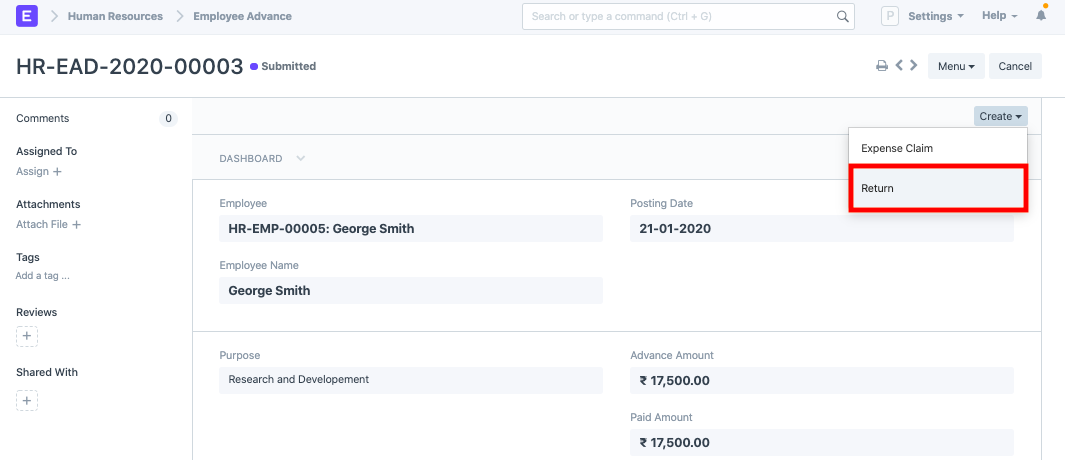
If all of the advance is used, it will reflect in the Claimed Amount field
If only some amount is claimed and rest is returned, the returned amount will be shown in the 'Returned Amount' field.