Website Settings
Website related settings like landing page and website wide theme can be configured here.
To access Website Settings, go to:
Home > Website > Setup > Website Settings
1. Landing Page
Configure the default landing page of your website by setting the Home Page
field to the route of that page. You can put any route here including standard
routes like home, about, contact, login, all-products, and blog.
You can also set a Web Page as the landing page.
If you want to use the ERPNext Homepage,
you must set it as home.
 Website Settings - Landing Page
You can also set the Title Prefix here. It will be appended to the browser title on every page. You can put your company name here.
2. Website Theme
Create a personalized theme for your Website and set it here. Learn more about configuring Website Theme here.
3. Brand
3.1 Brand Logo
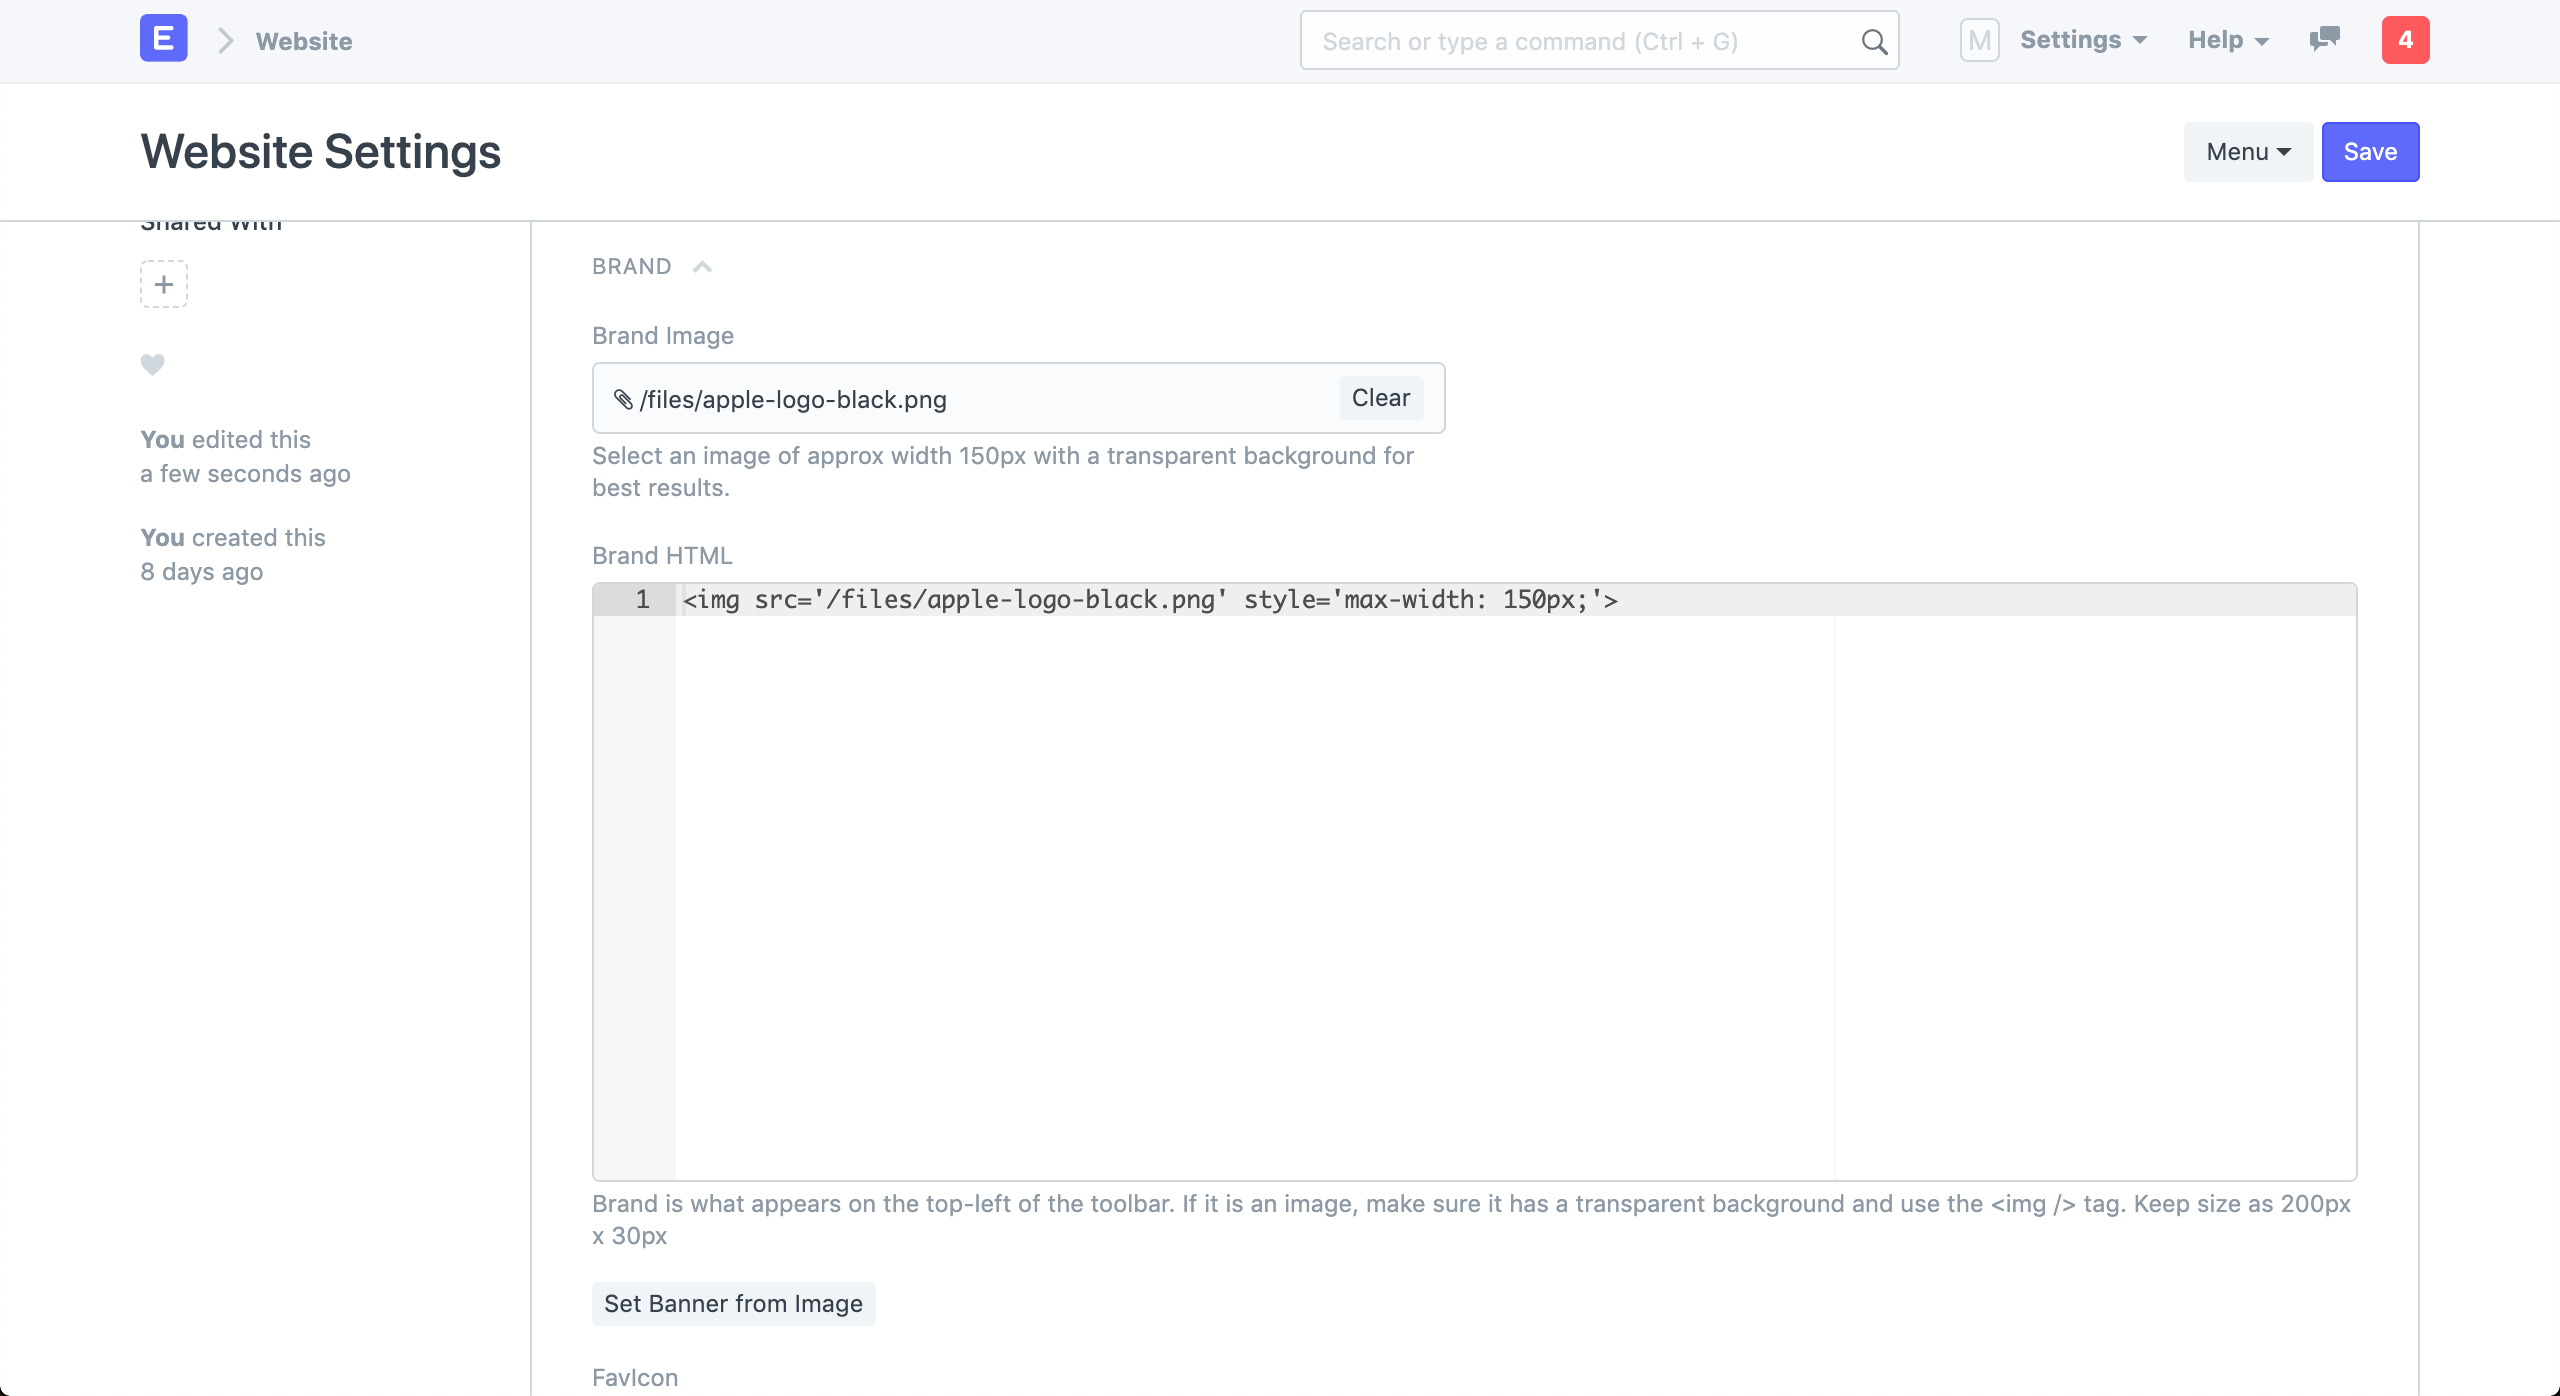
You can set the brand logo for your website in this section. Upload the Brand Image first and then click on "Set Banner from Image" button. It will generate a Banner HTML with your uploaded logo.
 Website Settings - Banner Image
3.2 Favicon
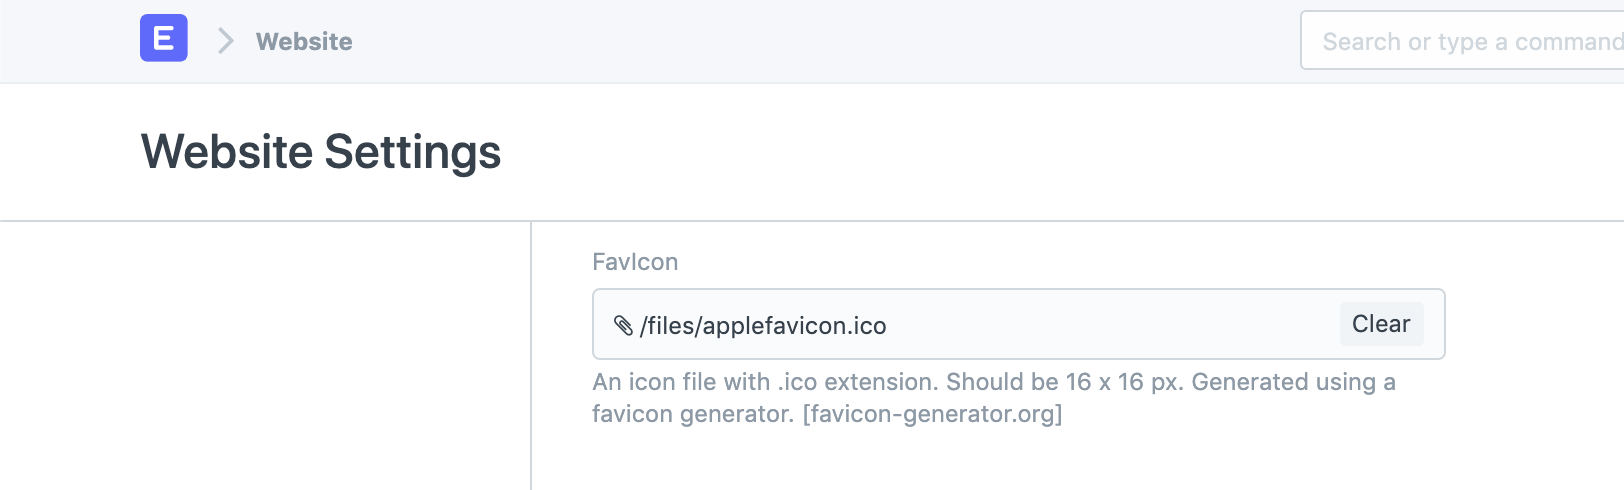
You can also set the favicon of your website in this section. It appears on the left side of the browser tab.
 Website Settings - Favicon
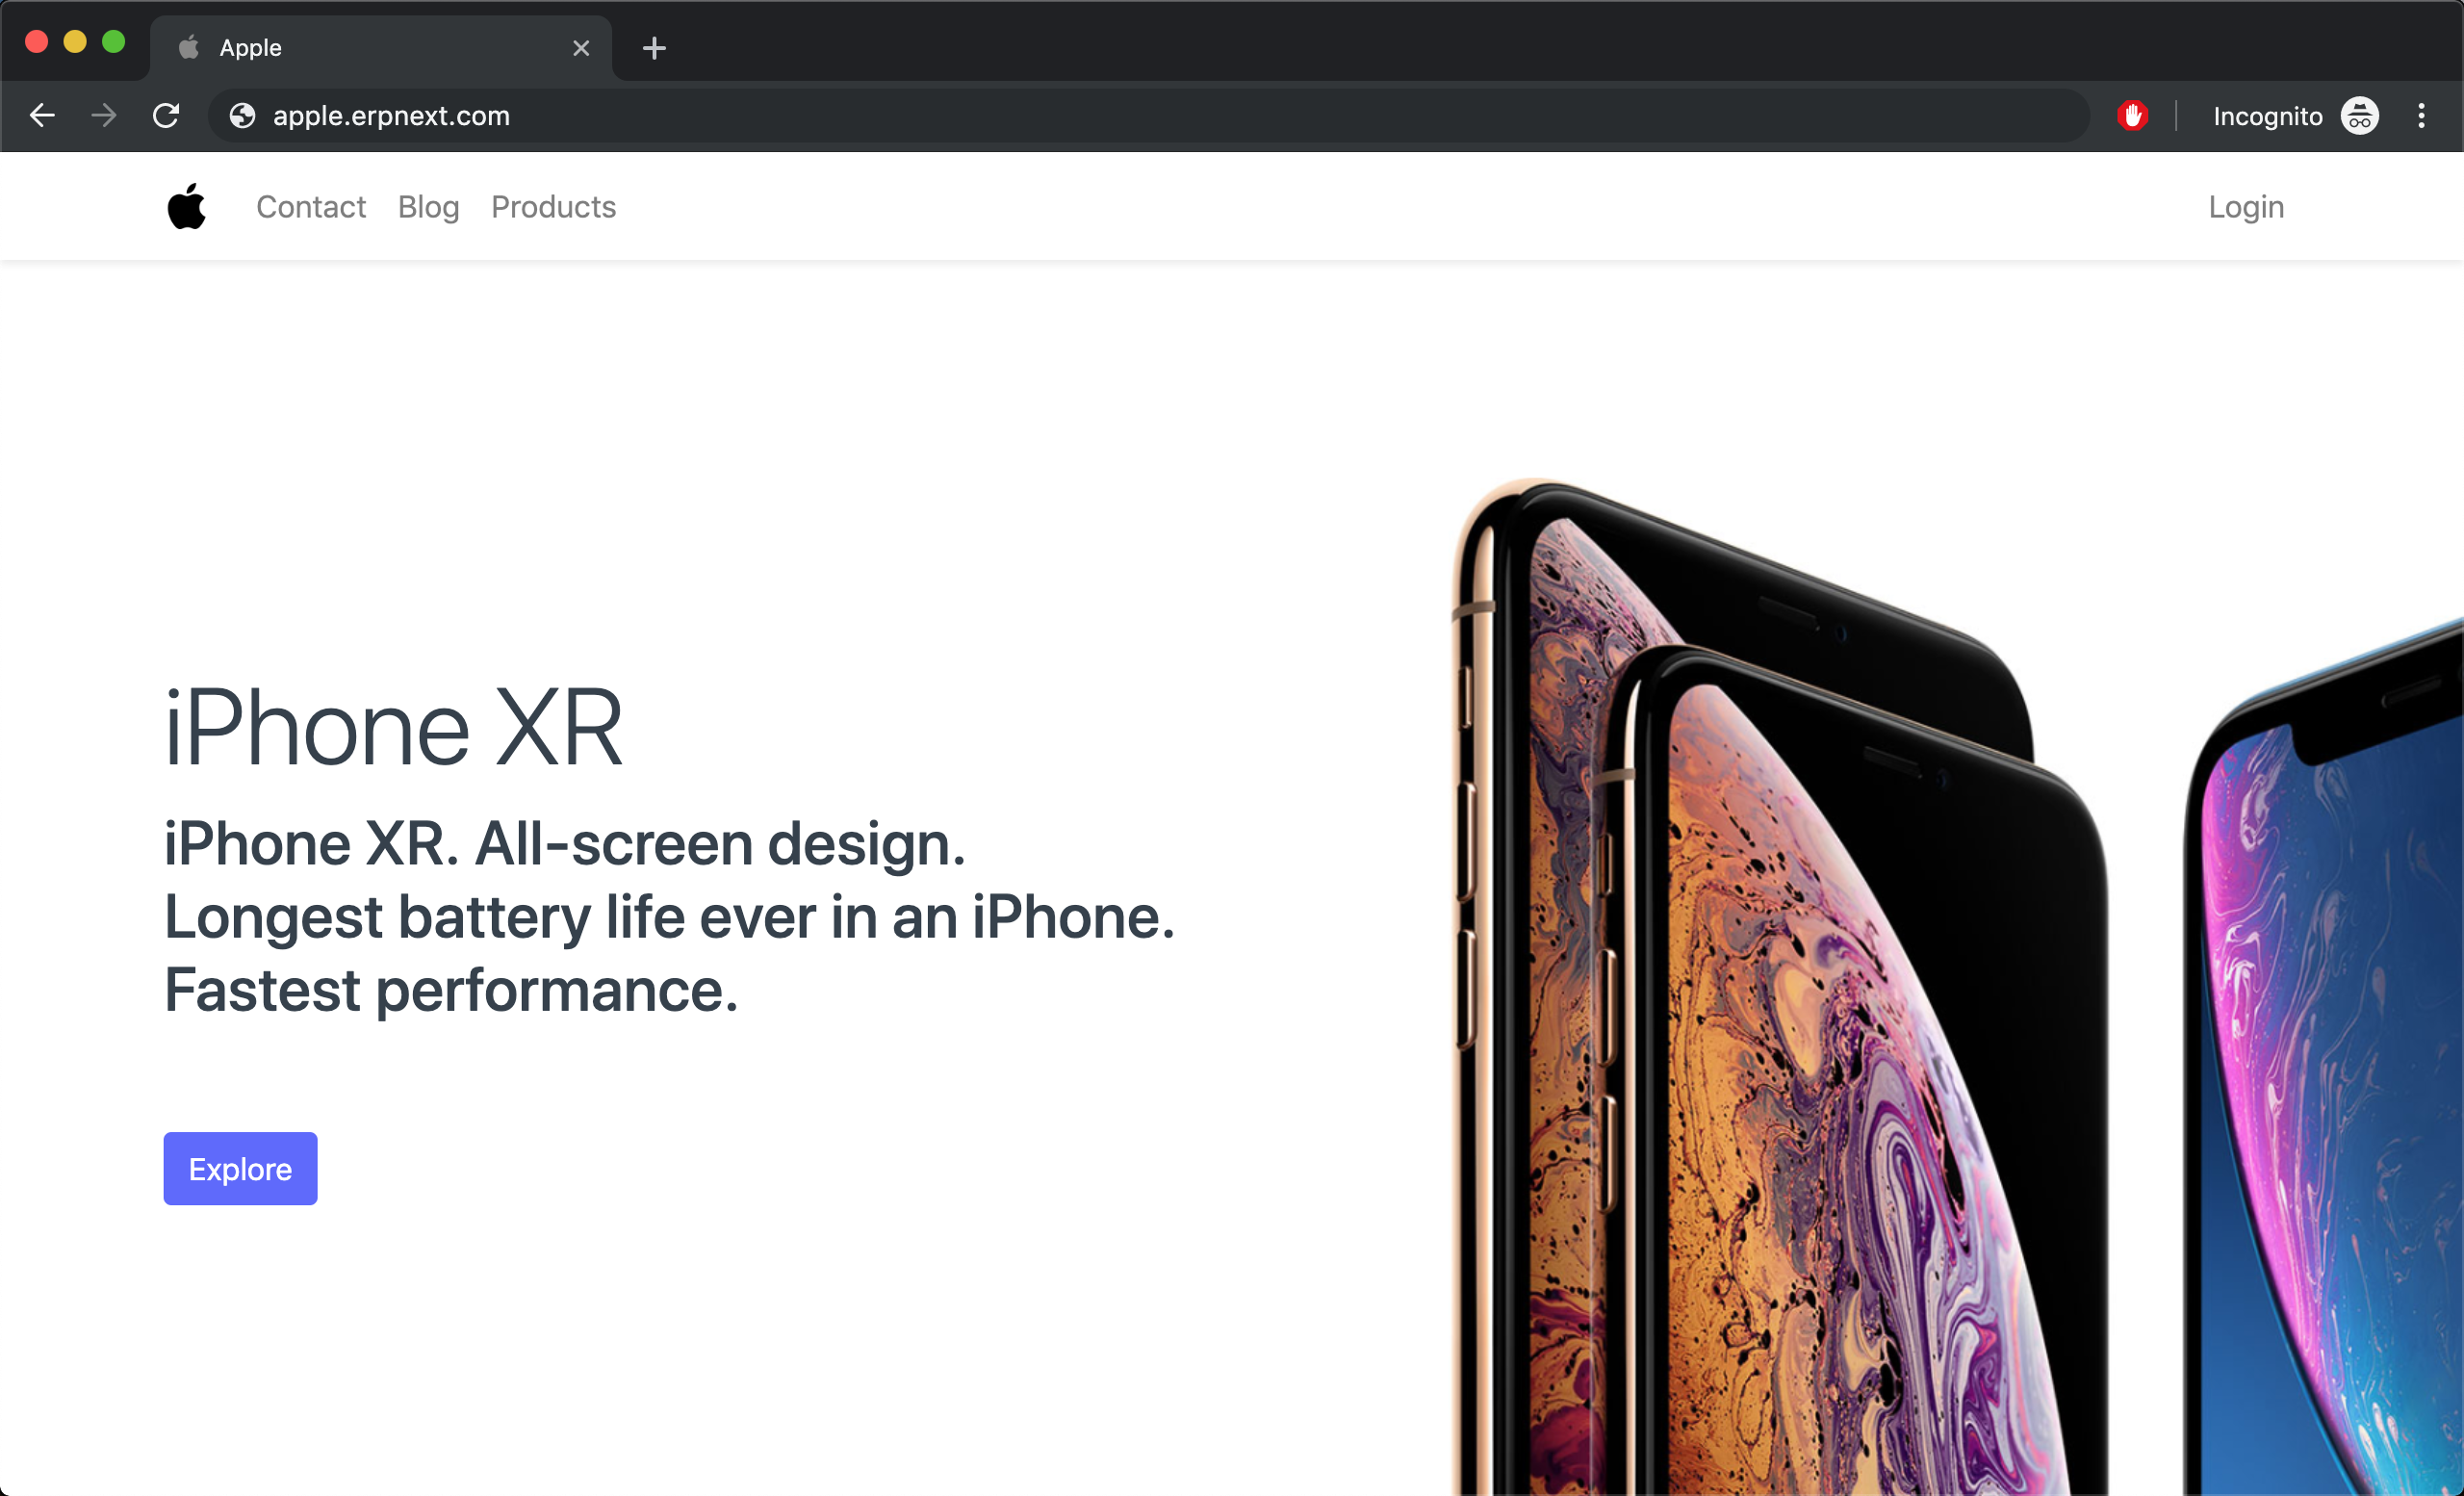
View your website by clicking on View Website in the action bar on top right.
 Website with Brand and Favicon
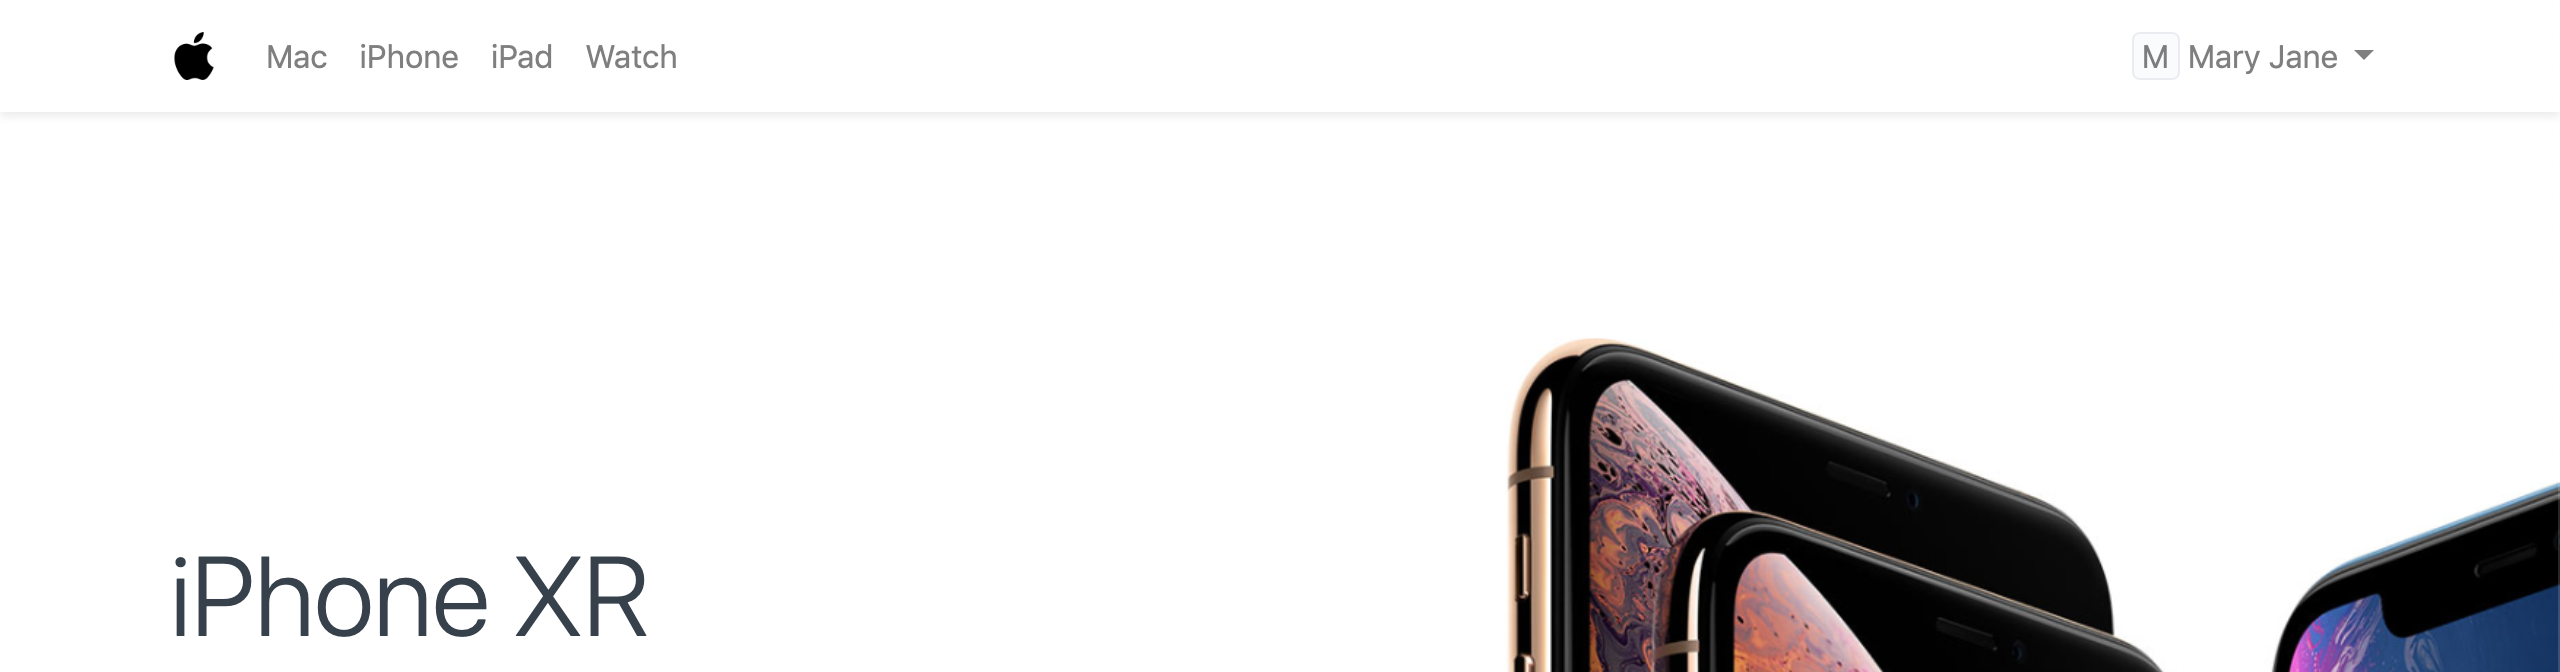
4. Top Bar
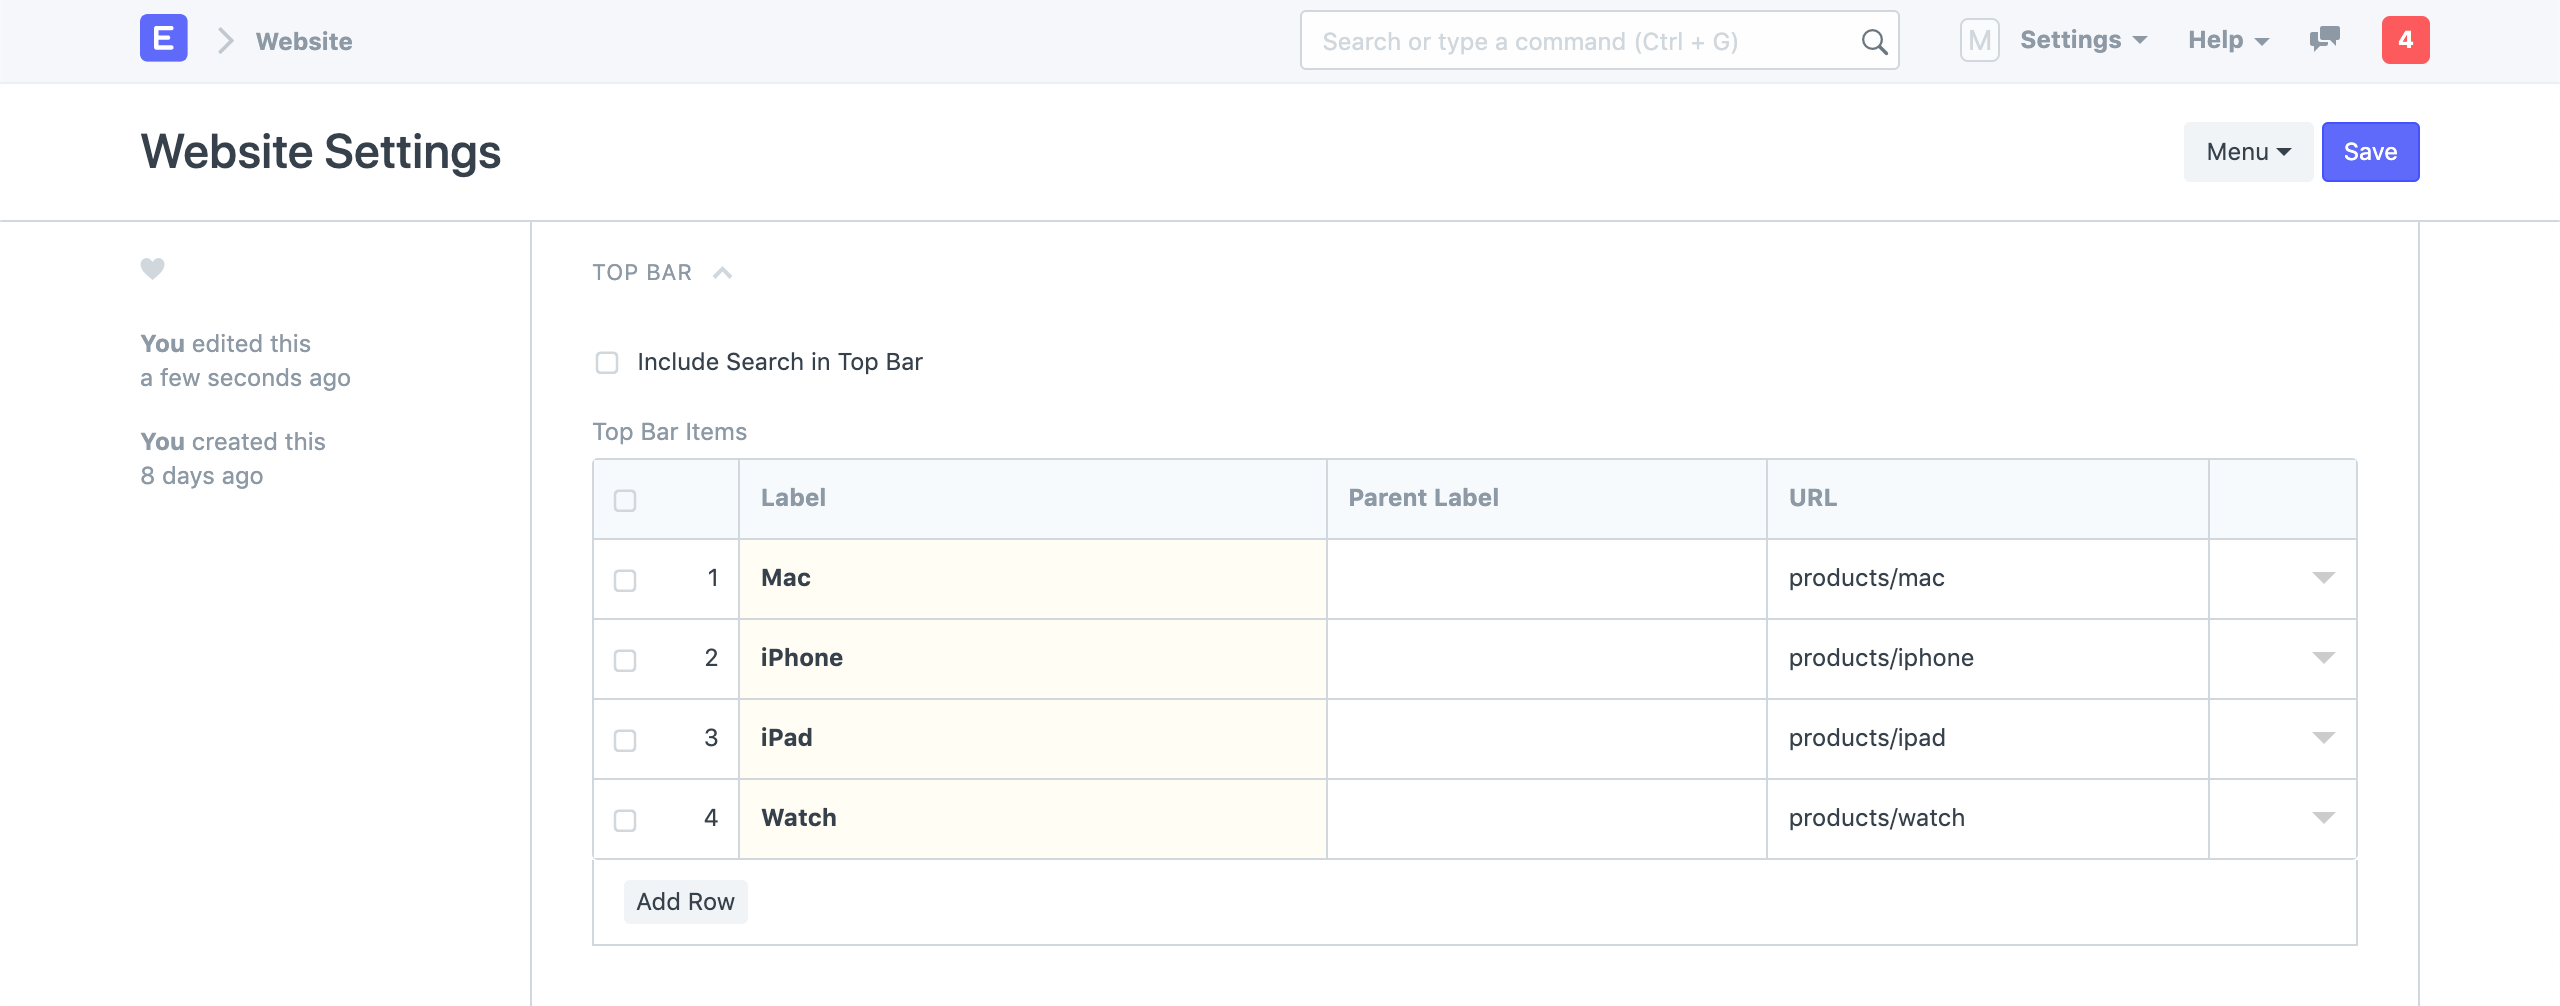
You can customize the menu items in the navbar of your website from the Top Bar section.
 Website Setting - Top Bar
 Website Navbar Items
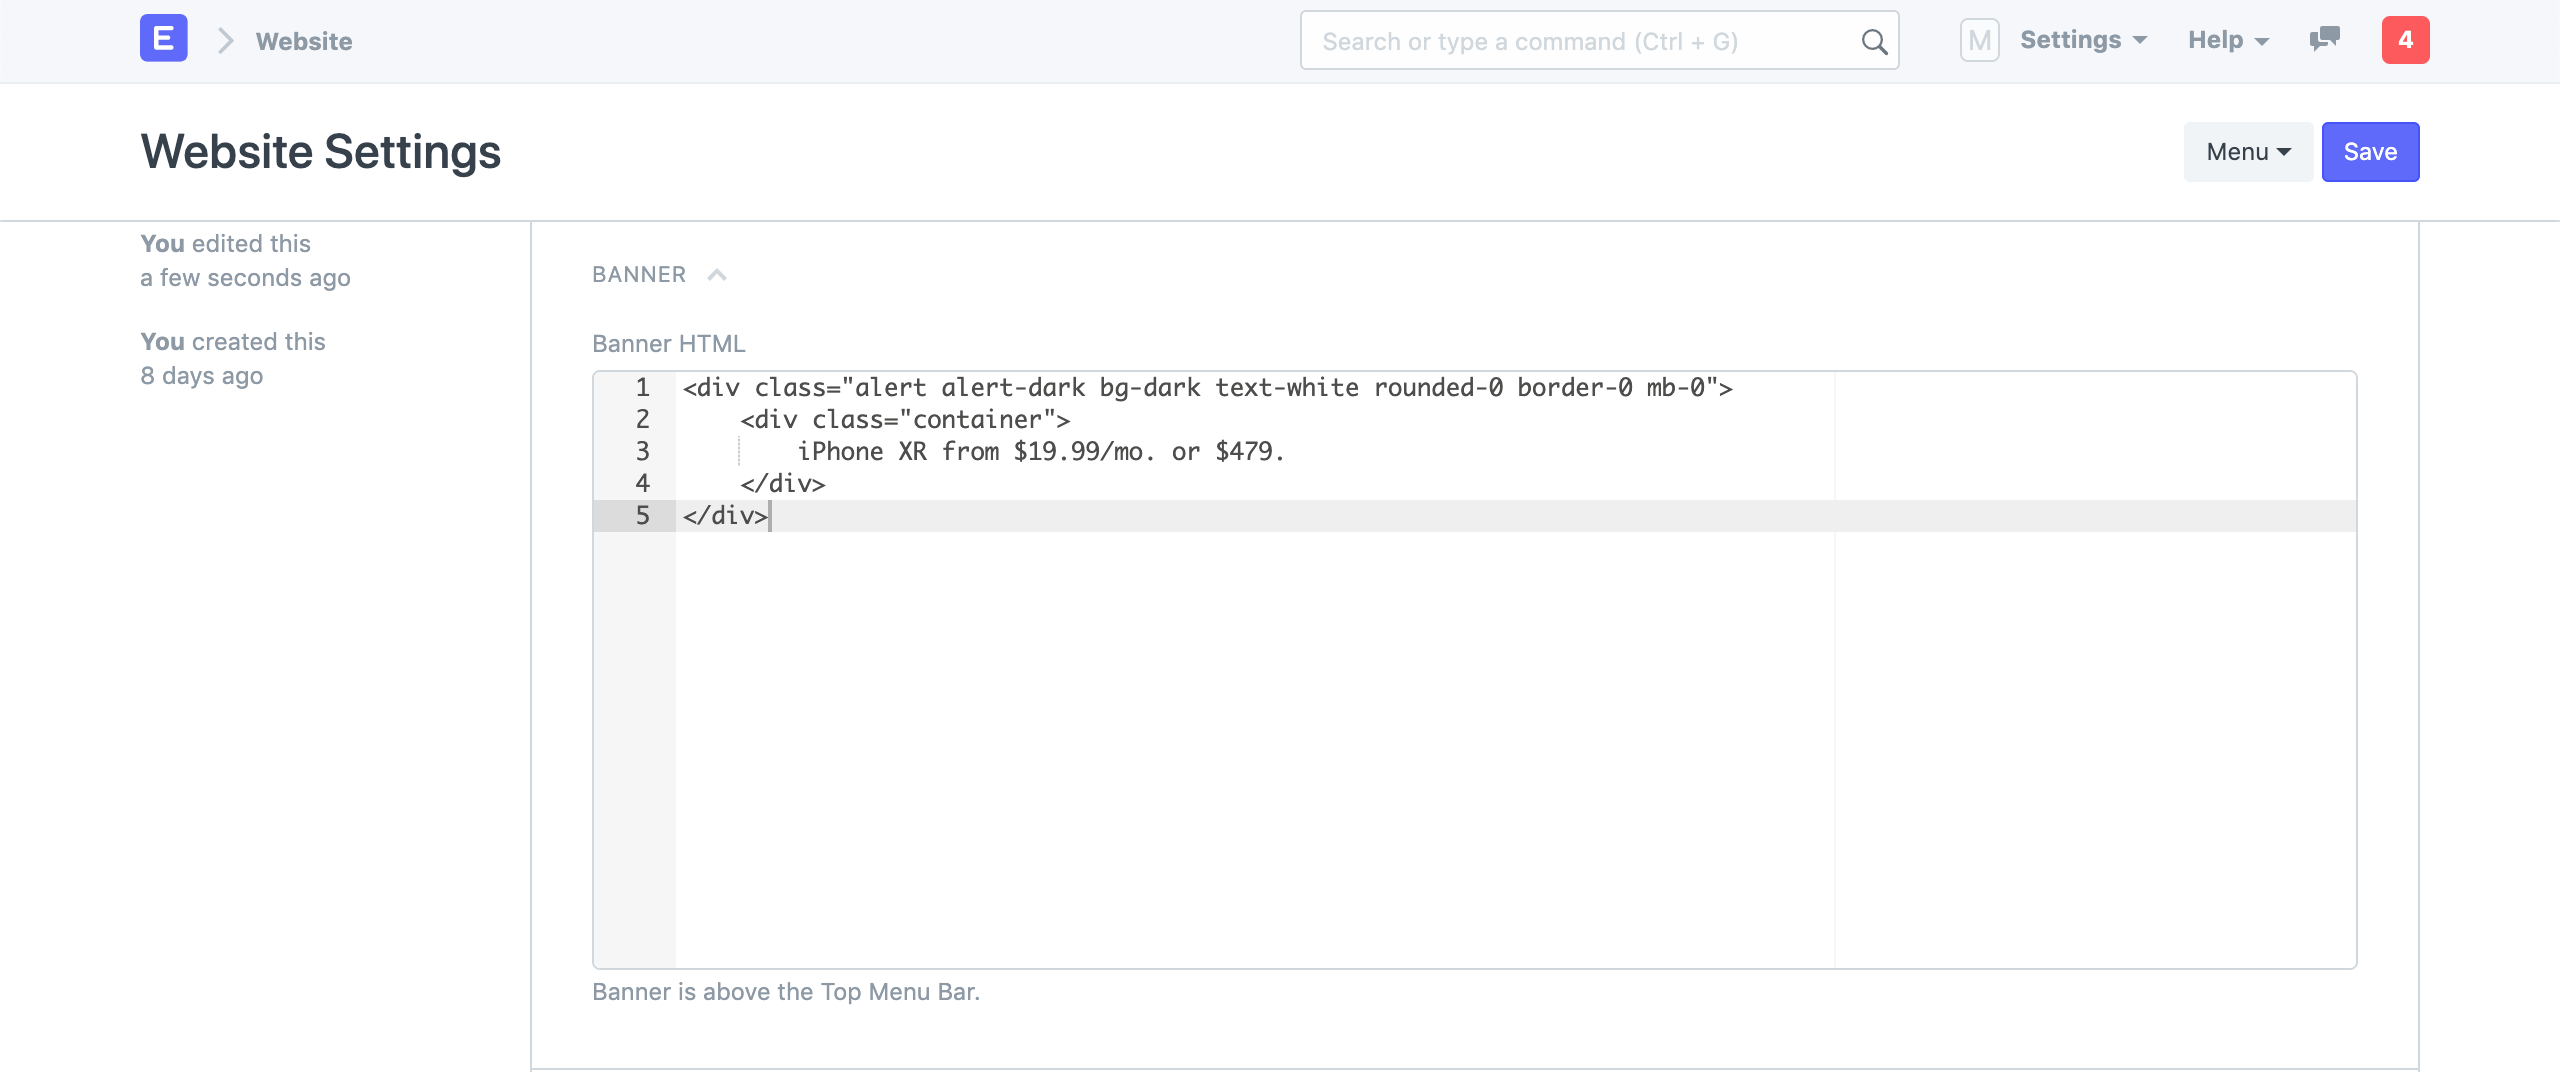
5. Banner
You can add a persistent banner to your website which will be shown above the navbar on all web pages. You can write any valid Bootstrap 4 markup here.
 Website Settings - Banner
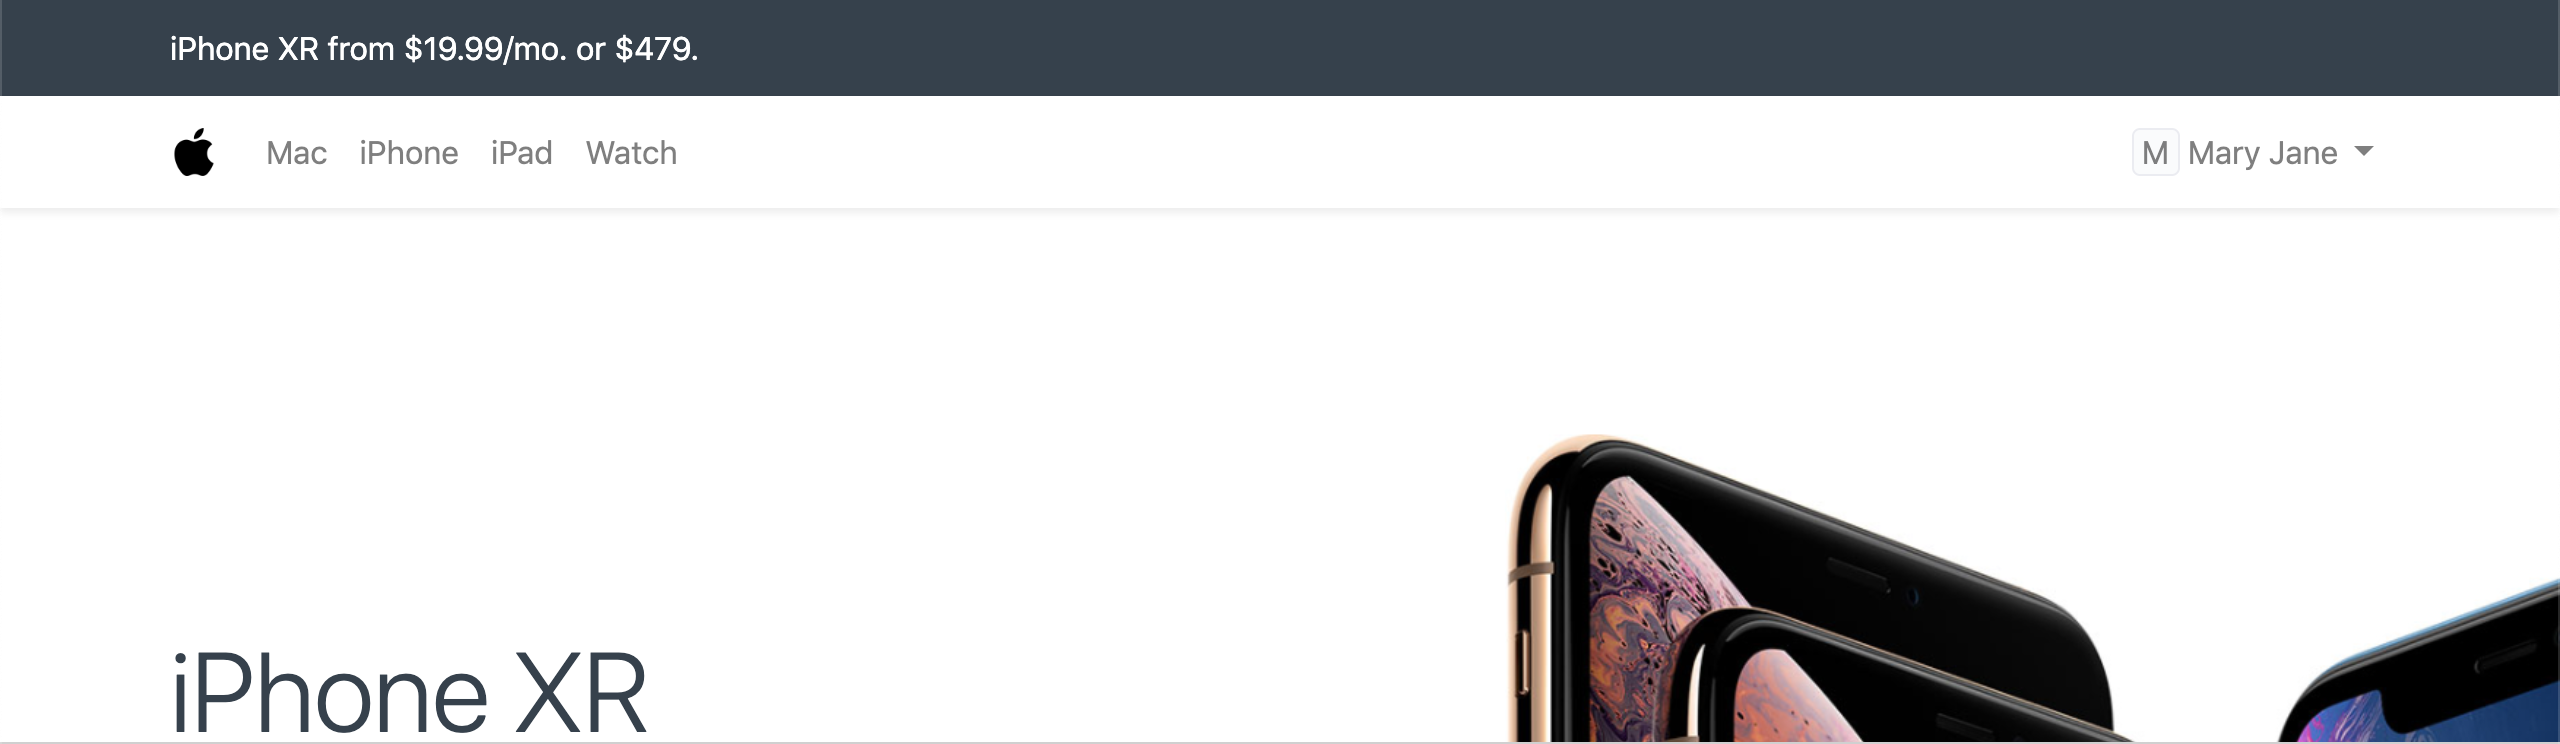 Website Banner
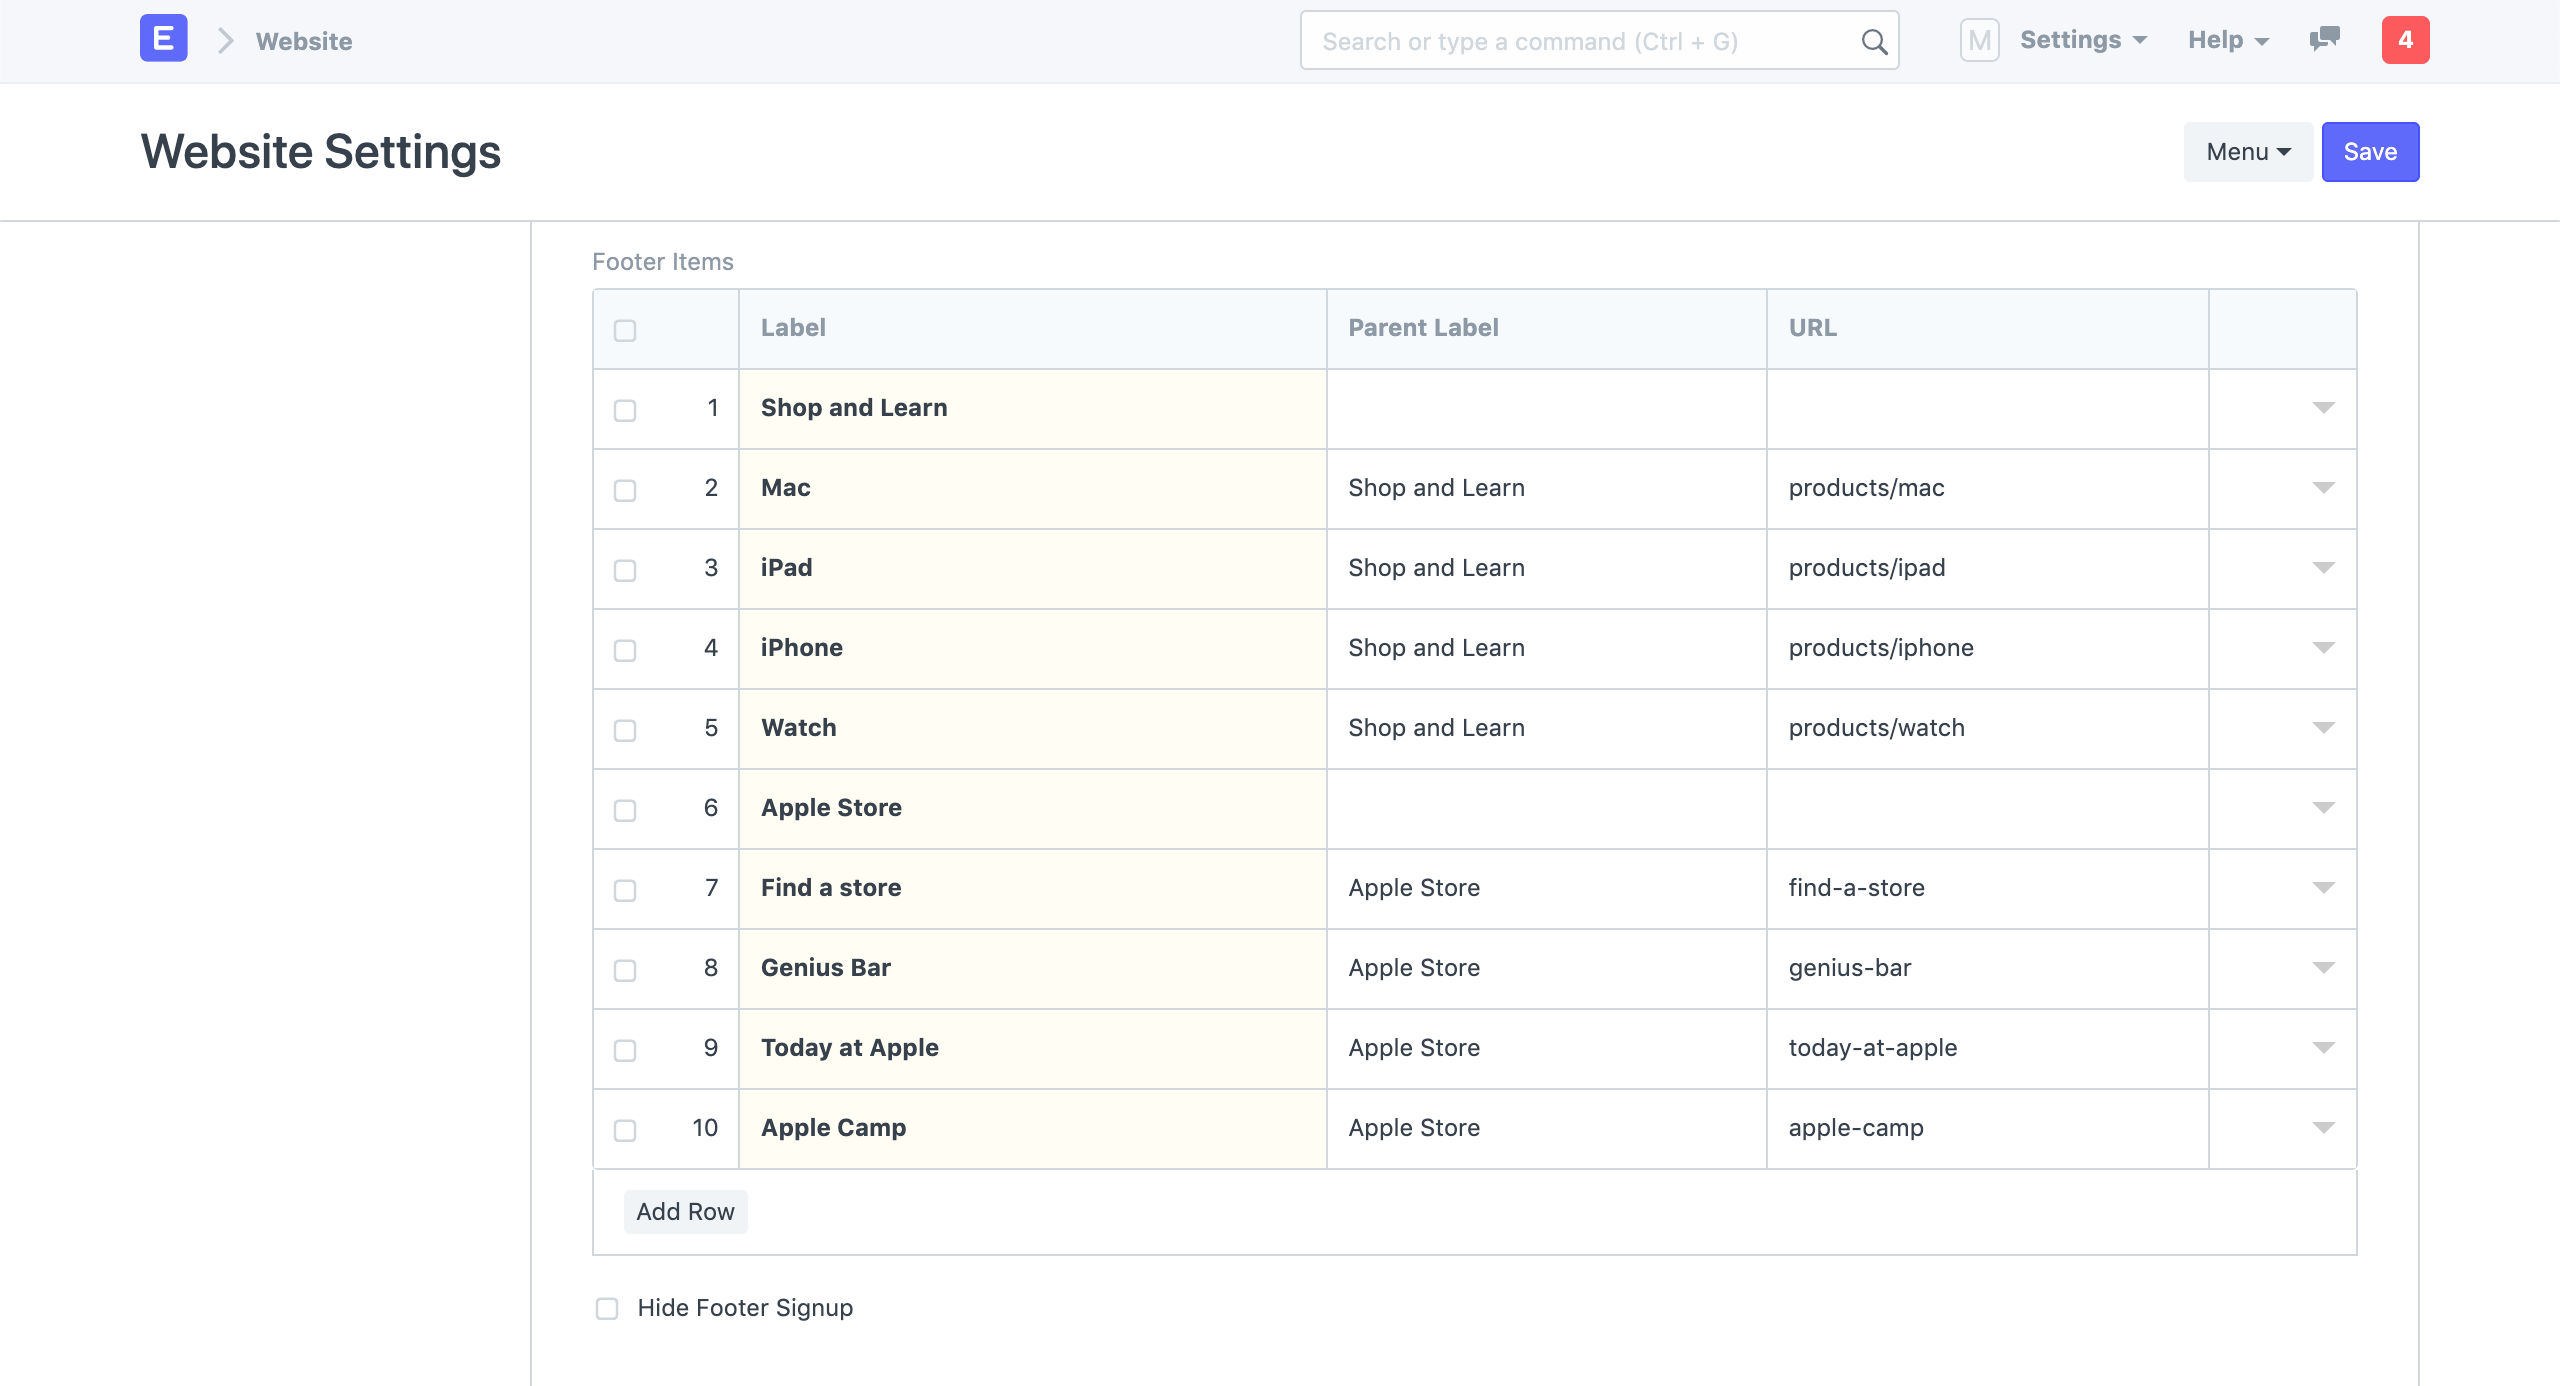
6. Footer
You can add address information and categorized links to your footer in the Footer section.
 Website Settings - Footer Address
 Website Settings - Footer Links
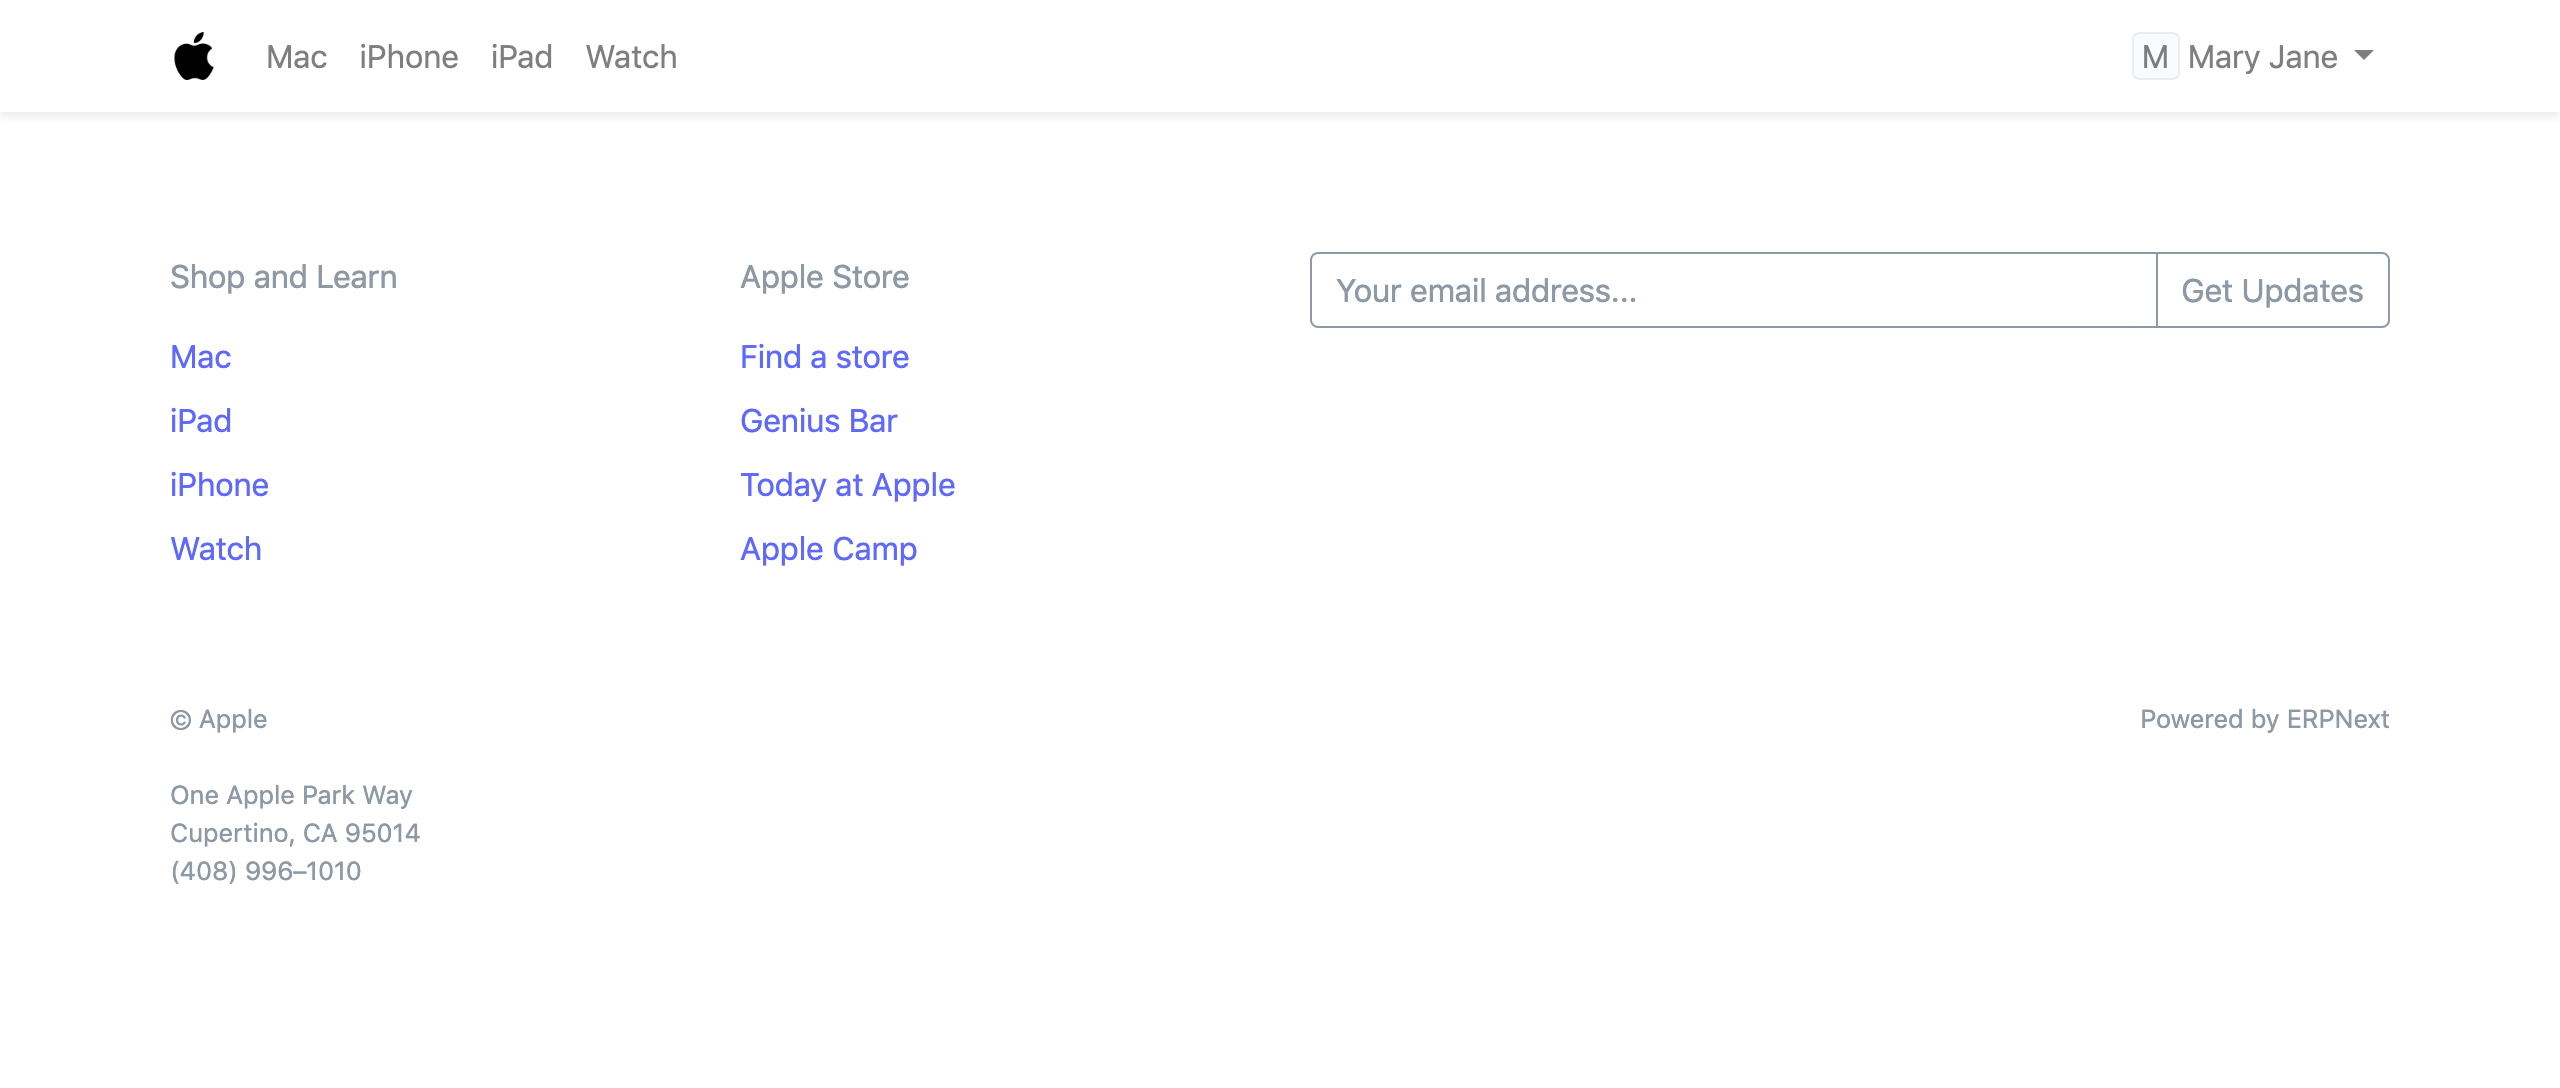 Website Footer
Configuring "Powered by" Section
You can configure Powered by section by editing "Footer Powered By"
7. Google Integrations
7.1 Google Indexing
How to set up automated Google Indexing
In order to allow ERPNext to request Google crawlers to index a web page, you need to authorize ERPNext to send a request whenever the user requests the data. Google Drive Integration is set up with the following steps:
Create OAuth 2.0 Credentials via Google Settings
Enable indexing in the Website Settings
Now click on Authorize API Indexing Access to authorize ERPNext to send a publish request.
Once Authorized, an indexing request is automatically sent on creation/update/trash of any new blog post or web pages created via the user.
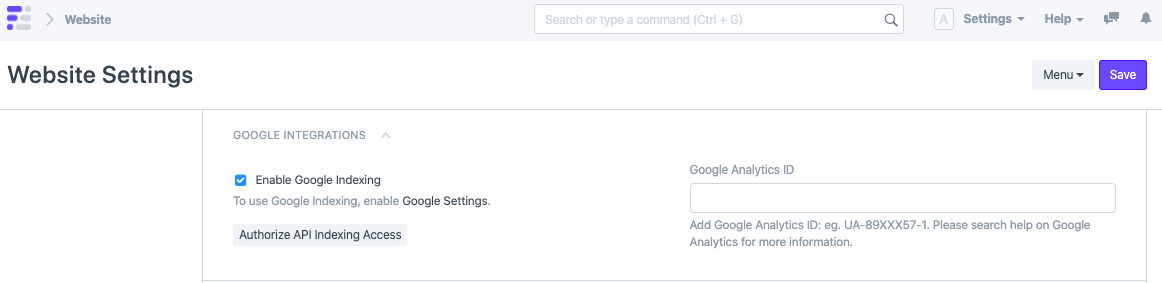 Google Integrations
7.2 Google Analytics
You can enable Google Analytics on your website. Just get your Google Analytics ID from your Google Console and set it here.
By default, Google Analytics will collect the full IP address of your website visitors. By checking "Google Analytics Anonymize IP", ERPNext will instruct Google Analytics to anonymize the IP address before it is sent to Google servers. You can find out more about the effect of this setting in Google's documentation.
8. HTML Header
You can use this section to set meta tags across all of your web pages. A common use case is to add Google site verification tags.
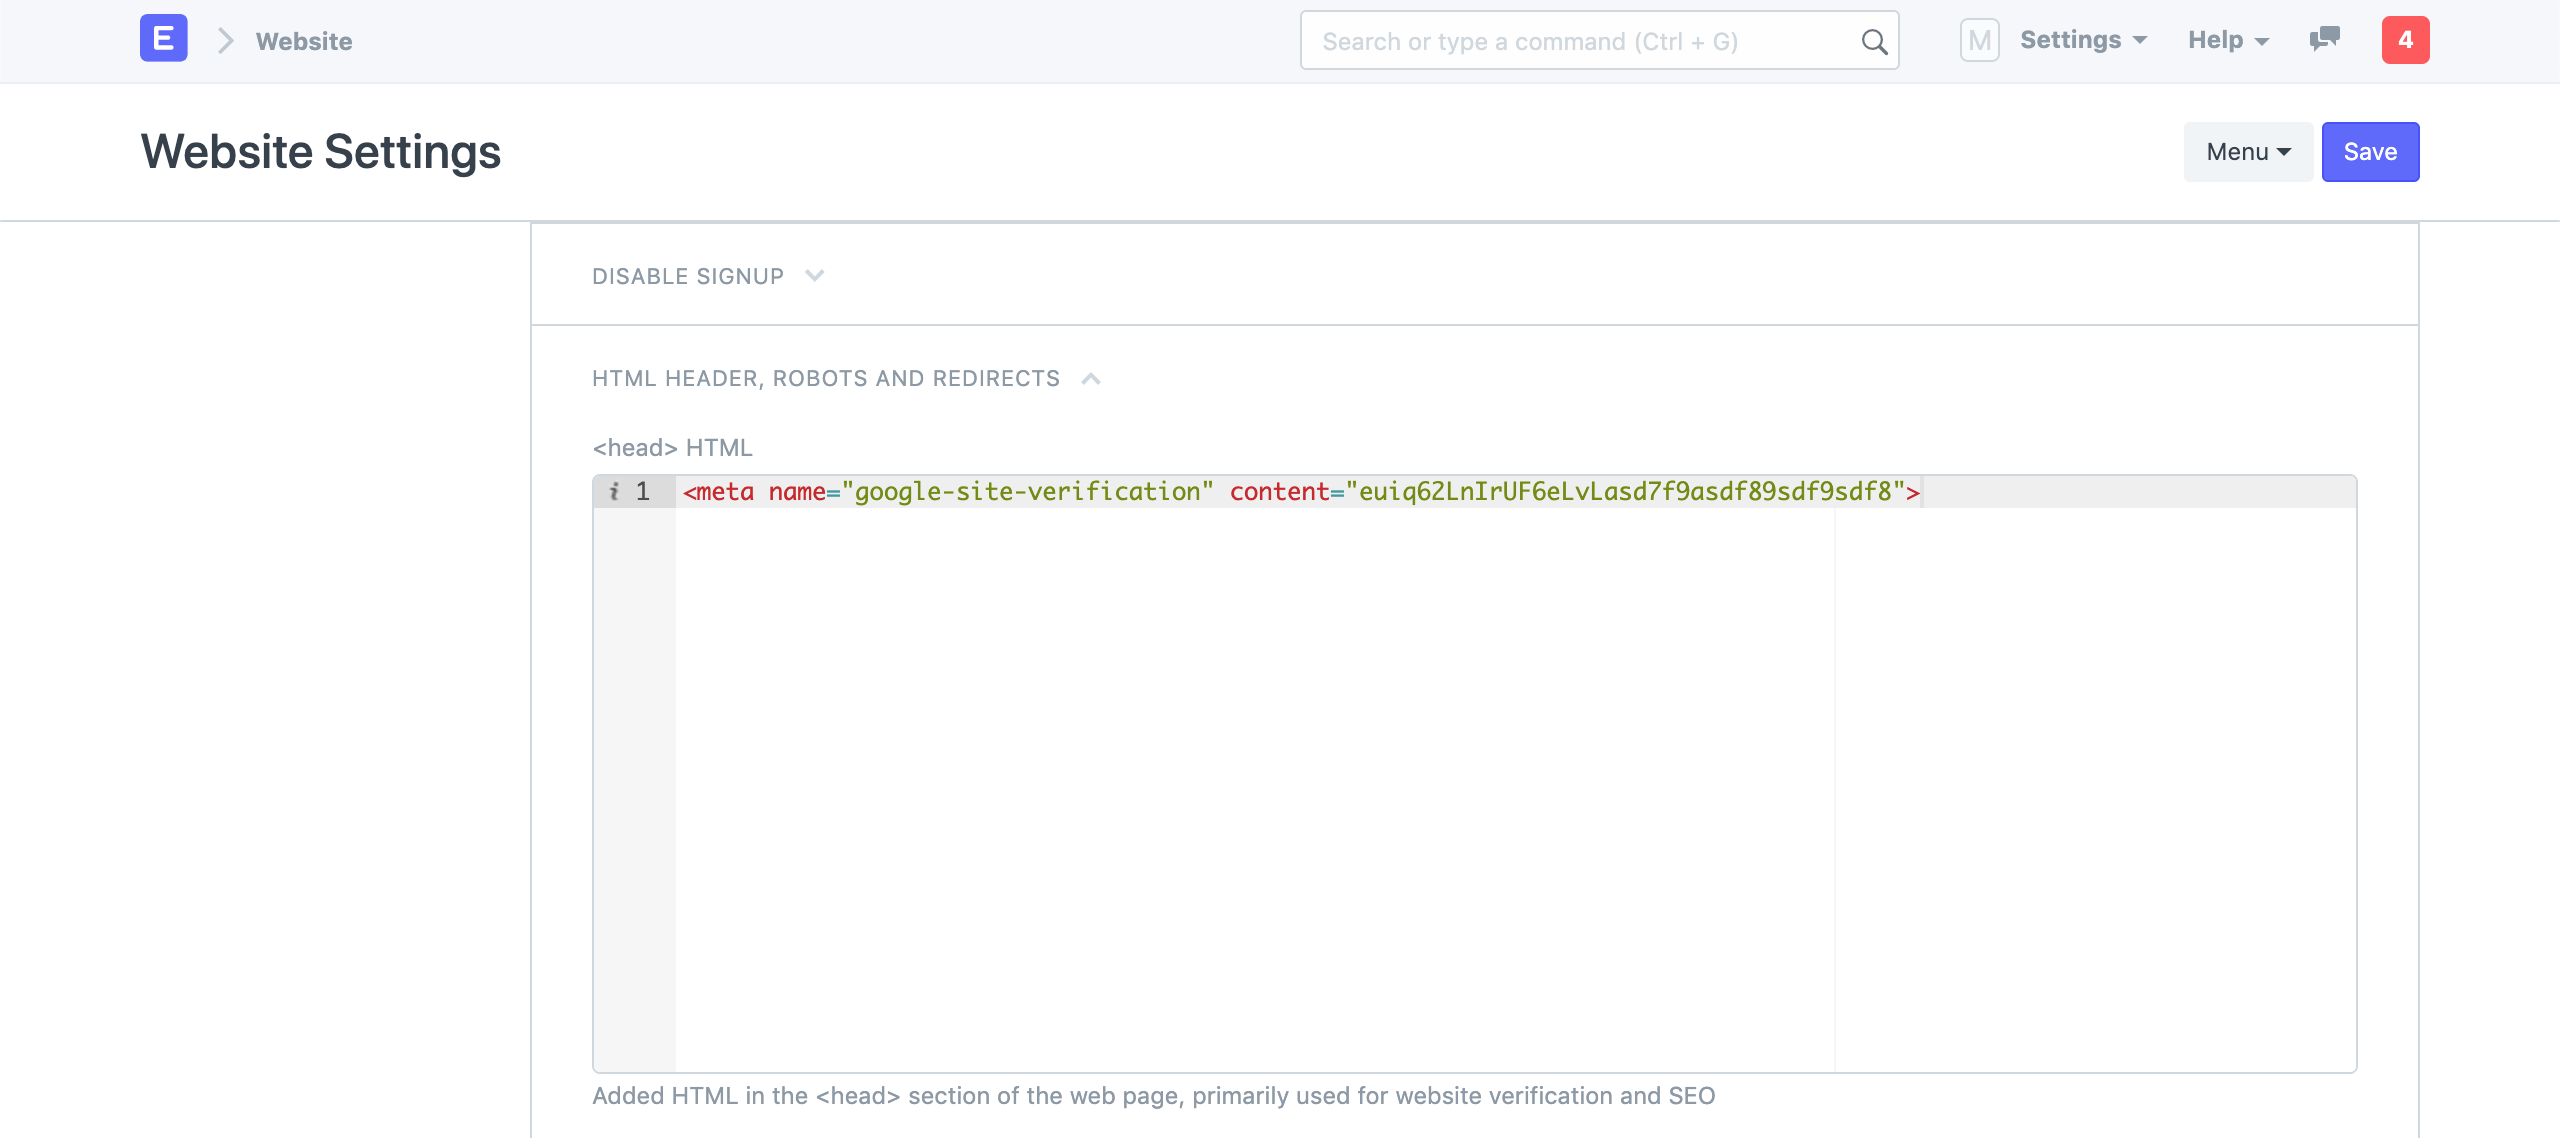 Website Settings - Header
9. Robots
You can define robots.txt rules in this section. This information is used by
web crawlers to decide which pages to index and which to skip.
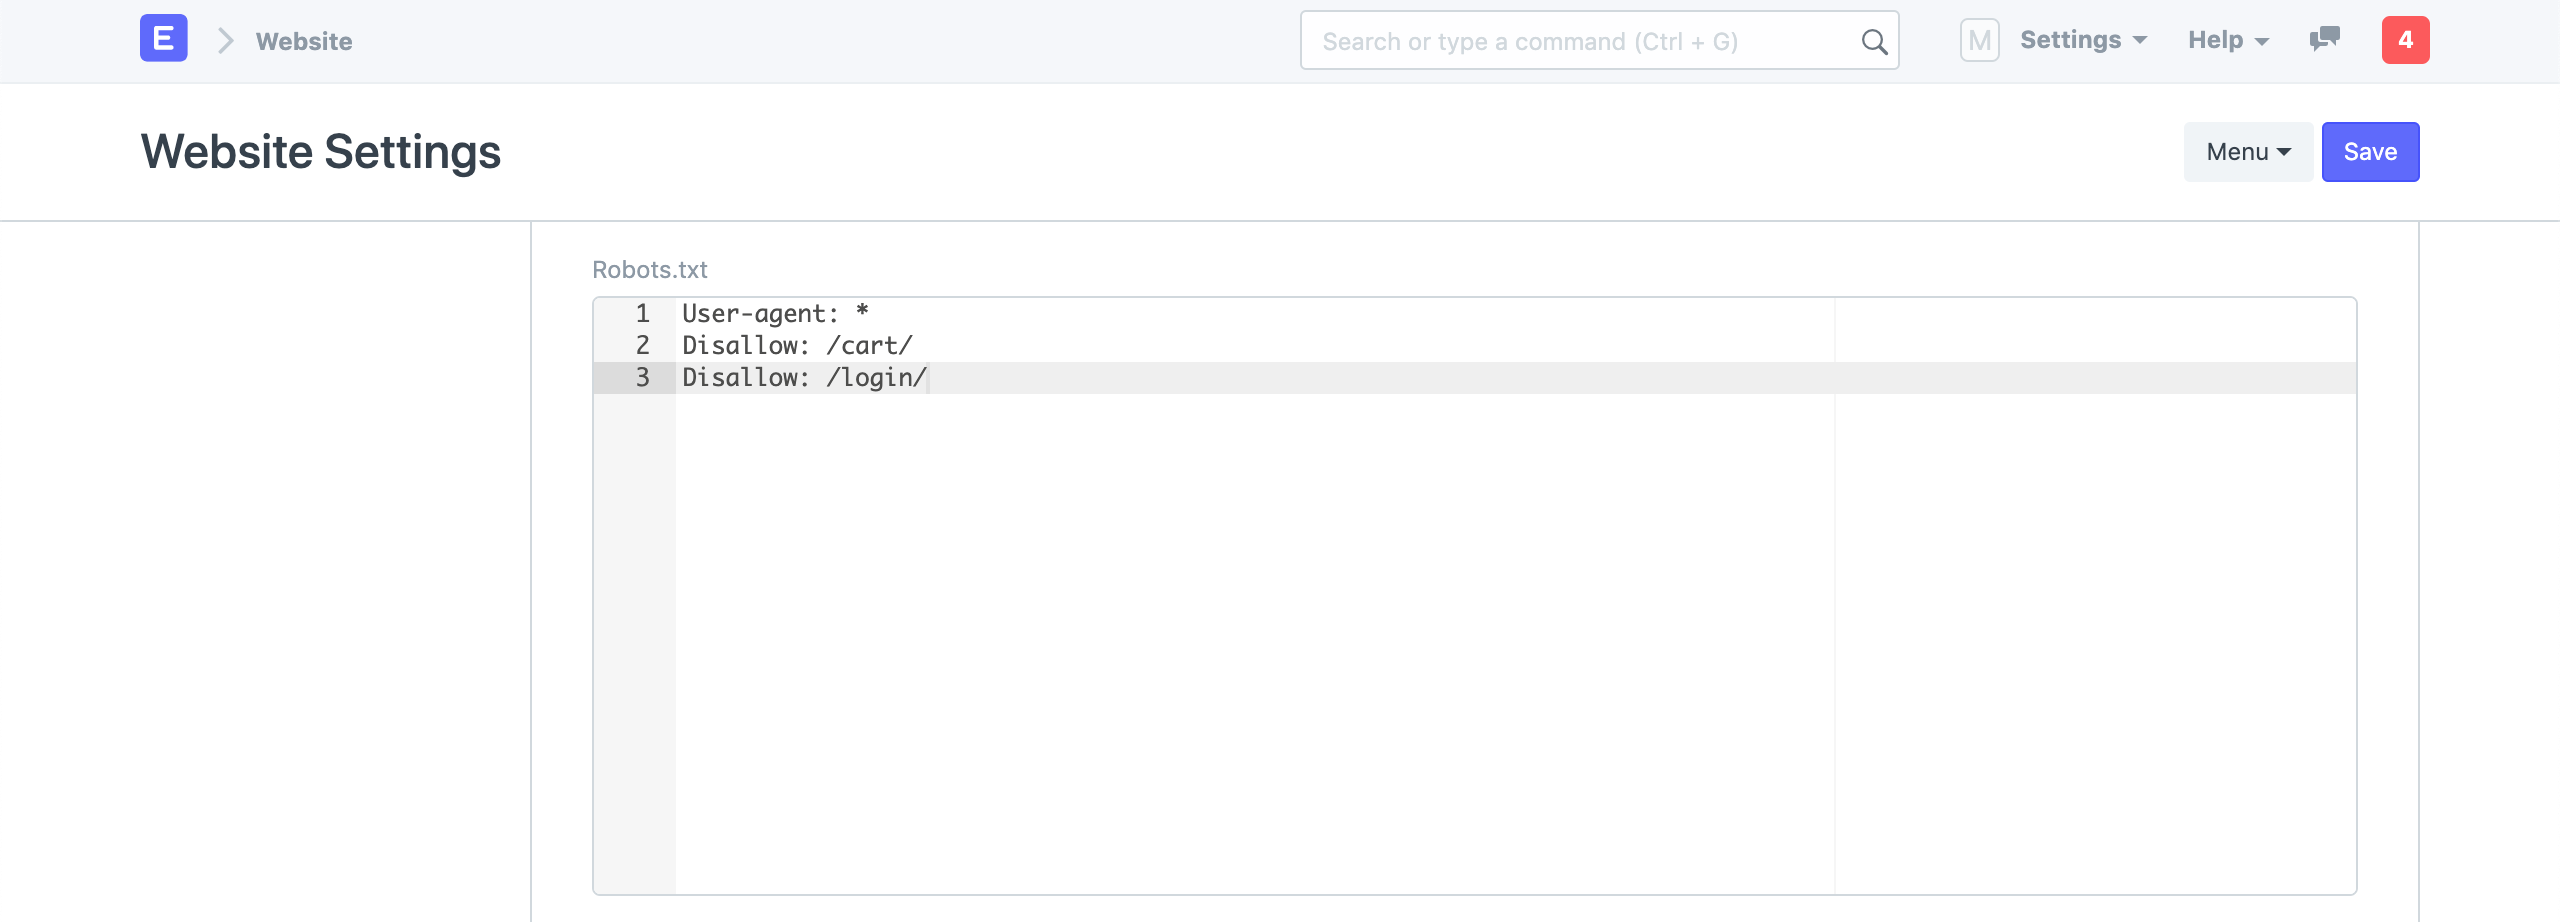 Website Settings - Robots
Learn more about
robots.txtat Moz - Robots.txt
10. Redirects
You can define a mapping of route redirects here. The mappings in the following
screenshot makes sure that if a user visits https://apple.erpnext.com/iphone,
they will be redirected to https://apple.erpnext.com/products/iphone.
ERPNext will raise a 301 Permanent Redirect response for these routes.
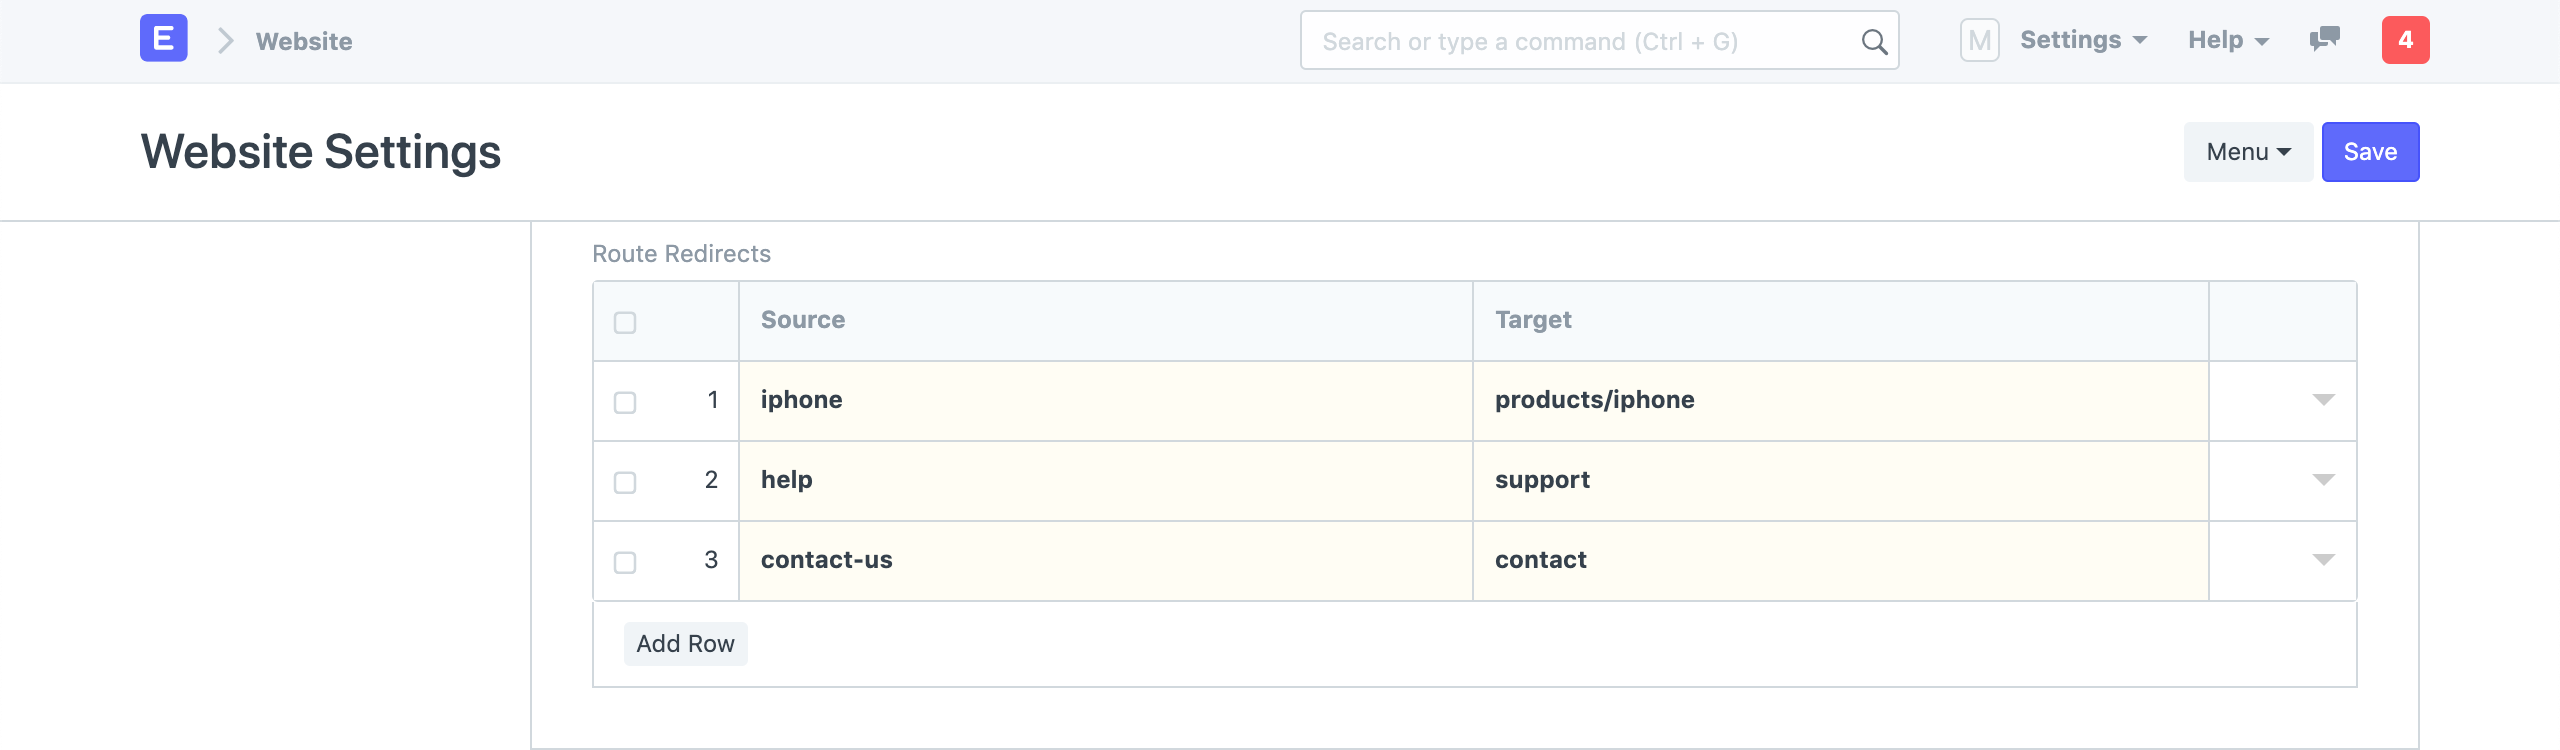 Website Settings - Routes Redirects
If you are migrating your existing website to ERPNext based website, you can map your old routes to new ones here and these redirects will be picked up by Google and will help you maintain your SEO rankings.
11. Chat
You can enable website visitor chat on your website in the Chat section. The chat widget will be shown between From time and To time. You can also set Chat Operators (Users) who will get notified when a visitor sends a message.
Chat is an experimental feature.