Purchase Receipt
Purchase Receipts are made when you accept Items from your Supplier usually against a Purchase Order.
You can also accept Purchase Receipts directly without the need for a Purchase Order. To do this, set Purchase Order Required as “No” in Buying Settings.
To access the Purchase Receipt list, go to:
Home > Stock > Stock Transactions > Purchase Receipt
1. Prerequisites
Before creating and using a Purchase Receipt, it is advised that you create the following first:
Note: From version-13 onwards we have introduced immutable ledger which changes the rules for cancellation of stock entries and posting backdated stock transactions in ERPNext. Learn more here.
2. How to create a Purchase Receipt
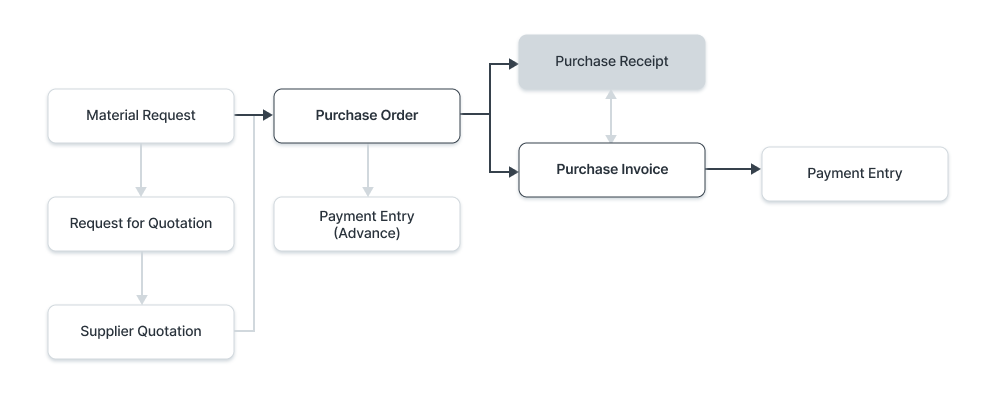
A Purchase Receipt is usually created from a Purchase Order. In the Purchase Order, click on Create > Purchase Receipt.
To create a Purchase Receipt _manually_ (not recommended), follow these steps:
- Go to the Purchase Receipt list, click on New.
- The Supplier name and the Items can be fetched from the Purchase Order by clicking on 'Get Items from > Purchase Order'.
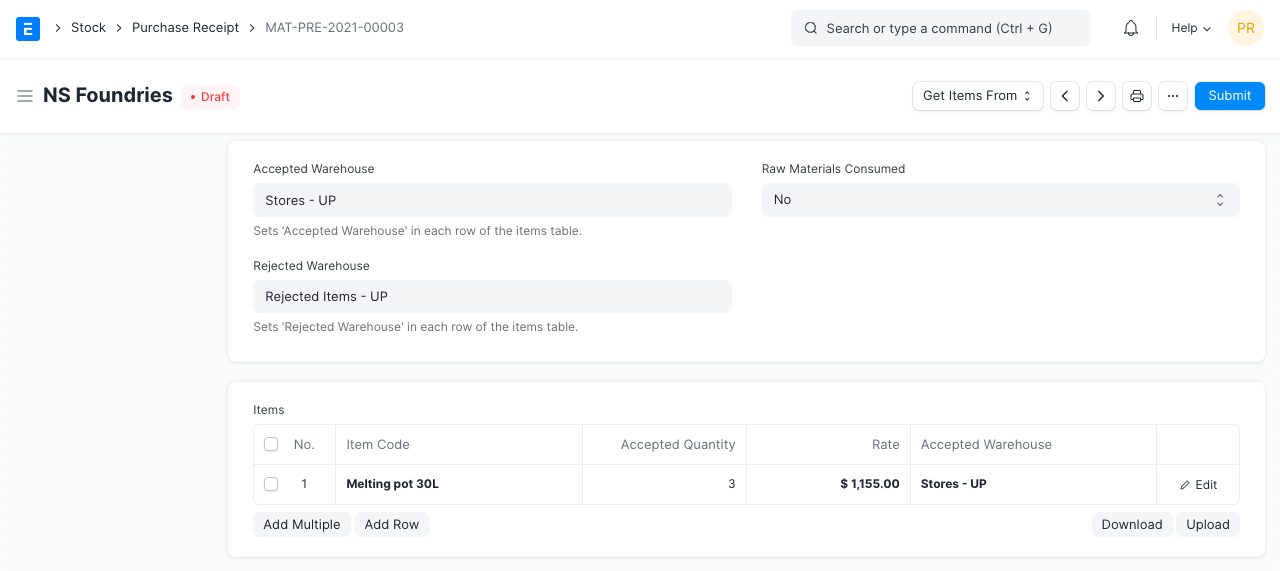
- You can set the Accepted Warehouse for all items in this Purchase Receipt. This is fetched if set in Purchase Order.
- In case any Items are defective, set the Rejected Warehouse where those Items will be stored.
- Select the Item and enter the quantity in the Items table.
- The rate will be fetched and the amount will be calculated automatically.
- You can expand the item row to change the Accepted Warehouse for an Item.
Save and submit.
You can also add a 'Supplier Delivery Note' to the Purchase Receipt if your Supplier has added some notes. Using the 'Edit Posting Date and Time' checkbox you can edit the posting time and date of the Purchase Receipt. By default, the date and time are set when you click on the New button.
Is Return: Tick this checkbox if you're returning Items that were not accepted to your Warehouse.
2.1 Statuses
These are the statuses a Purchase Receipt can be in:
- Draft: A draft is saved but yet to be submitted to the system.
- To Bill: Yet to be billed using a Purchase Invoice.
- Completed: Submitted and received all the Items.
- Return Issued: All the Items have been returned.
- Cancelled: Cancelled the Purchase Receipt.
- Closed: The purpose of the Close is to manage short-closing. For example, you ordered 20 qty, but closing at 15 qty. The remaining 5 is not to be received or billed.
3. Features
3.1 Currency and Price List
The currency of the Purchase Receipt is shown in this section, it is fetched from the Purchase Order. The item prices will be fetched from the set Price list. Ticking on Ignore Pricing Rule will ignore the Pricing Rules set in Accounts > Pricing Rule.
Since the incoming Item affects the value of your inventory, it is important to convert it into your base currency if you have ordered in another Currency. You will need to update the Currency Conversion Rate if applicable.
Read about Price Lists and Multi-Currency Transactions to know more.
3.2 Warehouse details
The following Warehouses set will apply to all Items in the Items table of the Purchase Receipt. You can change the Warehouses for individual Items via the table.
- Accepted Warehouse: This is the Warehouse in which you'll accept and store the incoming Items. Usually, this is the 'Stores' Warehouse.
- Rejected Warehouse: This is the Warehouse in which you'll keep the rejected Items which were either defective or not up to the quality mark.
Subcontracting
- Raw Materials Consumed: In case you're subcontracting, select 'Yes' to consume the Raw Materials from the vendor. Read Subcontracting to know more.
3.3 Items table
Barcode: You can track Items using barcodes.
Scan Barcode: You can add Items in the Items table by scanning their barcodes if you have a barcode scanner. Read documentation for tracking items using barcode to know more.
The Item Code, name, description, Image, and Manufacturer will be fetched from the Item master.
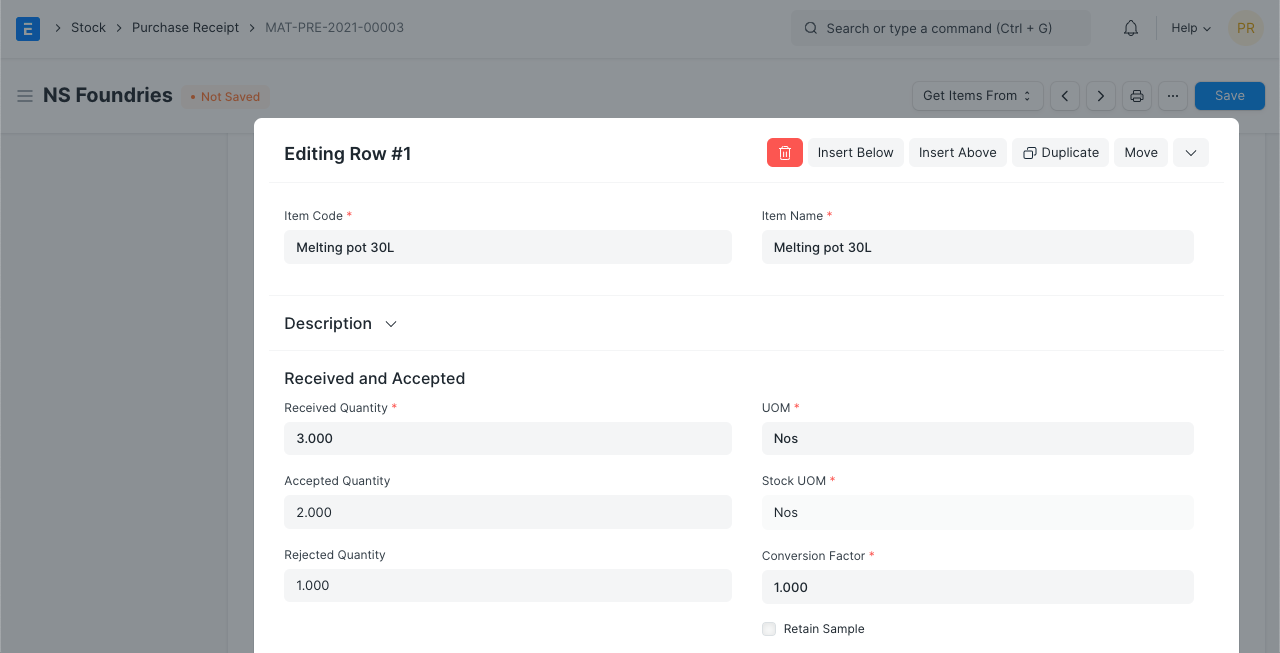
Received and Accepted: Set the received, accepted and rejected quantity. The UoM is fetched from the Item master. You will need to update the “UOM Conversion Factor” if your Purchase Order for an Item is in a different Unit of Measure (UOM) than what you stock (Stock UOM).
Rate: The Rate is fetched if set in the Price List and the total Amount is calculated.
Item Tax Template: You can set an Item Tax Template to apply a specific Tax amount to this particular Item. To know more, visit this page.
The Item Weight details per unit and Weight UOM are fetched if set in the Item master.
Warehouse and Reference: You can set the accepted and rejected Warehouses and also add a Quality Inspection, see next section.
Serial No, Batch No, and BOM: If your Item is serialized or batched, you will have to enter Serial Number and Batch in the Items table. You are allowed to enter multiple Serial Numbers in one row (each on a separate line) and you must enter the same number of Serial Numbers as the quantity.
There are separate fields for entering Serial Numbers of both accepted and rejected Items here. A Batch Number can also be set if you're storing a batch of plastic medicines for example.
Ticking on 'Allow Zero Valuation Rate' will allow submitting the Purchase Receipt even if the Valuation Rate of the Item is 0. This can be a sample item or due to a mutual understanding with your Supplier.
You can link a BOM here if the Item is being subcontracted. Linking the BOM here will affect the Stock ledger, i.e. the raw material stock will be deducted from the Supplier Warehouse.
Note: The Item has to be serialized or batched for these features to work. If the Item is serialized a popup will appear where you can enter the Serial Numbers.
Accounting Dimensions help to tag each transaction with different Dimensions without the need for creating new Cost Centers. You need to create Accounting Dimensions first, to know more, visit this page.
Page Break will create a page break just before this item when printing.
3.4 Tracking Quality Inspection
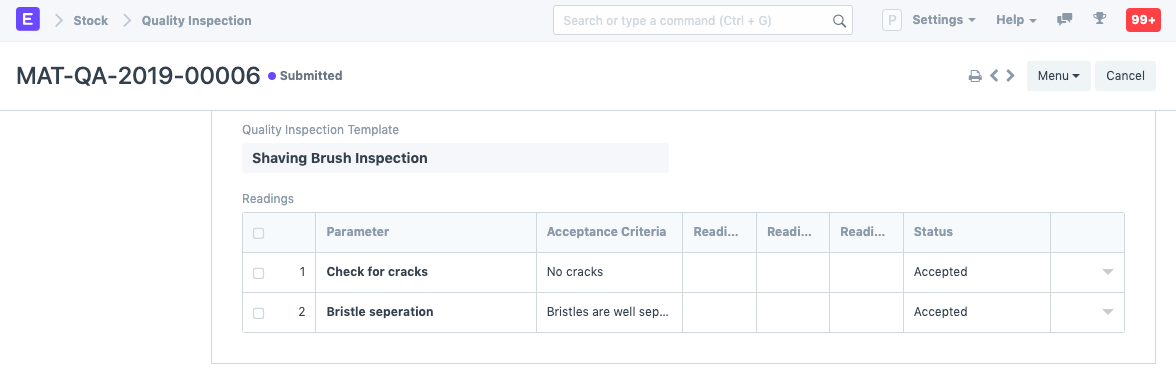
If for certain Items, it is mandatory to record Quality Inspections (if you have set it in your Item master), you will need to update the “Quality Inspection" field. The system will only allow you to “Submit” the Purchase Receipt if you update the “Quality Inspection”.
After enabling Inspection Criteria in the Item form for Purchase and attaching a Quality Inspection Template there, Quality Inspections can be recorded in Purchase Receipts.
To know more, visit the Quality Inspection page.
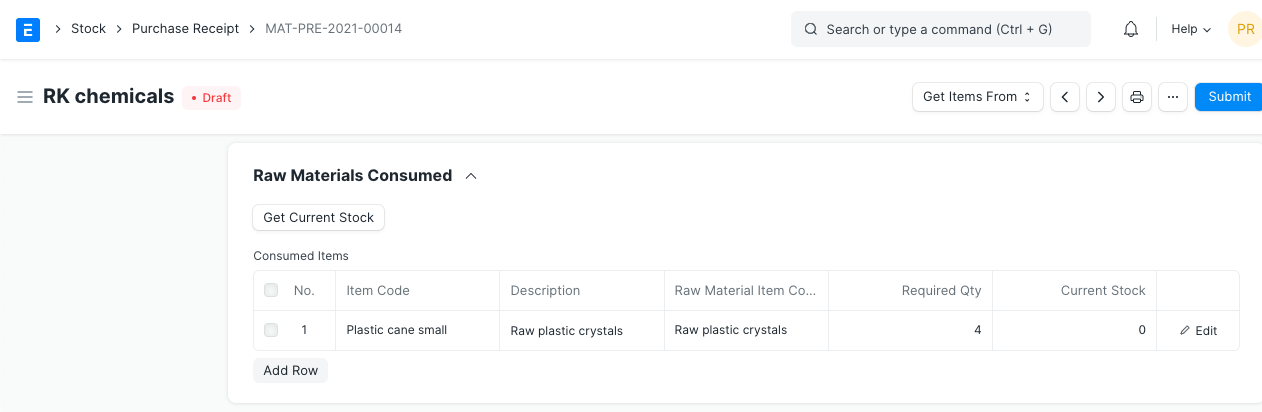
3.5 Raw Materials Consumed
- The Consumed Items table contains the Raw Materials consumed by the Supplier in order to receive the Finished Item.
- The Get Current Stock button will fetch the current stock of the Consumed Items from the Supplier Warehouse.
3.6 Taxes and Valuation
The Taxes and Charges will be fetched from the Purchase Order.
Visit the Purchase Taxes and Charges Template page to know more about taxes.
The total taxes and charges will be displayed below the table.
To add taxes automatically via a Tax Category, visit this page.
Make sure to mark all your taxes in the Taxes and Charges table correctly for an accurate valuation.
Shipping Rule
A Shipping Rule helps set the cost of shipping an Item. The cost will usually increase with the distance of shipping. To know more, visit the Shipping Rule page.
3.7 Additional Discount
Any additional discounts to the whole order can be set in this section. Read Applying Discount for more details.
3.8 More Information
The Status of the Purchase Receipt is shown here and at the top. The various statuses are: Draft, To Bill, Completed, Canceled, and Closed. This section also shows % Amount Billed, i.e. the percentage of amount for which Sales Invoices are created.
3.9 Printing Settings
Letterhead
You can print your Purchase Receipt on your company's letterhead. Know more here.
'Group same items' will group the same items added multiple times in the items table. This can be seen when your print.
Print Headings
Purchase Receipt headings can also be changed when printing the document. You can do this by selecting a Print Heading. To create new Print Headings go to: Home > Settings > Printing > Print Heading. Know more here.
3.10 After Submitting
A Stock Ledger Entry is created for each Item adding the Item in the Warehouse by the “Accepted Quantity” If you have rejections, a Stock Ledger Entry is made for each Rejection. The “Pending Quantity” is updated in the Purchase Order.
After submitting the Purchase Receipt, the following can be created:
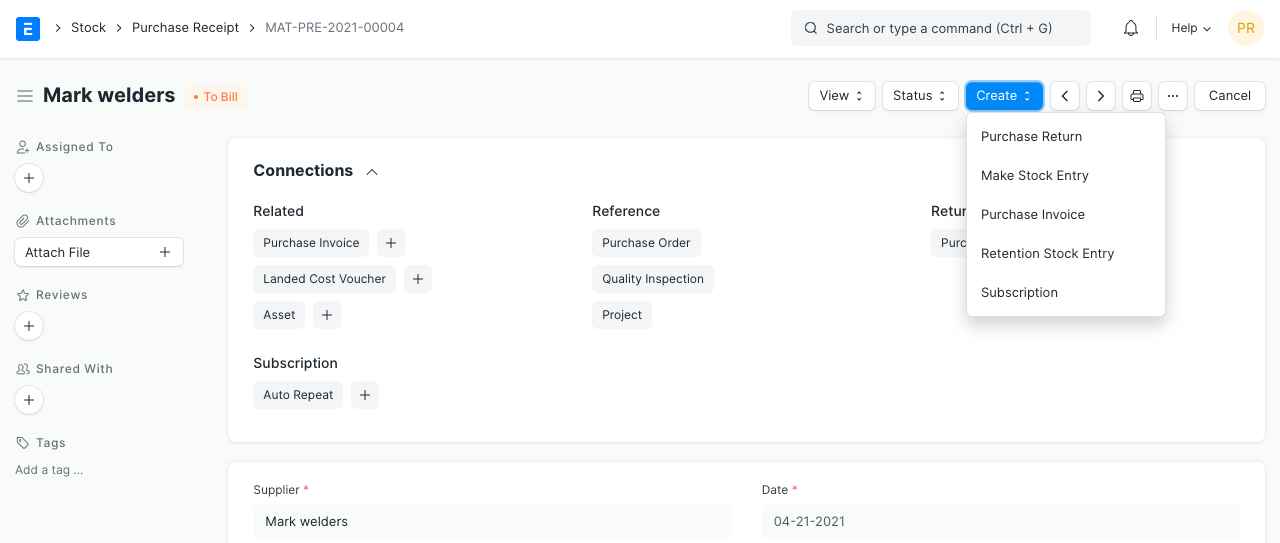
3.11 Returning a Purchase Order
Once you've received a Purchase Order using a Purchase Receipt, you can create a return entry in case the Item needs to be returned to the Supplier. To know more, visit the Purchase Return page.
3.12 Skipping Purchase Receipt
If you don't want to create a Purchase Receipt after a Purchase Order and directly want to create a Purchase Invoice, enable the feature for it in Buying Settings.
Changing the value of Items post Purchase Receipt:
Sometimes, certain expenses that add to the total of your purchased Items are known only after a while. Common example is, if you are importing the Items, you will come to know of Customs Duty, etc only when your “Clearing Agent” sends you a bill. If you want to attribute this cost to your purchased Items, you will have to use the Landed Cost Voucher. Why “Landed Cost”? Because it represents the charges that you paid when it landed in your possession.