Material Transfer from Delivery Note and Purchase Receipt
In ERPNext, you can create Material Transfer entry from Stock Entry document. However, there are some scenarios in the Material Transfer where it needs to be presented as a Delivery Note and Purchase Receipt.
Material Transfer from Delivery Note
Scenarios
One of the examples is when you transfer a Material from your stores to project site, however, you need to present it as a Delivery Note to the client.
Also, there are statutory requirements where taxes are to be applied on each transfer of Material. It is easier to manage in a transaction like Delivery Note, than in the Stock Entry.
Considering these scenarios, the provision of Material Transfer has been added in the Delivery Note as well. Following are the steps to use Delivery Note for creating Material Transfer entry.
Steps
Enable Target Warehouse
Delivery Note Item doctype has a hidden field of Target Warehouse (previously Customer Warehouse). You can enable it from Stock Settings by enabling "Allow Material Transfer From Delivery Note and Sales Invoice".
Also note that the selected customer should represent the same company. For this, enable the 'Is Internal Customer' option in the customer form and select your company in the 'Represents Company' field.
Select Warehouses
When creating a Delivery Note for Material Transfer, for an item select source Warehouse as From Warehouse.
In the Customer Warehouse, select a Warehouse where Material is to be transferred or select a target warehouse.
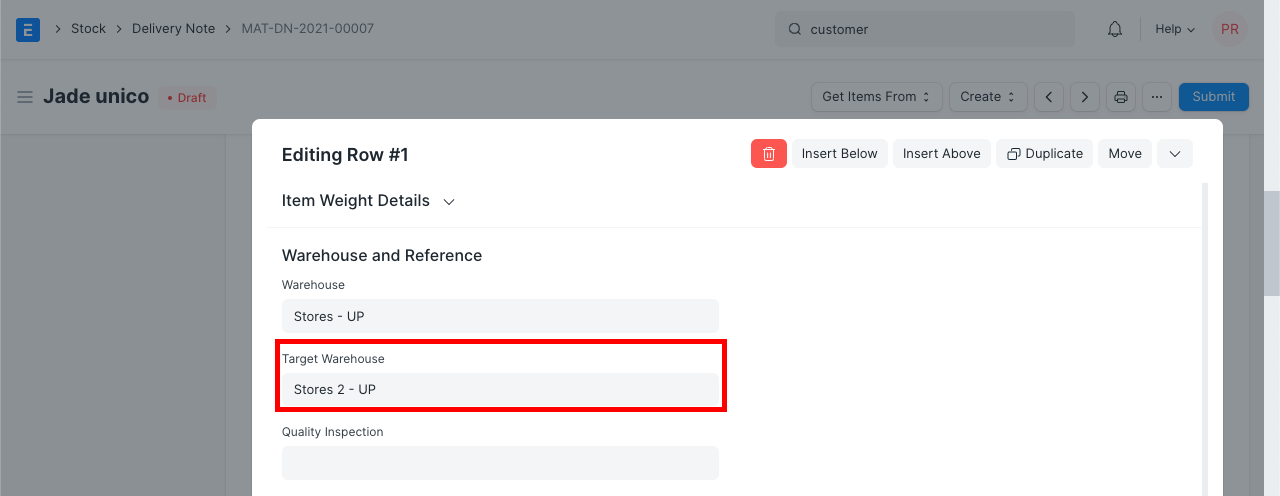
On the submission of a Delivery Note, item's stock will be deducted from "From Warehouse" and added to the "Customer Warehouse".
Material Transfer from Purchase Receipt
Scenarios
There are statutory requirements where taxes are to be applied on each transfer of Material. It is easier to manage a situation like this in a transaction like Purchase Receipt, than in the Stock Entry as taxes cannot be applied on transfers of items via Stock Entry
Following are the steps to use Purchase Receipt for creating Material Transfer Entry.
Steps
Enable Supplier Warehouse
Similar to the Customer Warehouse shown above, the first step is to enable the Supplier Warehouse from Stock Settings as shown above.
Also note that the selected supplier should represent the same company. For this, enable the 'Is Internal Supplier' option in the Supplier form and select your company in the 'Represents Company' field.
Select Warehouses
When creating a Purchase Receipt for Material Transfer, for an Item, select the target Warehouse as Accepted Warehouse.
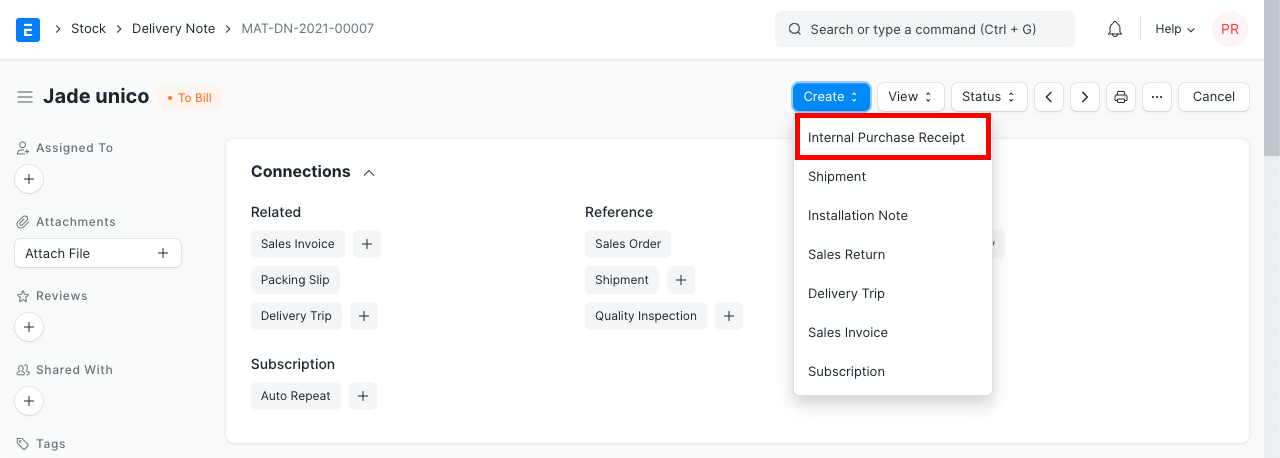
This is how you create an internal Purchase Receipt from an internal Delivery Note:
In the Supplier Warehouse, select a Warehouse from where Material is to be transferred.
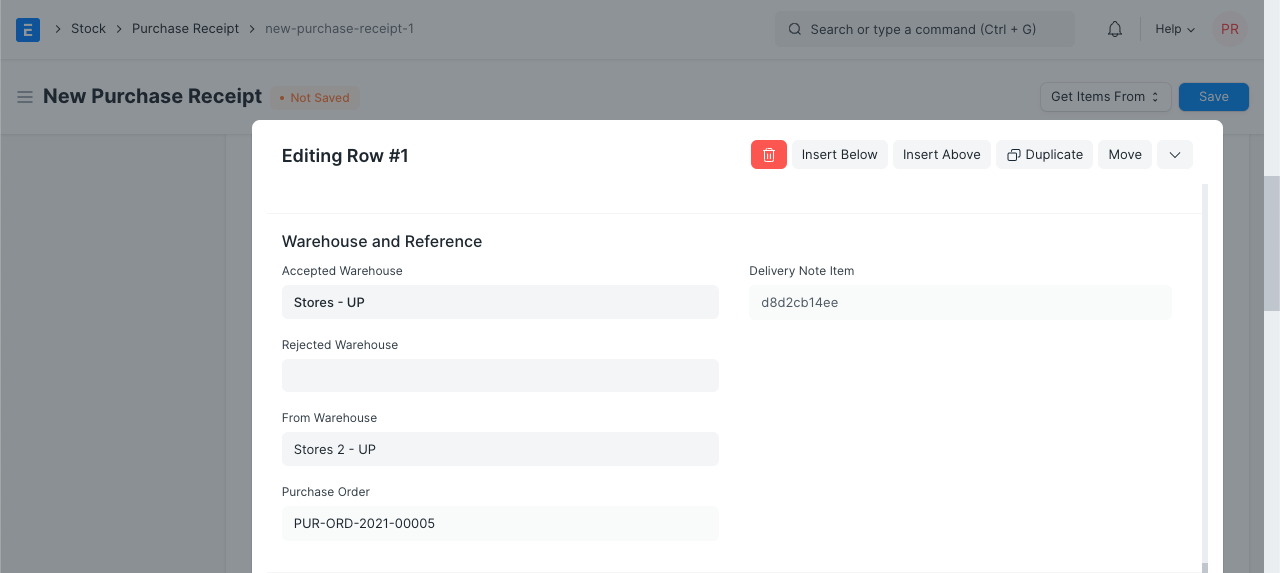
On submission of the Purchase Receipt, item's stock will be deducted from "Supplier Warehouse" and added to the "Accepted Warehouse".