Email Inbox
Once an email account is added, the email inbox will be accessible.
Running a business involves many transactional email exchanges with parties like Customers and Suppliers and other members within the company. Email Inbox feature allows you to pull all your business emails into your ERPNext account. Enabling access to business emails with other transactional details makes ERPNext a single platform for accessing all business information in one place.
In ERPNext, you can configure Email Inbox for each System User. Following are the detailed steps to configure Email Inbox for a User.
1. Create a User
You can configure an Email Inbox for a System User only. Hence ensure that you have added yourself and your colleagues as a User and assigned them required permissions.
To know how to add a new User, go to the User page.
2. Create an Email Domain
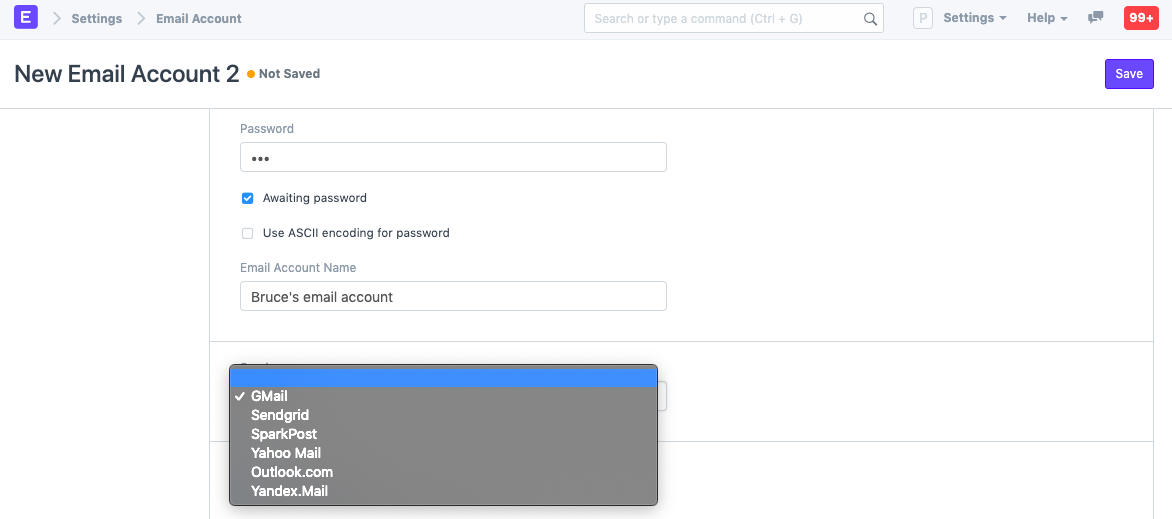
Email Domain for the following Services is available out-of-the-box and you can directly proceed to create an Email Account. Know more about creating an Email Domain here.
- Gmail
- Yahoo
- Sparkpost
- SendGrid
- Outlook.com
- Yandex.mail
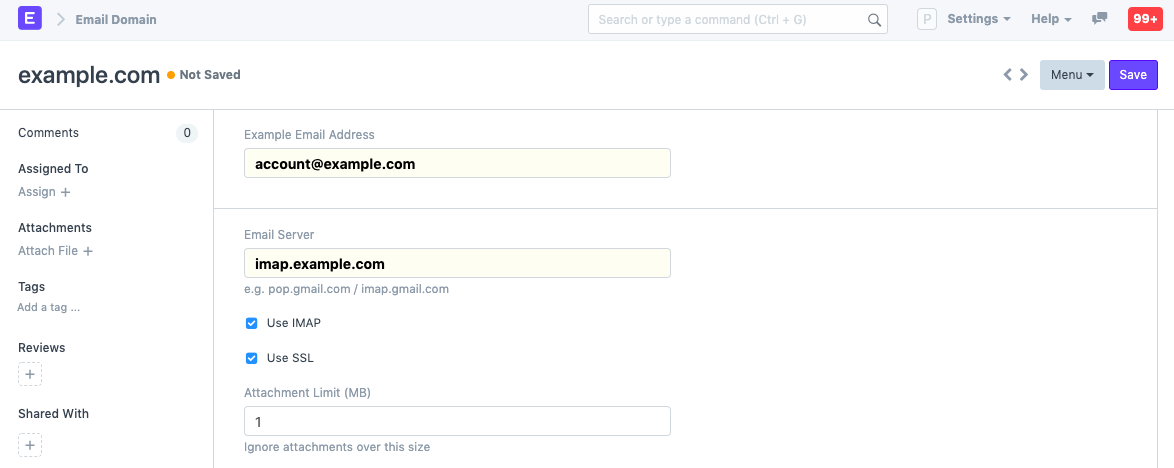
To be able to send and receive emails into your ERPNext account from other email services (like WebMail or Gmail), you should set up an Email Domain master. In this master, email gateway details like SMTP Address, Port No., IMAP/POP3 address details are captured. If you have ever configured a local email client (like Outlook), Email Domain master requires details to be fed similarly.
To add new Email Domain, go to:
Home > Settings > Emails > Email Domain > New
Know more about Email Domains here. Once you have configured an Email Domain for your Email Service, it will be used for creating Email Accounts for all the Users in your ERPNext account.
3. Email Account
Create an Email Account based on the Email ID of the User. For each User whose email account is to be integrated with ERPNext, an Email Account master should be created for it.
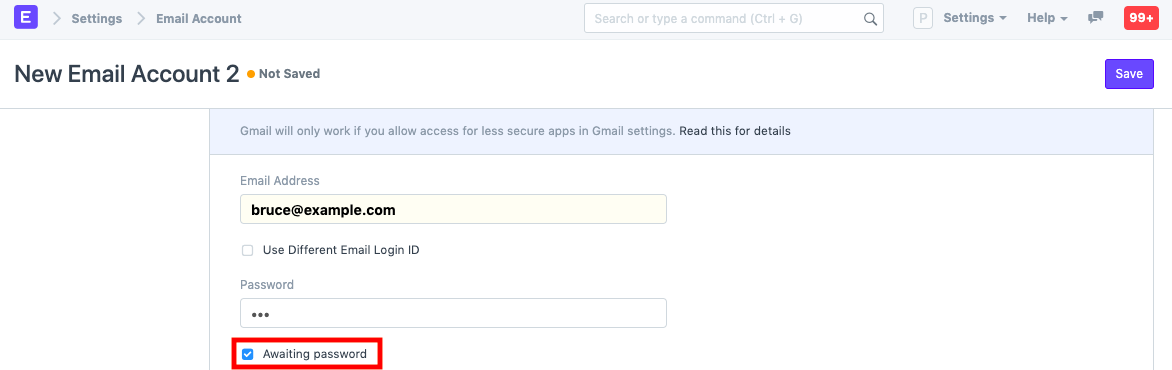
If you are creating an Email Account for your colleague who's Email Password is unknown to you, then check field "Awaiting Password". As per this setting, a User (for whom Email Account is created) will get a prompt to enter email password when accessing his/her ERPNext Account.
If you are creating an Email Account for Email Inbox of a User, then leave Append To field as blank.
Read Email Account documentation for more details on how to setup.
4. Linking Email Account in the User master
Once an Email Account is created for a User, select that Email Account in the User. This will ensure that emails pulled from the said Email ID will accessible only to this User in your ERPNext account.
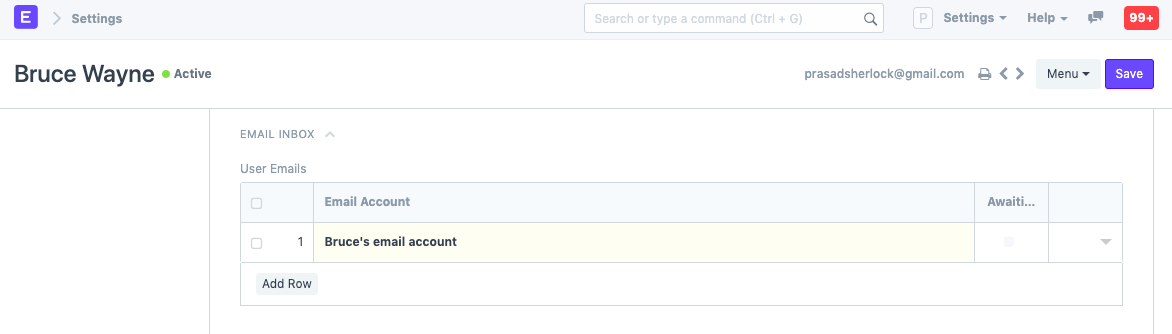
You can link multiple emails with one user.
5. Using Email Inbox
If you have correctly configured Email Inbox as instructed above, then on the login of a User, Email Inbox icon will be visible. This will navigate the user to Email Inbox view within the ERPNext account. All the Emails received on that email will be fetched and listed in the Email Inbox view. User will be able to open emails and perform various actions on them.
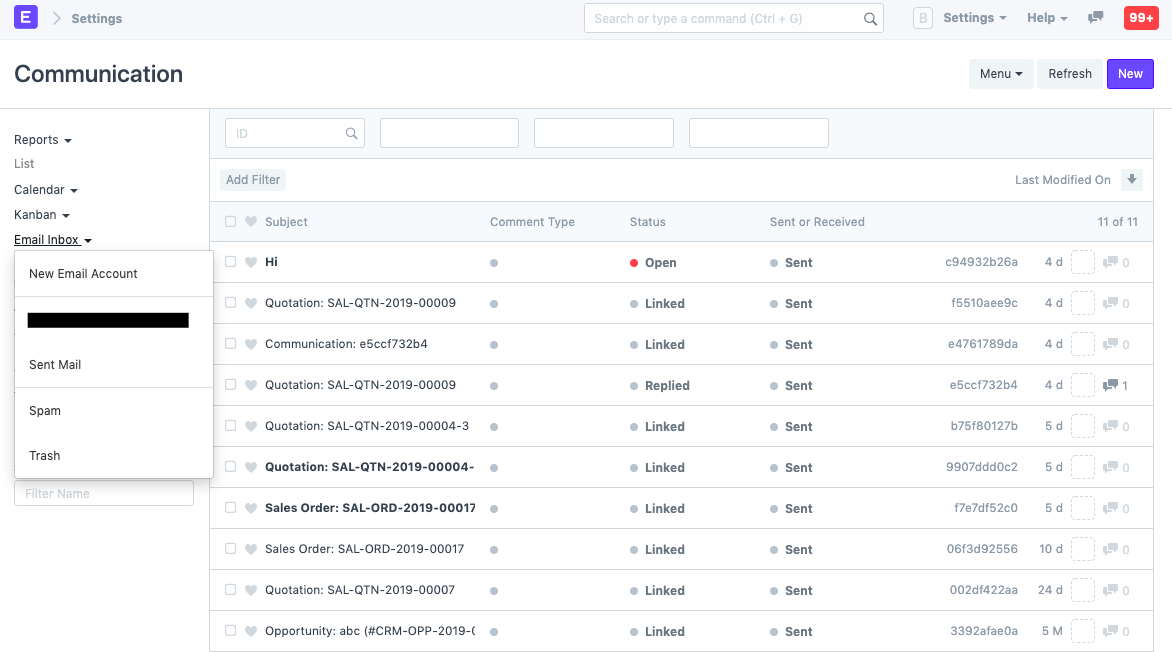
5.1 Folders
In ERPNext, you can link multiple Email Accounts with the single User. To switch to Inbox of a different email account and access other folders like Sent Emails, Spam, Trash, click on Email Inbox option in the left bar.
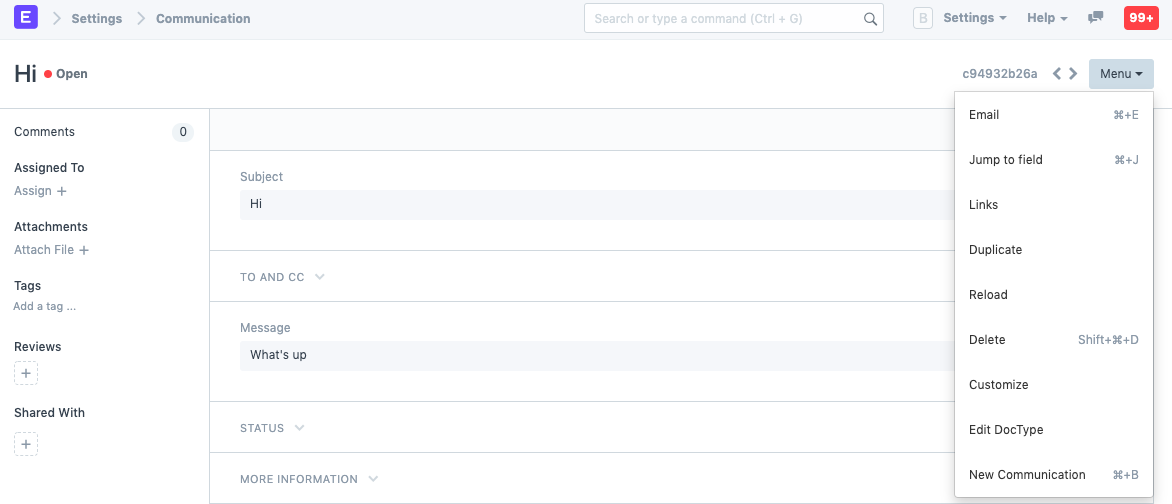
5.2 Actions
On the emails in your inbox, you can take various actions like Reply, Forward, Mark as Spam or Trash.
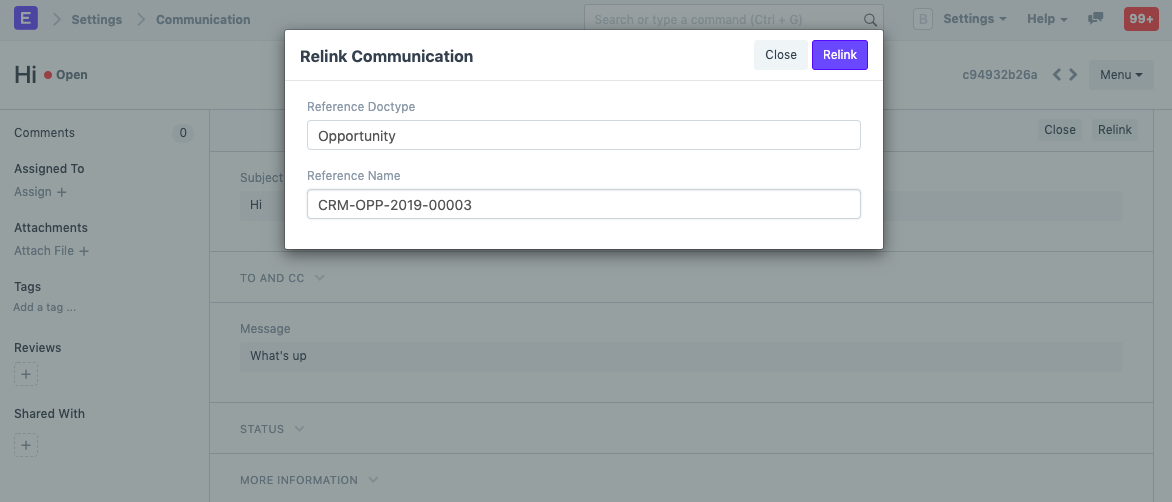
5.3 Relink
You can relink an email to a document like Issue, Lead, Opportunity, etc. based on the context of the email. Select the document type and the document to link the email to.