Manage Tree Structure Masters
Some of the masters in ERPNext are maintained in tree structure. Tree structured masters allow you to set Parent master, and Child masters under those Parents. Setting up this structure allows you creating intelligent report, and track growth at each level in the hierarchy.
Following is the partial list of masters which are maintained in the tree structure.
Chart of Accounts
Chart of Cost Centers
Customer Group
Territory
Sales Person
Item Group
Following are the steps to manage and create record in the tree structured master. Let's consider Territory master to understand managing tree masters.
Step 1 : Go to Master
Selling > Setup > Territory
Step 2 : Parent Territory
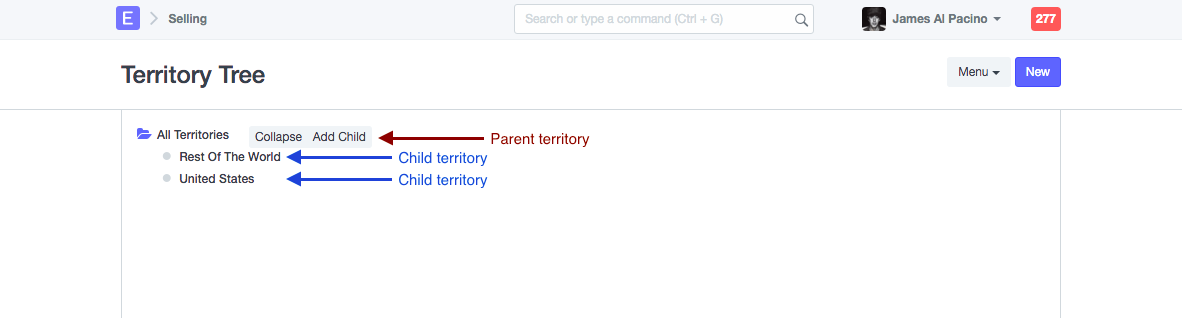
When click on Parent territory, you will see option to add child territory under it. All default Territory groups will be listed under Parent group called "All Territories". You can add further Parent or child Territory Groups under it.
Step 3: Add new Territory
When click on Add Child, a dialog box will provide two fields.
Territory Group Name
Territory will be saved with Territory Name provided here.
Group Node
If Group Node selected as Yes, then this Territory will be created as Parent, which means you can further create sub-territories under it. If select No, then it will become child Territory which you will be able to select in another masters.
Only child Territory Groups are selectable in another masters and transactions.
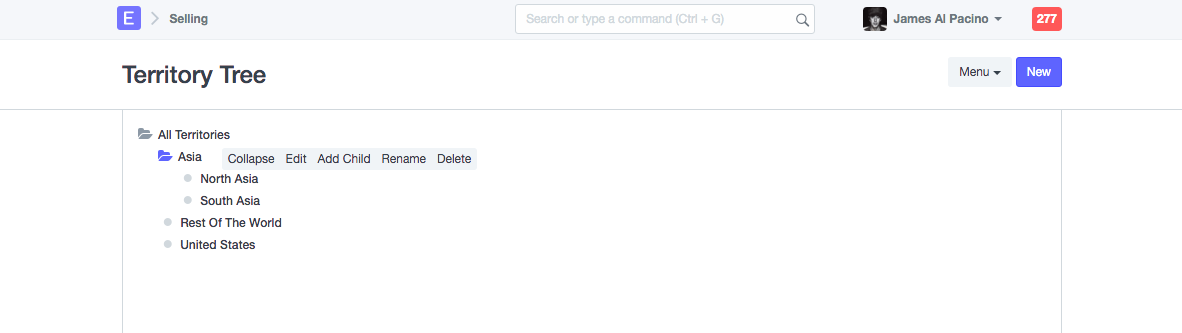
Following is how Child Territories will be listed under a Parent Territory.
Following this steps, you can manage other tree masters as well in ERPNext.