Custom Field
Every form in ERPNext has a standard set of fields. If you need to capture some information, but there is no standard Field available for it, you can insert Custom Field in a form as per your requirement.
You can go to Customize Form and add the Field in a particular Form or a Document type (hereafter referred to as DocType) .
To access Custom Field, go to:
Home > Customization > Form Customization > Custom Field
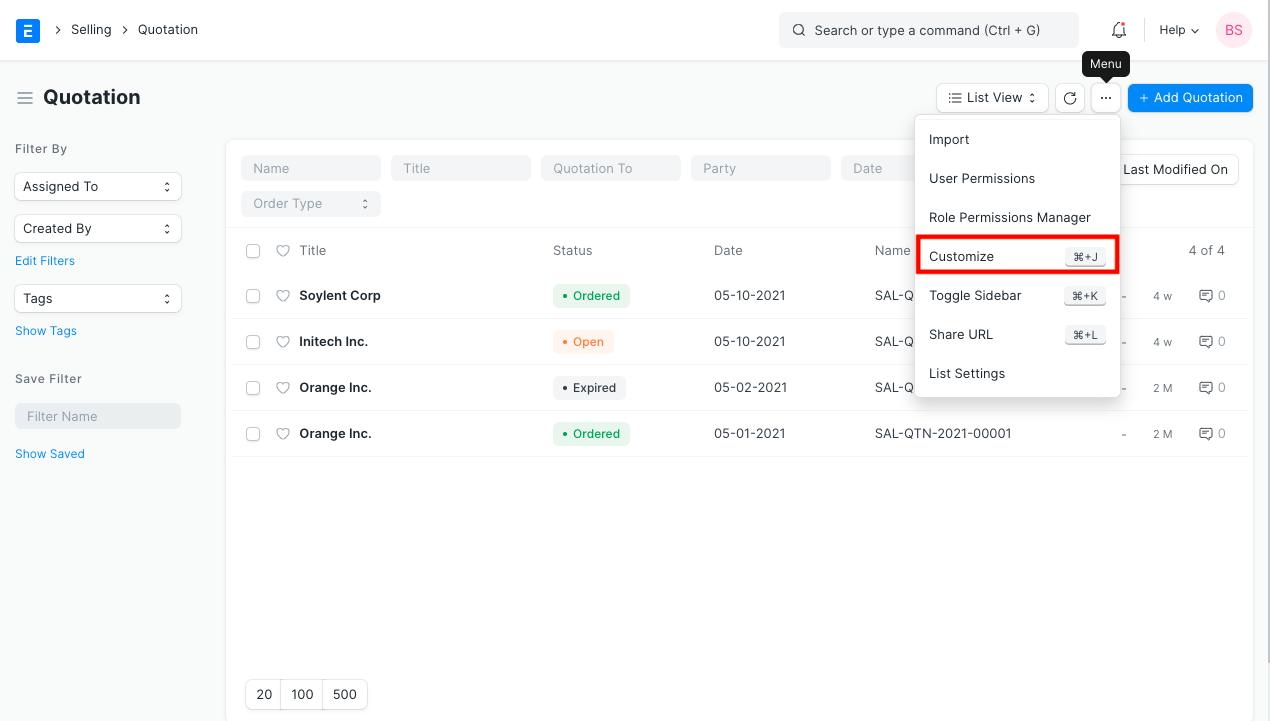
You can also go to the list view of any DocType and select Customize from the Menu options.
1. How to create a Custom Field
- Go to the Custom Field list and click on New.
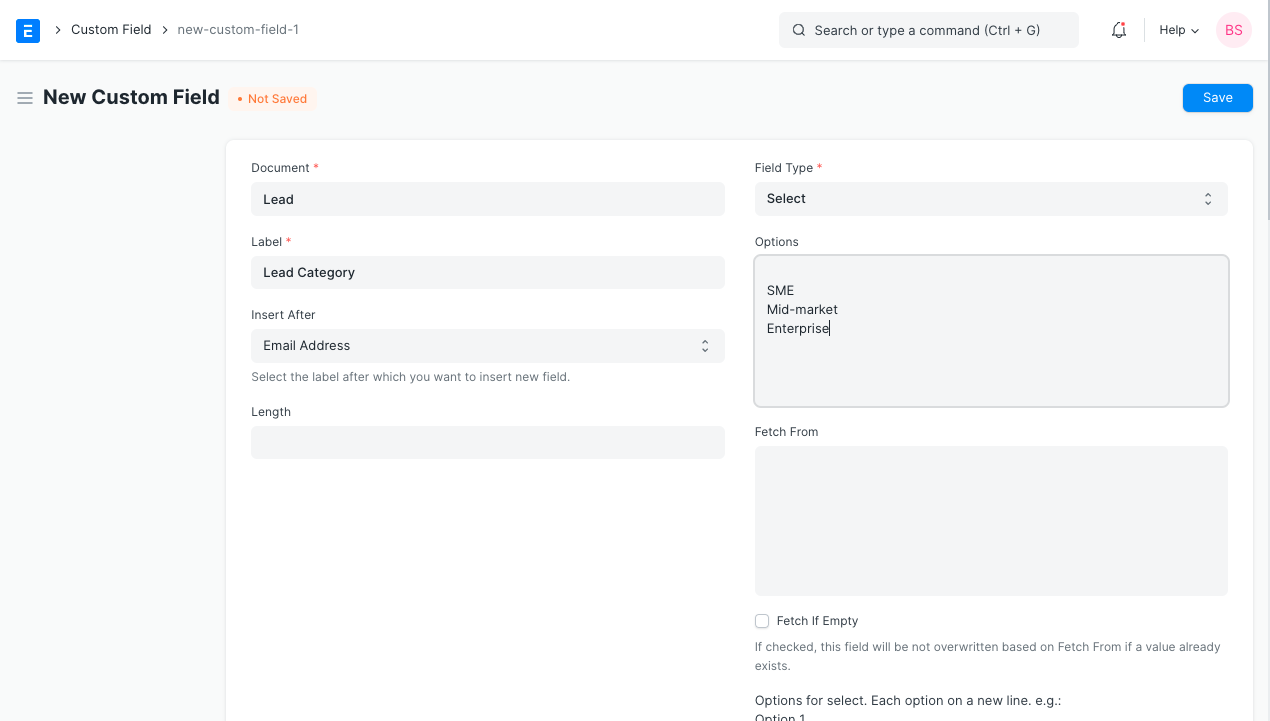
- Document: Select the Document in which you need to add the Custom Field.
- Label: Enter what Label would you like to give to your Custom Field.
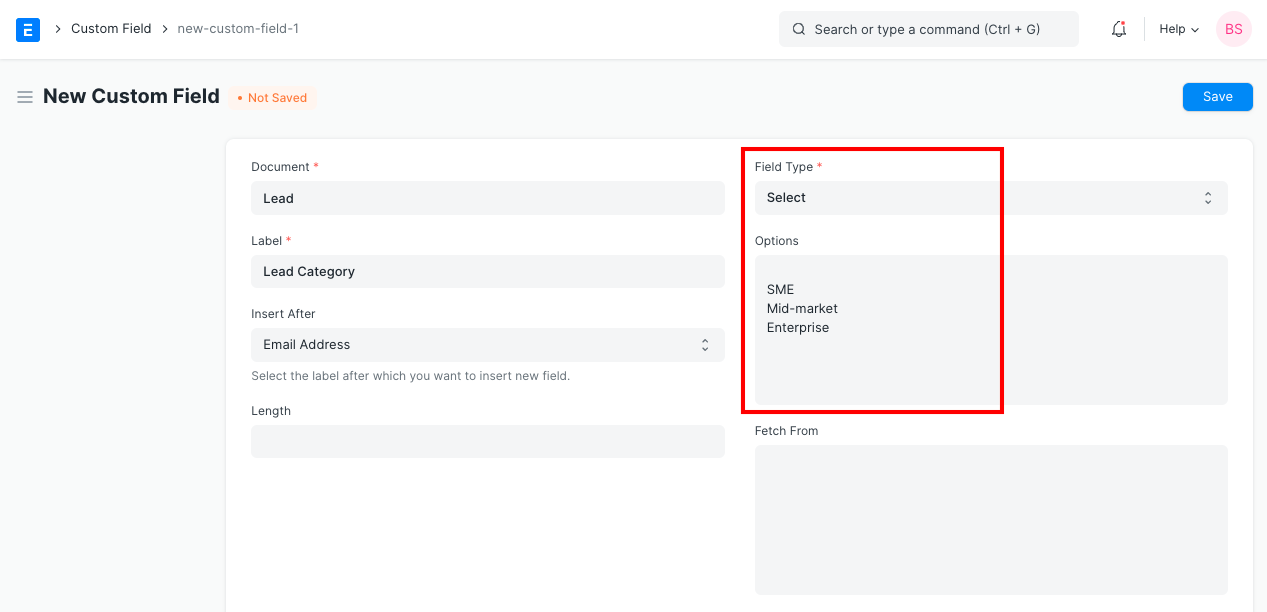
- Field Type: ERPNext already has a set of Field Types defined which can be fetched from this drop-down menu. You can select the Type of your Custom Field from within this menu.
- Update.
Learn more about Field types here.
You can also go to Customize Form and add, edit or remove a Field in a particular Form.

1.1. Additional Details
- Options: This Field comes into picture when you would want your data to be specific or specify the data. E.g., when you have selected the Field to be a 'Select Field', you would be required to enter the selection options here.
 2. Fetch From: When you want your Custom Field to be 'Link Field', you would be required to specify the Form to which this Field is to be linked. E.g., you want to create a Custom Field 'Project' in the DocType 'Item'. You would be required to enter to specify your Field Type as 'Link' and enter 'Project' in the Fetch From Field to ensure that the Field is updated with the list of all the required DocTypes.
3. Fetch If Empty: This check-box will ensure that this Field will be not overwritten based on Fetch From if a value already exists.
4. Default Value: Enter the default value of the Field which you would want to be fetched for this Field.
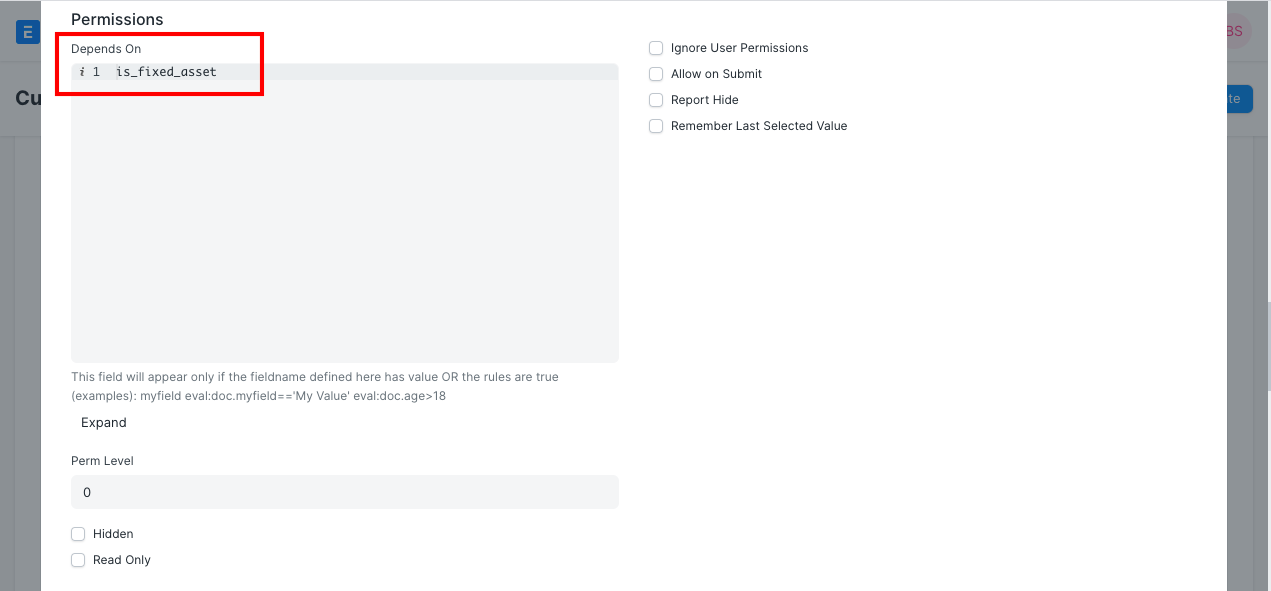
5. Depends On: You can define a condition here for the Field to be displayed. E.g., in the DocType Item, two fields 'Asset Category' and 'Asset Naming Series' will only appear if the Field 'Is Fixed Asset' is checked. The dependency condition here would be
2. Fetch From: When you want your Custom Field to be 'Link Field', you would be required to specify the Form to which this Field is to be linked. E.g., you want to create a Custom Field 'Project' in the DocType 'Item'. You would be required to enter to specify your Field Type as 'Link' and enter 'Project' in the Fetch From Field to ensure that the Field is updated with the list of all the required DocTypes.
3. Fetch If Empty: This check-box will ensure that this Field will be not overwritten based on Fetch From if a value already exists.
4. Default Value: Enter the default value of the Field which you would want to be fetched for this Field.
5. Depends On: You can define a condition here for the Field to be displayed. E.g., in the DocType Item, two fields 'Asset Category' and 'Asset Naming Series' will only appear if the Field 'Is Fixed Asset' is checked. The dependency condition here would be is_fixed_asset.
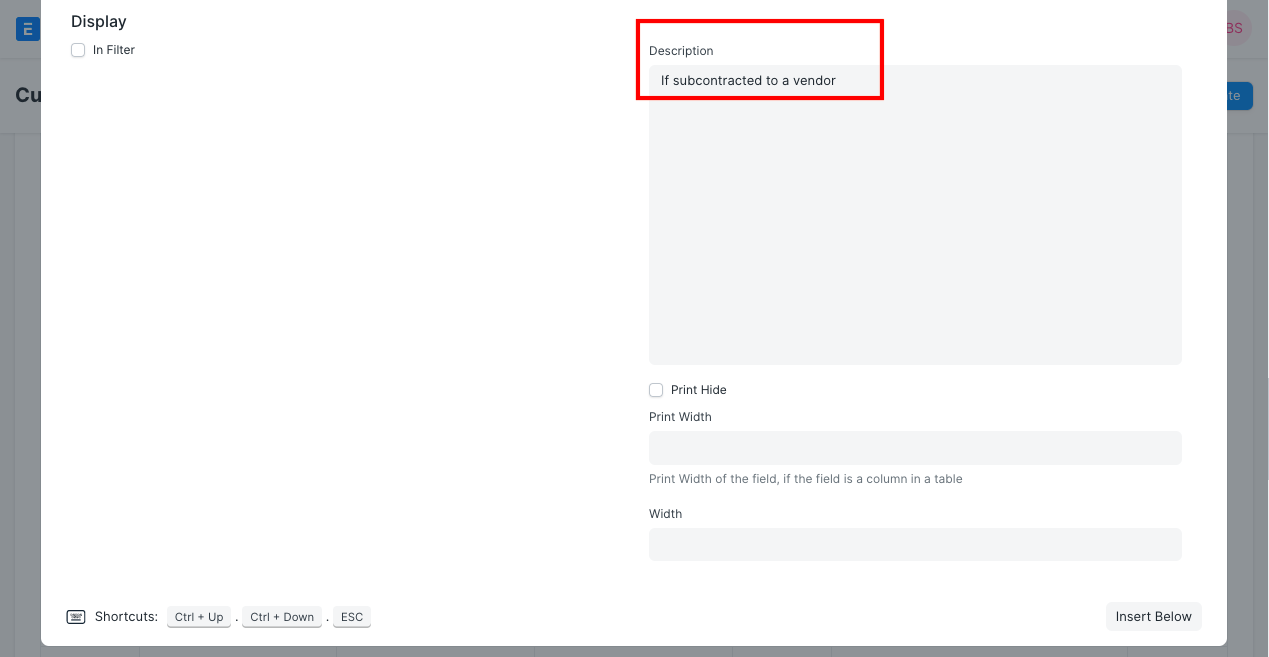
 6. Field Description: You can add the description of the Field here which can be displayed below this Field.
 7. Permission Level: This will allow you to specify which roles within your organization will be able to edit this Field. You can go through Role Based Permissions for more understanding on this.
8. In Preview: If Show Preview Popup for the document type is checked, the Field will be included in the popup that appears on hovering over links of the document type (in list view and other link fields).
9. Width: This will define the width allocated to this Field while viewing the Form in a Grid View.
7. Permission Level: This will allow you to specify which roles within your organization will be able to edit this Field. You can go through Role Based Permissions for more understanding on this.
8. In Preview: If Show Preview Popup for the document type is checked, the Field will be included in the popup that appears on hovering over links of the document type (in list view and other link fields).
9. Width: This will define the width allocated to this Field while viewing the Form in a Grid View.
1.2. More Properties
- Is Mandatory Field: This box can be checked if you want to make this Field mandatory while submitting a DocType.
- Unique: Check this box when you want the value of this Field to be unique. This can be done in cases where the Custom Field is for a code or an Identification Number. E.g., Item Code in case of Item, GST Number in case of Customer.
- Read Only: When you want this Field to be a read only or a non-editable Field. In this case, the value of the Field shall be auto-fetched from other fields.
- Hidden: Check this Field when you want this Field to be hidden, or to hide an existing Field.
- Print Hide: In cases that you want the print button to be hidden from the Print Format. Checkout Fields in Print Format for more information.
- No Copy: Checking this box will restrict copying of this Field in the DocType.
- Allow on Submit: This will allow you to make changes to the Field even after you have submitted the Form. Checkout Editing Value in Submitted Document for more information.
- In List View: This will make the field visible in the List View of the DocType.
- In Standard Filter: The field will become a standard filter in the List view of the Document.
- In Global Search: When this box is checked this Field can be searched form the Global Search.
- Bold: This will make this Field type bold, this adds more value to the Field.
- Report Hide: This field will not be visible in the reports when you check this box.
- Ignore XSS Filter: This will allow you to view this Field without the HTML tags.
- Translatable: When this box is checked, it becomes translatable while applying Custom Translations to this.
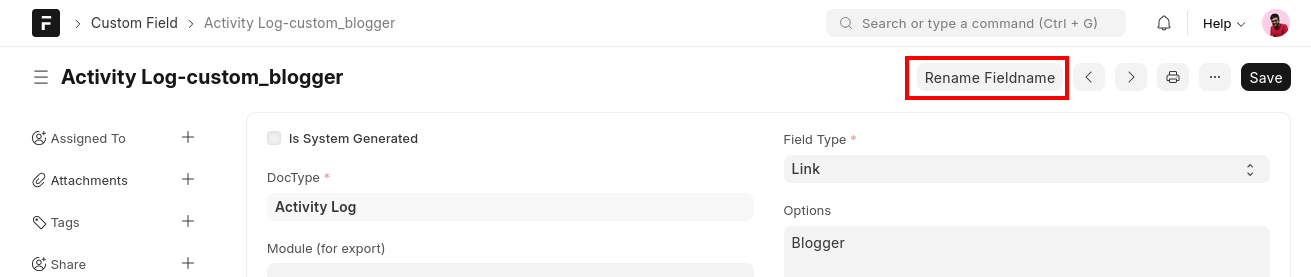
1.3 Field name
- Custom fields by default add a prefix of
custom_to fieldname. This is done to avoid a potential clash with current/future standard fields - If your customizations require a specific fieldname you can rename any existing custom field by going to Custom Field doctype and clicking the "Rename Fieldname" button.