Point of Sale Profile
In ERPNext, a POS profile allows using the Point of Sale feature.
POS includes advanced features to cater to different functionality, such as inventory management, CRM, financials, warehousing, etc., all built into the POS software. Before modern POS, all of these functions were done independently and required the manual re-keying of information, which could lead to entry errors.
If you are in retail operations, you want your Point of Sale to be as quick and efficient as possible. To do this, you can create a POS Profile for a user.
To access the POS Profile list, go to:
Home > Retail > Retail Operations > Point-of-Sale Profile
1. How to create a POS Profile
- Go to the Point-of-Sale Profile and click on New.
- Enter a name for the profile.
- Set a Write Off Account and Write Off Cost Center to which the transactions will be recorded.
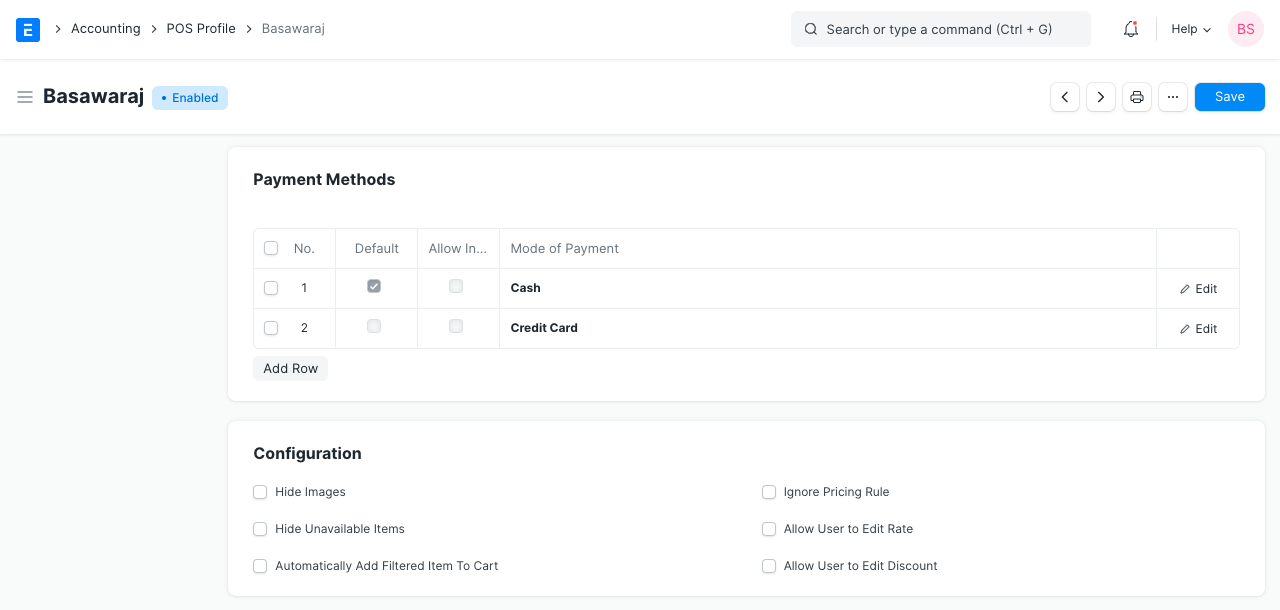
- Set up payment modes in the table, the default will be cash if nothing is set here. Only the modes set here will be available when using POS. After adding payment modes, set one of them as the default payment method by ticking the checkbox.
 5. Set the default amounts for the payment methods (recommended: 0).
6. Save.
5. Set the default amounts for the payment methods (recommended: 0).
6. Save.
1.1 Additional options when creating a POS Profile
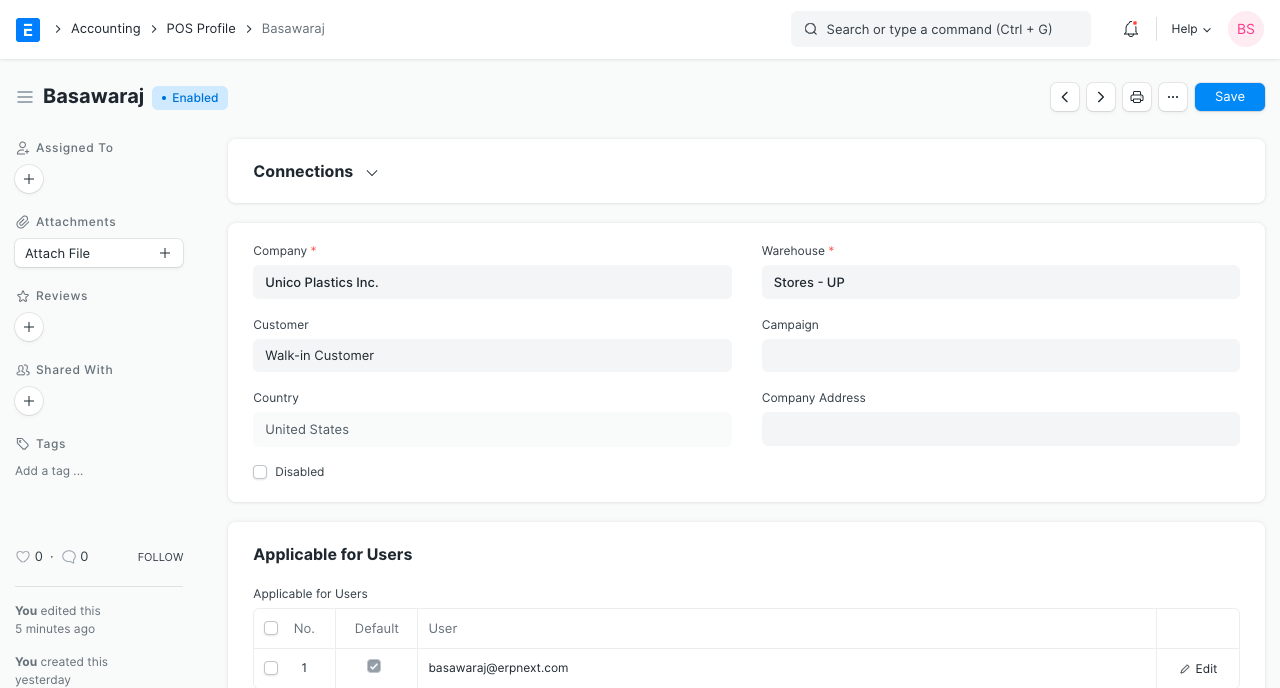
- Customer: Users can sell particular products to the particular Customers from the POS by adding item groups, customer groups in the POS Profile.
- Warehouse: The stock quantities in the selected Warehouse will be affected for POS transactions with this POS Profile.
- Campaign: A sales Campaign can be linked here to track total sales against it.
- Company Address: If the POS counter is set up at a Company branch, the address can be selected here.
- Update Stock: If enabled, the stock quantities will be affected when transactions are performed with the POS Profile. That is, Stock Ledger Entries will be made when you “Submit” this Sales Invoice thereby eliminating the need for a separate Delivery Note.
- Ignore Pricing Rule: Any active Pricing Rule will be ignored for this POS Profile.
- Allow Delete: In Offline POS, the data is cached. Ticking this checkbox will allow User to delete the Sales Invoice cached in the Draft stage.
- Allow user to edit Rate: The POS Profile user will be allowed to edit the 'Rate' of Items added in transactions.
- Allow user to edit Discount: The POS Profile user will be allowed to edit the 'Discount' of Items added in transactions.
- Allow Print Before Pay: This will allow the POS User to print an invoice before the payment is made.
- Display Items In Stock: The remaining quantity of Items from the selected Warehouse will be shown to the POS User.
2. Features
2.1 Applicable for Users
By default, all Sales Users can access the POS Profiles created in ERPNext. However, if you want only certain Users to access certain POS Profiles, you can add them to the table. Once even one User is set in the POS Profile, other Users cannot use this POS Profile for retail transactions.
Setting POS Profile as default: On ticking the Default checkbox in the table, the current POS Profile becomes the default POS Profile for that User. So, the next time the User logs into the system, the POS Profile will be set by default.
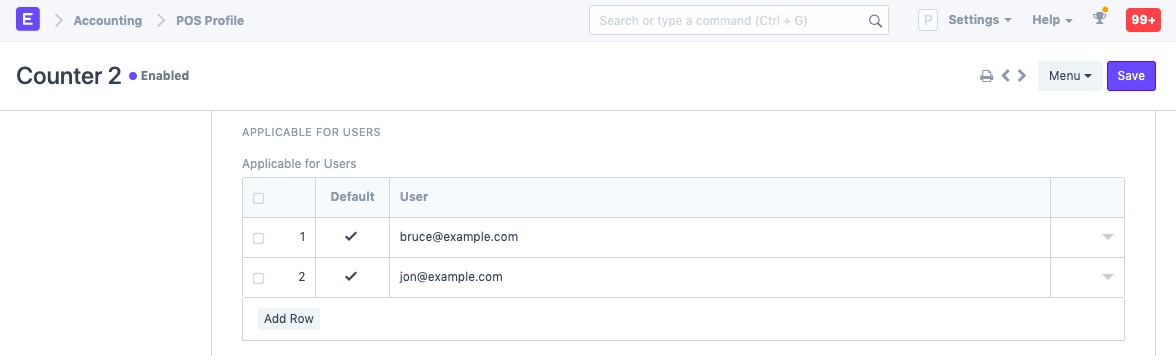
Note: If you specify a particular User, the POS setting will be applied only to that User. If the User option is left blank, the setting will be set for all users. To understand how POS works, visit the Point of Sale page.
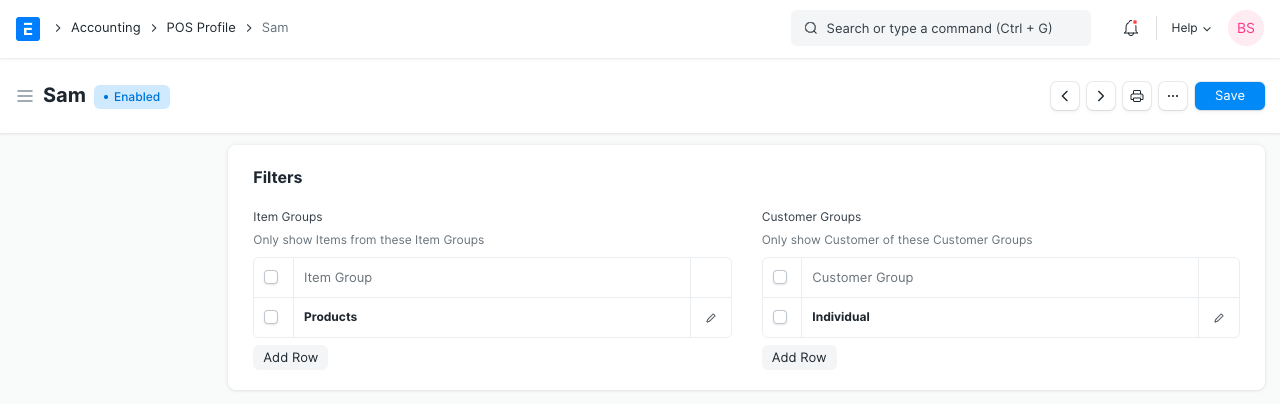
2.2 Setting Item Group and Customer Group
On setting an Item Group/Customer Group in a POS Profile, the group will be automatically selected when making transactions with the POS Profile.
2.3 Print Settings
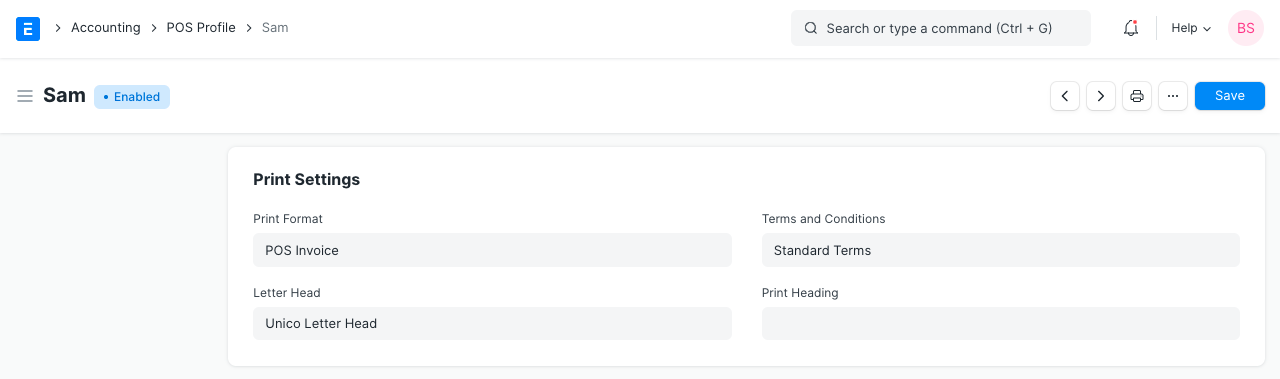
Print Format for Online
You can set a Print Format which will decide what the layout of the printed document will look like. To know more, visit the Print Format page.
Letterhead
You can print your POS Sales Invoice on your Company's letterhead. Know more here.
Print Headings
POS Sales Invoice headings can also be changed when printing the document. For example, the heading can be 'Invoice', or 'Bill'. You can do this by selecting a Print Heading. To create new Print Headings go to: Home > Settings > Printing > Print Heading. Know more here.
Terms and Conditions
There may be certain terms and conditions on the Item you're selling, these can be applied here. To know about adding Terms and Conditions, click here.
2.4 Accounting
- Price List: A Price List stores the Item Prices. Setting a Price List here will fetch the Item Prices for the current POS Profile from that Price List.
- Currency: By default, this will be set according to the Company's default currency. However, you can change it. In case you change the currency, remember to change the accounts too.
- Taxes and Charges: Selecting a Sales Taxes and Charges Template or Purchase Taxes and Charges Template here will automatically apply the taxes and charges to the POS transaction.
- Apply Discount On: Here you can set whether the discount is to be applied on the Grand Total (pre tax amount) or the Net Total (post tax amount).
- Tax Category: On selecting a Tax Category here, the Tax Rules associated with the Tax Category will be applied to each transaction performed from this POS Profile.
The following accounts can be set so that the general ledger is updated accordingly:
- Account for Change Amount
- Write Off Account
- Write Off Cost Center
- Income Account
- Expense Account
2.5 Accounting Dimensions
Accounting Dimensions lets you tag transactions based on a specific Territory, Branch, Customer, etc. This helps in viewing accounting statements separately based on the criteria selected. To know more, visit the Accounting Dimensions page.
Note: Cost Center is treated as a dimension by default.